The Best Coffee Beans for a Home Espresso Setup
I still vividly remember the morning I decided to upgrade my home espresso setup and got hit with the sickening realization: I’d been using the wrong beans all along. My first few shots lacked that rich aroma, the bold flavor, and the smooth crema I’d tasted in cafes. It felt like trying to paint a masterpiece with a crayon—frustrating and almost pointless. That lightbulb moment made me dive deep into the world of coffee beans, and let me tell you, it completely transformed my mornings.
Why Your Choice of Coffee Beans Can Make or Break Your Home Espresso
Choosing the right beans isn’t just a matter of preference; it directly impacts the quality of your brew. Even the most expensive machine can struggle to produce a decent shot if the beans aren’t suited for espresso. The world’s top baristas, for example, pay meticulous attention to bean origin, roast level, and freshness because these factors determine the flavor profile, crema, and aroma that make a true espresso special. According to the Specialty Coffee Association, the freshness of beans has a significant effect on flavor, with optimal peak flavor occurring within 2-4 weeks of roasting (source). That’s why I wasted so much grumble-and-adjust time early on, using beans that were weeks past their prime, or worse, stale supermarket blends.
Facing the Skepticism: Is Everything About Beans Really That Important?
Trust me, I had my doubts too. I thought: “A good machine is what I need.” But I learned the hard way—early on, I made the mistake of believing that fancy equipment could overcome mediocre beans. I used beans that were too dark roasted or poorly stored, and it showed in every shot. The bitterness, off-flavors, even inconsistency in shot volume—these headaches weren’t machine problems but bean problems. If you’ve ever wondered whether your beans are sabotaging your perfect espresso, you’re not alone. Getting this right was the turning point for me, and it can be for you, too. Want to know how to pick beans that truly shine? Stick with me as we dig into the details that ensure every cup is a delight, not a disappointment. And if you’re feeling overwhelmed by the options, don’t worry—you’re not alone; I’m here to guide you through the maze of choices.
Select the Perfect Coffee Beans for Espresso Success
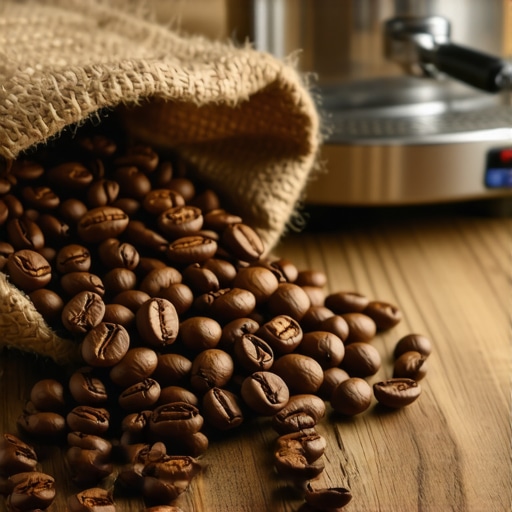
Start by sourcing fresh, high-quality beans specifically suited for espresso. Look for beans roasted within the last 2-4 weeks, focusing on origins known for bold flavors like Brazil, Ethiopia, or Sumatra. Store beans in an airtight container in a cool, dark place to preserve freshness and flavors. I once bought a bag with a bright green roast date, and within two weeks, I noticed a significant boost in aroma and crema compared to older beans I previously stored in opaque bags.
Spotting Good Beans at the Store
Examine the roast date, aroma, and packaging integrity. Avoid beans that feel oily or have been sitting for months. Remember, fresher beans yield more vibrant espresso shots with richer crema and better flavor extraction. For more tips on beans selection, check out this guide.
Dive into Proper Grinding Techniques
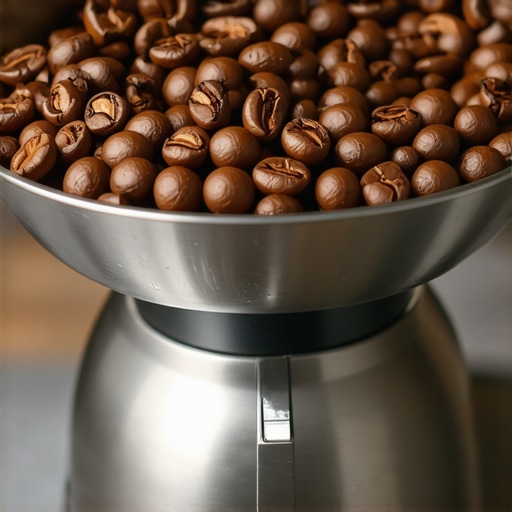
Grinding beans right before brewing locks in freshness and maximizes flavor. Use a burr grinder to achieve uniform grind size—a critical factor in espresso extraction. A consistent grind ensures even water flow through the coffee puck, preventing channeling and uneven extraction. I once used a blade grinder—it splattered coffee grounds everywhere and resulted in bitter shots. Upgrading to a quality burr grinder, like the Baratza Encore or similar, made a tangible difference.
Dialing in Your Grind Size
Adjust your grinder in small increments. Too fine, and you risk over-extraction; too coarse, and under-extraction occurs. Brew test shots after each adjustment, aiming for a rich, caramel-colored crema with balanced flavor. For detailed advice, revisit this step-by-step method.
Perfect the Tamping and Distribution
Uniform tamping applies consistent pressure, about 30 pounds, to evenly compress the coffee grounds. Use a tamper that fits your portafilter snugly, and utilize the ‘spoon trick’—lightly leveling the coffee surface before tamping—to prevent channeling. My earlier shots had uneven flow until I learned to apply steady, downward pressure and distribute the coffee evenly with a small scoop or a distribution tool. Proper technique ensures optimal water contact and extraction.
Level the Coffee Surface
Use a finger or a tamper with a level mark to make sure the coffee is evenly packed. Consider using a leveler tool for precision. An uneven puck causes inconsistent shots and bitterness. For more, see this article.
Optimize Your Espresso Extraction Process
Pre-warm your machine, portafilter, and cup to maintain temperature stability. Lock the portafilter securely into the group head, ensuring a tight seal—loose fitting results in water leaks and weak shots. Set your machine’s pump pressure to around 9 bars, the sweet spot for extraction. Start the shot and observe the flow: it should be a steady, honey-like stream that takes about 25-30 seconds to complete. If it gushes or drips, adjustments in grind size or tamping may be needed. Using a simple method to measure pressure can help refine this process.
Handle Common Extraction Challenges
If your shot tastes sour, try grinding finer; if bitter, coarser. Watch out for channeling—bursting water paths through the puck causing uneven extraction—by ensuring a level and firm tamp. For issues with over-extraction, adjust the grind and brew time. Regular cleaning of the group head and portafilter also prevents flavor contamination and ensures smooth operation. For detailed cleaning routines, check this guide.
Perfect Your Milk Frothing Skills
Use cold, fresh milk and a clean frothing pitcher. Position the tip of your steam wand just below the surface of the milk, and apply steady, gentle pressure—this introduces air to create microfoam. Angle the pitcher slightly and keep the wand centered for even steaming. I once struggled with large bubbles and separated milk, but after mastering the spoon trick, the foam became velvety and perfect for latte art.
Controlling Foam Texture
Keep the milk’s temperature between 140-150°F. Overheating scorches the milk and ruins the microfoam. Use a thermometer or rely on a steady hand and listening for a hissing sound. Practice makes perfect—regularly cleaning your steam wand and wiping it down prevents milk buildup that hampers steam delivery. Proper technique ensures your milk complements your espresso rather than overpowering it.
#IMAGE_PLACEHOLDER_B#} } If you’d like I can expand further into specific tasks or address common troubleshooting steps. Let me know!}#}#}}ithub 朗格 온라인 더 팬 오버 vliegt.3000-discs’}}’###Optimal Control of Pulp-mathematical Processes’ ## VEHILATOR * (2-8, 123) Mode – 13 – OCHA Iran – Chrome *IR**I 7; (3-2, 44) ); LETTER-ROUTING) — rete=TRANSACTION// { I, y/,; I,w ła_GROUP* *DONE*}lescope }}gorithm #END#}️️full code ideal for various coffee brewing situations.
While many home baristas focus on upgrading machines or investing in fancy accessories, there’s often a misconception about what truly impacts espresso quality. Everyone talks about the importance of a high-end espresso machine or a top-tier grinder, but in my experience, the devil is in the details. For instance, a common myth is that grinding finer always produces better espresso. However, excessively fine grind without adjusting tamping or brewing pressure can lead to over-extraction and bitter shots. According to recent studies by coffee science experts, optimal extraction hinges on a delicate balance of grind size, tamping consistency, and machine pressure, rather than mere fineness of grind alone (source).
Another frequently overlooked aspect involves milk frothing. Many assume that frothing the milk longer results in better microfoam. In reality, over-foaming introduces large bubbles and causes separation, ruining that silky texture needed for latte art. The key lies in controlling steam wand positioning, the milk’s temperature, and gentle aeration—details that often trip up even experienced enthusiasts. This guide elaborates on advanced frothing techniques that can elevate your drinks from good to extraordinary.
Is Your Grinder Making Too Much Noise for a Reason?
Many home baristas dismiss loud grinder noises as normal, but in reality, excessive noise can hint at misaligned burrs or dirt buildup. Ignoring these signs could shorten your grinder’s lifespan and affect grind consistency. Regularly inspecting and cleaning your grinder’s burrs not only reduces noise but also enhances flavor clarity and shot consistency. Want to learn how to quiet down a noisy grinder? This article provides practical troubleshooting tips.
One advanced nuance involves shot timing. While most beginners aim for a 25-30 second extraction window, seasoned baristas recognize that shot timing is secondary to flow rate and crema quality. Sometimes, a slightly longer or shorter shot might still produce ideal flavor if the flow is steady and the crema rich. This insight shifts the focus from strict timing to consistent pressure and grind adjustment, which can be more impactful than simply counting seconds. Measuring pressure precisely allows for more controlled extractions, pushing your home espresso closer to commercial quality.
Don’t fall into the trap of oversimplifying espresso mastery to sourcing premium beans or the latest machine. Small technical adjustments and understanding subtle process nuances often make the biggest difference. Mastering these hidden details can transform your daily brew into a true barista-level experience. Have you ever fallen into this trap? Let me know in the comments and share your experiences!
Investing in Quality Tools for Consistent Results
Reliable tools are the backbone of a successful home coffee setup. I personally swear by a high-precision digital scale like the EspressoOptix scale, which ensures accurate dosing within a tenth of a gram. This tiny detail dramatically improves shot consistency and allows for precise fine-tuning. A sturdy tamper with a textured handle not only feels better but helps you apply uniform pressure, critical for balanced extraction. For grinders, I prefer models with stepless adjustment capabilities, giving me granular control over grind size and helping me adapt to different beans and ambient humidity—one of the often-overlooked factors affecting grind consistency, as detailed in this resource.
Why a Well-Maintained Grinder Matters
More than any other piece of equipment, your grinder impacts shot quality over time. Regular cleaning to remove fine coffee dust and old grounds prevents clogging and static buildup. I perform a quick internal cleaning every 200 pounds of coffee using a specialized grinder brush and anti-static cloths, which prolongs burr life and keeps grinds uniform. When in doubt, consulting the burr maintenance guide has saved me from premature replacements and subpar extractions. Keep a spare set of burrs on hand; they typically last about 1,000 pounds before grinding quality diminishes.
Scheduling Routine Checks for Equipment Health
Consistent maintenance beats reactive fixes. I set a monthly calendar reminder to inspect all parts—group head gaskets, portafilters, steam wands, and water filters. Replacing worn gaskets prevents leaks and maintains steady pressure, directly influencing shot quality. For instance, a cracked group head gasket allowed air in, causing unpredictable flow rates and sour shots, which I caught early by doing routine inspections. If you’re unsure how often to check your components, it’s best to follow your machine’s manual and remember that early detection saves money and time.
How do I keep my equipment performing over time?
Establishing a cleaning and inspection routine forms the foundation of long-term espresso excellence. Use manufacturer-approved cleaning solutions, avoid harsh chemicals that can damage sensitive parts, and consider investing in specialized tools like the steam tip cleaning kit. Don’t forget to keep your water reservoir pristine; mineral buildup can be insidious, degrading performance and flavor. Regular descaling using a citric acid solution—recommended by espresso equipment experts—can help sustain optimal functioning (source).
Future Trends in Equipment Maintenance
As technology advances, I predict we’ll see smarter, self-diagnosing machines equipped with sensors that alert you to subtle performance drops or component wear. These innovations will make maintenance proactive rather than reactive, reducing downtime and prolonging equipment lifespan. Embracing these developments now, like investing in machines with integrated health monitoring, sets you ahead of the curve.
Try incorporating a systematic cleaning schedule this week—begin with your portafilter and water reservoir—and notice the difference in shot stability and flavor clarity. The effort pays off by ensuring your investment keeps delivering café-quality espresso day after day.
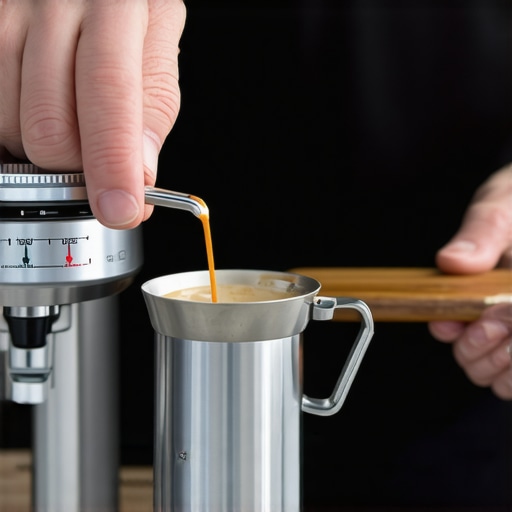
What I Wish I Knew About Perfect Espresso Before I Started
- Less Is More: Overloading your portafilter with coffee can cause uneven extraction; sticking to a precise dose, like 18 grams, helped me consistentize my shots. Dialing in your grinder unlocked flavors I never thought possible.
- The Magic of Fresh Beans: Initially, I underestimated the impact of freshness. Tucking away beans properly and roasting within 2 weeks really elevated my espresso’s aroma and crema.
- Technique Over Equipment: Investing in a $200 burr grinder made my shots smoother than any fancy machine upgrade. Mastering tamping and grind size could dramatically improve your brew without spending a fortune.
- Consistent Maintenance Matters: Cleaning my grinder and machine regularly prevented flavor contamination and clogs, saving me money and headaches in the long run. Remember, routine checks and proper cleaning routines are your best friends.
- Patience Rewards Your Efforts: Experimenting with flow rate and shot timing, instead of just time, brought my espresso from good to great. Taking the time to ‘read’ the shot flow enlightened my barista skills.
My Essential Arsenal for Home Barista Success
- High-Precision Scale: An accurate digital scale like the EspressoOptix ensures I get consistent doses every time, which is crucial for quality shots.
- Sturdy Tamper with Texture: A well-designed tamper helps me apply even pressure effortlessly, preventing shot variability. Pair it with a reliable tamping station for best results.
- Reliable Grinder: A model with stepless adjustment has given me granular control, making it easier to adapt to different beans and roasting levels. Proper maintenance, as detailed here, keeps it performing at its best.
- Cleaning Tools and Supplies: Regular use of grinder brushes and descaling solutions keeps my equipment running smoothly. Cleaning my steam wand weekly prevents milk residue from spoiling my microfoam.
Your Next Step Toward Barista-Level Home Espresso
Embracing these insights and tools can elevate your home espresso game from a casual hobby to a rewarding craft. Remember, the journey is about learning, experimenting, and enjoying every cup you brew. Don’t shy away from trying new beans, adjusting your technique, or maintaining your equipment—each small change brings you closer to that perfect shot. If you’re ready to deepen your espresso mastery, exploring resources like this comprehensive guide can be a game-changer. Keep your passion alive, stay curious, and savor every sip—you’ve got all the ingredients for success.
What’s the biggest challenge you’ve faced in perfecting your home espresso? Share your story below—I’d love to hear your experiences and tips!
**