The Best Way to Steam a Small Amount of Milk Without Wasting Any
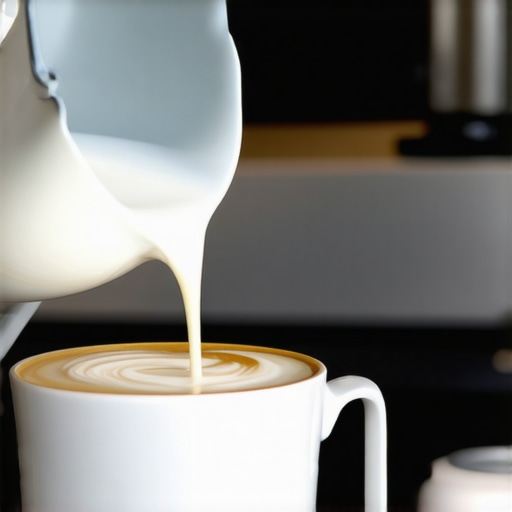
There was a morning not too long ago when I almost gave up on making a perfect latte at home. I reached into the fridge, grabbed a tiny pitcher of milk, and realized—I had no earthly idea how to steam just a splash without wasting half of it. Have you ever found yourself in that dilemma? Scarcity of milk and the panic of waste can turn into a real coffee conundrum, especially when you’re aiming for that silky foam but don’t want to toss out leftovers every single time.
Your Small Batch Milk Steaming Dilemma Solved
If you’ve ever felt frustrated because your espresso machine’s steam wand seems designed for feeding a small herd of cattle, you’re not alone. The good news? Today, I’m going to share the real-world techniques I’ve personally perfected to steam tiny amounts of milk efficiently and waste-free. Whether you’re warming just enough for a delicate cappuccino or frothing a splash for a flat white, these tips will save you money and eliminate guilt about wasted milk.
Is Small-Batch Steaming Actually Worth the Hype?
When I first started exploring this, I made a huge mistake—trying to adapt large-steam techniques to small amounts, which only led to uneven heating and burnt milk. That was a wake-up call; not all methods are created equal. Interestingly, according to research from the Specialty Coffee Association, precise steaming techniques can significantly improve not just your drink’s texture but also its flavor profile—meaning wasted milk isn’t just money lost, but flavor potential squandered too. Knowing how to optimize small-batch steaming is a game changer, especially if you’re a home barista committed to sustainability and efficiency.
So, if you’ve faced the frustration of over-filling your pitcher, or worse, pouring milk down the drain in despair, keep reading. The steps I’ll share are easy to follow and rooted in both science and real-world practice. Before we jump into techniques, let me tell you: the key isn’t about bigger equipment or fancy gadgets. It’s about mastering the right process for small quantities. Ready to revolutionize your milk steaming game? Let’s get started, and say goodbye to waste once and for all.
Choose the Right Pitcher for Small Batches
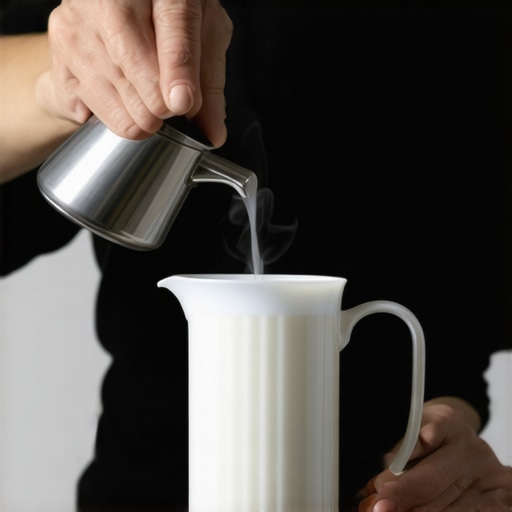
Start with a small, stainless steel pitcher, ideally 250ml or less. I recall the first time I used a large frothing pitcher for just a splash of milk—I ended up with a mountain of foam and wasted milk. Switching to a smaller pitcher made it easier to control the airflow and heat, much like switching from a bulky backpack to a compact daypack for quick errands. When I tried steaming a tiny splash, I was surprised at how much better the microfoam turned out, with less waste and more precision. For detailed guidance, check this article on selecting the right gear.
Preheat Your Pitcher and Milk
Before steaming, pour hot water into your small pitcher and swirl it around to warm it up. Discard the water, then add cold milk—just enough to reach the desired level. I once skipped this step and found my milk didn’t froth as smoothly; it was like trying to whip cold butter. Warming the pitcher ensures even heat transfer, much like preheating a skillet before cooking. This small step drastically improves microfoam quality and minimizes waste since you’re only heating what you need.
Adjust the Steam Wand Properly
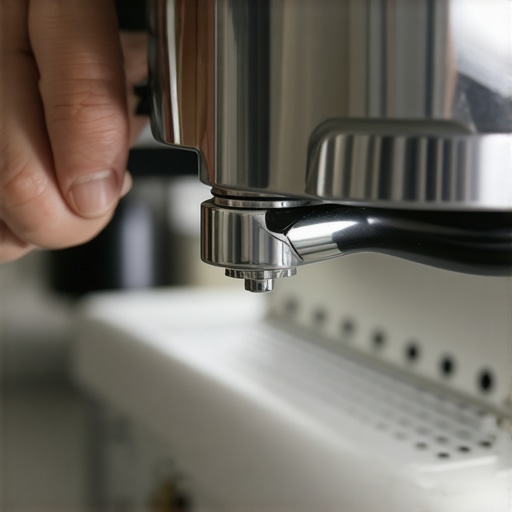
Position the steam wand just below the milk surface, like the tip of a pen poised for a flourish. Open the valve slowly; hear the initial hissing? That’s the steam entering the milk. During my first attempts, I kept the wand too deep, resulting in large bubbles and wasted milk. Keeping the wand near the surface creates the whirlpool necessary for microfoam, much like stirring cream into coffee. If your wand isn’t producing consistent steam, inspect this troubleshooting guide.
Master the Foaming Technique with Gentle Movements
Lower and tilt the pitcher slightly, then slowly move the wand in a small circular motion. Think of it as coaxing the milk into a silky texture—like spinning a top smoothly. I once hastily jiggled the pitcher, and the foam turned stringy and sparse. Gentle, deliberate movements prevent excess aeration, which wastes your milk. Remember, it’s better to start slow and build up foam than to rush and spoil your batch. For useful tips on micro-foam, see this article.
Control the Temperature and Stop at the Right Moment
Use your hand or a thermometer to monitor the pitcher’s temperature; aim for around 130-140°F. When you feel the pitcher getting warm but not hot—like touching a cozy mug—it’s time to stop. Over-steaming not only wastes energy but can scald your milk, ruining the flavor and texture. I learned this the hard way when my first attempt resulted in bitter-tasting milk. Careful control ensures silky microfoam, maximizing your tiny batch without waste. For more on equipment calibration, consult this guide.
Practice and Adjust for Consistency
Every home setup is different. Spend time adjusting wand position, airflow, and timing. I kept a small notebook to track my tweaks, leading to more consistent results over time. Remember, small adjustments can make a big difference—such as tilting the pitcher slightly more or less, or adjusting the steam pressure if your machine allows. Practicing with small batches not only saves milk but also sharpens your skills, turning frothing from a frustration into an art form. Need gear recommendations? Visit this resource.
Many home baristas fall prey to popular myths that can hinder their pursuit of the perfect espresso. One widespread belief is that investing in high-end equipment guarantees better results; however, in my experience, skill and understanding often outweigh just having the fanciest gear. For instance, using a top-tier grinder won’t make great coffee if you don’t learn to dial in your grind size properly—a mistake that many newbies make. Also, there’s a notion that more expensive machines automatically produce superior espresso, but studies indicate that even mid-range espresso machines can perform excellently when maintained and operated correctly, as discussed in this guide.
Another common misconception involves milk frothers: many assume they all produce the same microfoam quality. The truth is, affordable handheld frothers, when used with proper technique, can rival expensive automatic milk frothers, especially if you focus on the nuances of temperature control and aeration, detailed in this resource.
A trap I see often is the neglect of calibration and maintenance. Believing that equipment set-up is a one-and-done task can lead to inconsistent results. Regularly cleaning and adjusting your grinder and espresso machine, like calibrating the mill or descaling your machine, is essential to maintain quality. Skipping these steps is akin to ignoring a car’s oil change; it can cause performance issues and poor flavor extraction.
Now, for the seasoned enthusiast, a tricky question arises:
Why does my finely-tuned grinder sometimes produce uneven extractions despite proper calibration?
This issue often stems from static buildup, which clings to the coffee grounds and causes inconsistent dosing. Static can be surprisingly stubborn; it’s why some baristas recommend treatments like adding humidity or using anti-static tools during grinding. According to this article, managing static is a nuanced part of mastering consistent grind size and dose.
Avoiding these misconceptions and traps involves understanding that brewing is as much science as it is craft. Spending time learning your specific equipment, paying attention to maintenance—rather than just upgrading—can dramatically elevate your home espresso experience. Interested in more expert tips? Check out this comprehensive guide.
Have you ever fallen into this trap? Let me know in the comments.
Maintaining your home espresso arsenal isn’t just about the initial investment; it’s about the ongoing care and smart tool selection that ensures consistent, high-quality coffee day after day. Once you’ve curated your gear—be it a reliable espresso machine, grinder, or milk frother—attention shifts to prevention, regular upkeep, and knowing exactly when to upgrade or scale your toolkit.
Equip Yourself with Quality Maintenance Tools
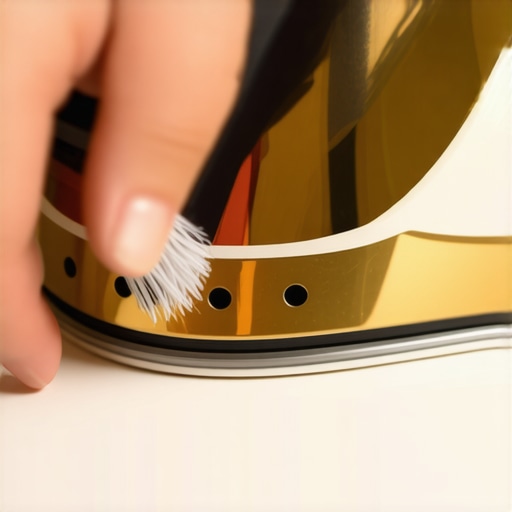
If you’re serious about preserving your gear, investing in the right maintenance tools is essential. For cleaning, I rely on a dedicated espresso machine brush and a descaling solution compatible with your machine’s brand, like Dezcaling Tablets. These tools help remove mineral buildup that can subtly degrade performance over time, ensuring longevity and optimal flavor extraction. For grinder calibration, a precision coffee scale—calibrated regularly—becomes invaluable. It helps monitor dose consistency, critical for repeatability, especially when using variable grind settings. Pair this with a set of static-neutralizing tools to combat grind static that can cause uneven dosing, a common culprit for inconsistent shots, as discussed in this guide.
Automate Routine Upkeep to Save Time
Automation isn’t just for tech enthusiasts; it’s a pragmatic way to keep your gear performing at its best. Consider a weekly routine where you run a backflush cycle in your espresso machine with a cleaning detergent, eliminating oil residues that gather in the brew path. Many machines support programmable cleaning cycles—an investment worth considering for long-term maintenance. Similarly, a regular grinder burr inspection and replacement schedule prevents dull burrs from causing uneven particle sizes, which directly impact extraction. Scheduling these tasks monthly or bi-weekly, based on usage, will avert costly repairs and inconsistent brews.
Follow a Long-Term Servicing Schedule
Developing a service calendar helps demystify maintenance and avoid neglect. Keep a log of cleaning dates, burr replacements, and descaling. For example, descaling your espresso machine every 1-3 months depending on your water hardness reduces mineral deposits that impair function. Additionally, inspecting and replacing worn seals, gaskets, and portafilter baskets periodically maintains proper pressure and extraction quality. Investing in genuine replacement parts from trusted sources—like the gear guide—ensures durability and performance remains uncompromised.
How Do I Maintain Proper Calibration Over Time?
Consistency hinges on calibration. Over time, grinders drift, and machines can lose their optimal temperature or pressure settings. Regularly check your grinder’s particle size with a calibration tool—many baristas use a standard coin or specialized gauge—and adjust accordingly. For espresso machines, pay close attention to pressure gauges and temperature readouts; using a PID controller or manual calibration method can restore ideal conditions. Keep in mind, static buildup can also affect grind consistency and dosing—using anti-static brushes or humidifying the grind area can help manage this problem effectively.
Incorporating these maintenance strategies and tools into your routine not only extends the lifespan of your equipment but also sharpens your skills and taste experience. For instance, I recently upgraded my grinder’s burrs based on a comprehensive calibration review from this resource, resulting in noticeably more consistent shots. I invite you to try a full calibration checklist this month—your taste buds will thank you, and your gear will perform like new for years to come.
The Hidden Lessons Hidden in My Coffee Journey
One of the most valuable insights I gained from perfecting my home espresso setup is that mastering small-batch milk steaming isn’t just about technique—it’s about patience, observation, and understanding your equipment’s quirks. I remember the first time I tried steaming just a splash of milk; I had no idea that my impatience or misjudgment of angles and temperature could lead to wasted milk and inconsistent foam. It was a lightbulb moment: It’s not about larger quantities, but about precision and control, which dramatically improved my results and reduced waste.
Another lesson I learned was the importance of paying attention to subtle cues. When I adjusted the steam wand position slightly, or monitored the temperature more closely, my microfoam became creamier and more consistent, making my lattes look better and taste richer. These delicate tweaks, often overlooked, have made a huge difference—teaching me that small changes lead to big improvements in home barista skills.
Lastly, I realized the critical role of equipment and maintenance; even a tiny crack or misaligned wand can derail your progress. Regular cleaning, calibration, and using the right pitcher for small batches aren’t just chores—they’re investments in your coffee quality and sustainability. The more I learned to listen to my gear and respond adaptively, the more rewarding my home espresso experience became.
My Go-To Resources That Keep My Coffee on Point
For aspiring home baristas looking to elevate their game, I highly recommend exploring this guide on top-rated espresso machines. It helped me choose a reliable machine that balances quality and cost, ensuring lasting satisfaction. Additionally, this resource on milk frothers provided insights into creating velvety microfoam without expensive gadgets, which revolutionized my home foam art. For detailed preventive maintenance tips, this article taught me how static and cleanliness directly impact my brew’s consistency. Lastly, this guide helped me perfect my steam wand technique, resulting in better texture every time.
Your Next Step: Embrace the Challenge
Embarking on the journey of small-batch milk steaming is both exciting and rewarding. Each tweak, each calibration, brings you closer to barista-level excellence right in your own kitchen. Remember, even seasoned enthusiasts continually learn and adapt—so don’t shy away from experimenting. Your dedication to mastering home espresso and tiny milk frothing will not only improve your drinks but also deepen your appreciation for this craft. So, go ahead—try that new technique, invest a little in your gear, and savor the process. Your perfect latte is waiting, and with consistent effort, it’s well within your reach.
What specific small-batch frothing challenge have you faced recently? Share your experience below, and let’s learn together!
.