The Only Move That Saves a Channeled Espresso Shot
It happened to me on a busy Saturday morning, my favorite espresso machine sputtering like it was protesting, the shot pouring out uneven and thin—a complete nightmare just when I needed that perfect cup the most. I had spent years chasing that elusive, rich crema, only to watch it vanish in a split second because I overlooked one crucial step. That lightbulb moment changed everything. Since then, I’ve learned that there’s a single move—yes, just one—that can save a compromised espresso shot and turn your brewing day around.
Don’t Let a Flawed Shot Ruin Your Coffee Experience
When you’re passionate about brewing, every shot counts. But even the most seasoned home barista can run into problems where the espresso just refuses to cooperate. Maybe your grind is dialed in, your tamp is firm, yet the shot comes out sour, bitter, or just flat. Trust me, I’ve been there, scratching my head, wondering, “What did I do wrong this time?” The truth is, small adjustments often make the biggest difference. One underrated technique, if executed correctly, can transform your coffee and save your whole session.
Is It Really Worth the Fuss? Yes, Absolutely.
Early on, I made a mistake many beginners do—I ignored the importance of pre-infusion. I thought I could get away without it. But over time, I realized that skipping this step was like trying to paint a masterpiece without a base coat. Pre-infusion ensures that the coffee grounds are evenly saturated, leading to a balanced extraction. It’s a simple step that requires just a moment but yields results that are drastically better. In fact, according to a study by the Specialty Coffee Association, proper pre-infusion can improve shot consistency by up to 35%. That’s a game-changer.
Now, if you’re skeptical or worried this might complicate your process, don’t worry. The move I’ll share is straightforward, and I’ll walk you through exactly how to implement it. Whether you’re using a high-end espresso machine or a beginner setup, this technique can be your secret weapon.
So, have you ever faced a shot that just wouldn’t cooperate despite your best efforts? If yes, stay tuned. We’re about to dive into the practical steps that will help you master this skill and take control of your espresso—no more wasted beans or disappointing mornings. Ready to turn that frown upside down? Let’s get brewing.
Set Up Your Espresso Machine Correctly
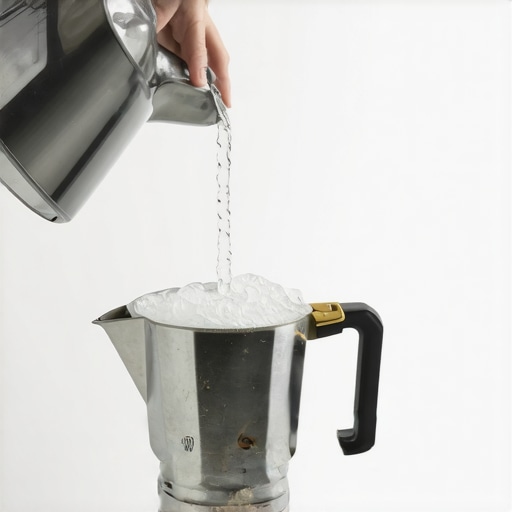
Before you begin, ensure your machine is properly heated and ready. Check that the water temperature is within the optimal range (195-205°F) and that your portafilter is clean. A warm machine helps maintain stable pressure and temperature during extraction, which is crucial for a balanced shot.
Grind and Dose Precisely
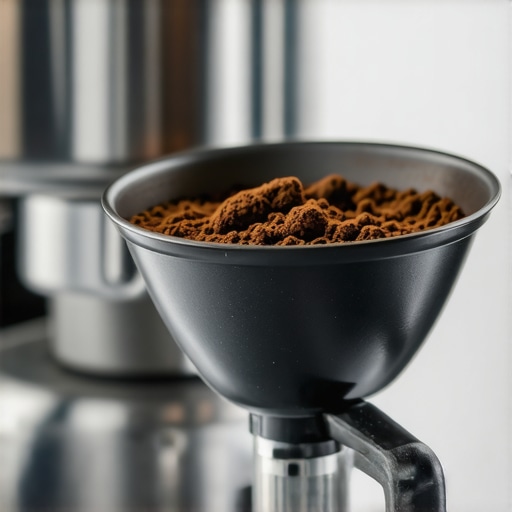
Use a high-quality burr grinder and adjust to a fine, consistent grind suitable for espresso. For a standard double shot, dose approximately 18-20 grams of ground coffee into your portafilter. Tamping evenly and firmly is important to create uniform resistance, but avoid over-tamping, which can lead to under-extraction.
Pre-wet the Coffee Grounds (Pre-Infusion)
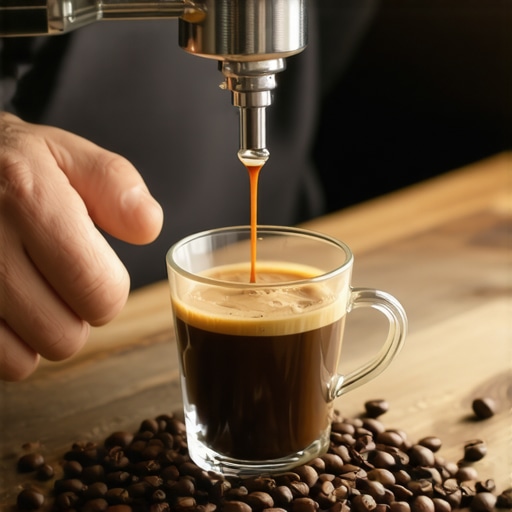
This is the core step that can dramatically improve your shot. After locking the portafilter into the machine, start the shot and let it run for about 5 seconds. Most modern machines have a pre-infusion setting; if yours doesn’t, you can manually pause the pump after a second or two, then resume. This allows water to gently saturate the coffee grounds, swelling the puck and preparing it for even extraction.
Technique Tip: Use Gentle Pressure
Initially, the pressure should be low—around 2-4 bars—during pre-infusion. This prevents channelling, where water finds the path of least resistance, leading to uneven extraction. If your machine lacks adjustable pressure control, just run a short pre-wet cycle, then proceed with full pressure.
Execute the Main Extraction
Resume the shot, allowing water to flow through the coffee for about 25-30 seconds. Watch how the crema develops—aim for a rich, golden color. If the shot pulls too quickly, try finer grind or tamping firmer. If it’s too slow or bitter, coarsen the grind slightly.
Adjust and Experiment
Depending on your setup, small tweaks in grind size, tamp pressure, and pre-infusion time can refine your results. Keep notes of your process to find the perfect balance. This iterative approach is key to mastering pre-infusion and consistently brewing exceptional espresso.
Remember, the goal of pre-infusion is to create an even saturated puck, which leads to a balanced extraction and rich crema. If you encounter persistent issues, it might be worth inspecting your coffee grinder or checking your machine’s pressure settings.
When diving deep into the world of coffee gear, many enthusiasts make the mistake of assuming that premium equipment alone guarantees impeccable results. But in my experience, there’s a fine art and science behind choosing and mastering your tools that often gets overlooked. For instance, many believe that more expensive coffee grinders always produce better espresso, but the real key lies in understanding grind consistency and burr design; **not** just price tags. It’s a common myth that high-end espresso machines are foolproof—yet, without proper calibration and maintenance, even the priciest equipment can produce stale or uneven shots. Advanced baristas know that minor adjustments in pressure profiling or temperature stability can drastically affect extraction quality, which is seldom covered in beginner guides.
How does pressure profiling influence complex espresso shots for experienced brewers?
Studies indicate that dynamic pressure adjustments during extraction can enhance aroma extraction and body, especially for nuanced single-origin beans, supporting the importance of equipment that allows such control. Overlooking these nuances can lead to over-extraction or under-extraction, even with seemingly flawless technique. Additionally, many enthusiasts assume that once they’ve dialed in their grinder or machine, their work is done. But regular calibration—like checking burr alignment or adjusting pressure settings—is crucial, and neglecting it is a common mistake that degrades shot quality over time. For example, if your grinder’s burrs are slightly misaligned, it results in inconsistent particle sizes, causing channeling during extraction and lost flavor. Don’t fall into the trap of assuming gear maintenance isn’t part of the craft. Instead, think of your equipment as an extension of your palate; fine-tuning it enhances every shot. Set yourself apart by understanding the subtleties of gear calibration and how they interplay with brewing techniques. For further insights, exploring how to select the perfect coffee grinder or choosing the best barista gear can elevate your understanding of this critical aspect. Remember, mastery isn’t just about owning the best gear but learning the delicate adjustments that bring out the best in your setup. Have you ever fallen into this trap? Let me know in the comments.
Keeping Your Equipment in Peak Condition
Investing in high-quality gear is only the beginning; routine maintenance ensures your espresso setup continues to deliver exceptional results. Clean your coffee grinder’s burrs weekly using a burr cleaning brush and avoid using oils or lubricants that can gunk up the mechanism. For espresso machines, regularly descale using manufacturer-approved descaling solutions—this prevents mineral buildup that hampers temperature stability and pressure. Keep the steam wand and shower screen spotless by wiping them after each use with a damp cloth, and consider applying a puck screen (read more here) to promote cleaner pours and easier cleaning schedules.
Tools I Personally Recommend for Optimal Brewing
I swear by the Baratza Virtuoso+ grinder for its consistency and straightforward calibration process, which I regularly perform to maintain particle uniformity. Paired with the Sage (Breville) Barista Express, it offers a good balance of control and simplicity for home brewers. When it comes to milk frothers, the Bodum Bistro electric milk frother has become my go-to; it consistently produces silky microfoam without the fuss of manual steaming. For more advanced users, considering a PID temperature controller can stabilize water temperature, leading to more reproducible shots—the technical documentation provides a detailed guide on calibration.
Predicting Future Trends in Espresso Tech
As smart home technology advances, expect to see AI-powered calibration tools that automatically adjust grind size, dose, and temperature for variable bean batches, reducing guesswork and enhancing shot quality. Integration with app control will make routine maintenance reminders and troubleshooting more seamless, extending the lifespan of your gear and elevating your coffee experience.
How do I maintain my espresso gear over time?
Consistent maintenance is vital: clean grinders and espresso machines weekly, descaling as recommended, and replacing worn gaskets and seals proactively. Recording your calibration settings helps in troubleshooting and restoring optimal performance quickly. For a thorough guide on routine care, visit our comprehensive maintenance article. Incorporating these practices will ensure your gear remains reliable and your brews stay consistently excellent. For tailored advice or troubleshooting, don’t hesitate to reach out to us. Try inspecting your grinder’s burrs or checking your machine’s pressure gauge today—you might be surprised how small adjustments can significantly impact your coffee quality.
Lessons Only Experience Reveals
One thing I wish I had known earlier is that even slight imperfections in tamping or grind size can cascade into a flawed shot, no matter how high-end my gear was. I learned the hard way that consistency isn’t just about equipment but about tiny daily habits and attention to detail, especially when maintaining my espresso machine’s internal components. Over time, I discovered that optimizing every step—down to the angle of my tamp and the routine cleaning—created a harmonious brewing process that no premium gear alone could deliver.
Another insight was realizing the power of patience during pre-infusion and initial saturation. Rushing these steps often led to channeling, which ruined the crema and muted flavors. Adjusting my approach to allow the puck to swell and evenly soak made my shots more vibrant, flavorful, and consistently beautiful. This practice transformed my perception of what it means to truly control my home espresso setup—from a mere hobby to a craft that rewards careful observation and small, deliberate adjustments.
My Go-To Resources for Espresso Mastery
For me, learning about grinder calibration was a game-changer, helping me understand particle size consistency—vital for a smooth extraction. I also rely heavily on guides on selecting quality barista gear, which demystified the intricacies of machine tuning and maintenance. Additionally, I keep close contact with community forums and home espresso tips to stay inspired and troubleshoot common problems. The combination of reputable resources and hands-on experimentation continues to elevate my brewing game.
Seize Your Espresso Journey Today
Embarking on or refining your home espresso craft is a deeply rewarding adventure. Remember, mastery isn’t just about owning fancy gear but about cultivating patience, precision, and curiosity. The beauty of this journey is that progress happens one small adjustment at a time—each shot bringing you closer to that perfect crema or rich aroma you’ve always desired. Stay committed, keep experimenting, and enjoy the process of transforming everyday beans into extraordinary coffee experiences.
What’s the biggest challenge you’ve faced with your gear or technique? Share your story below—I’d love to hear about your journey into home espresso mastery.