How to Fix a Leaky Steam Wand Valve in Ten Minutes
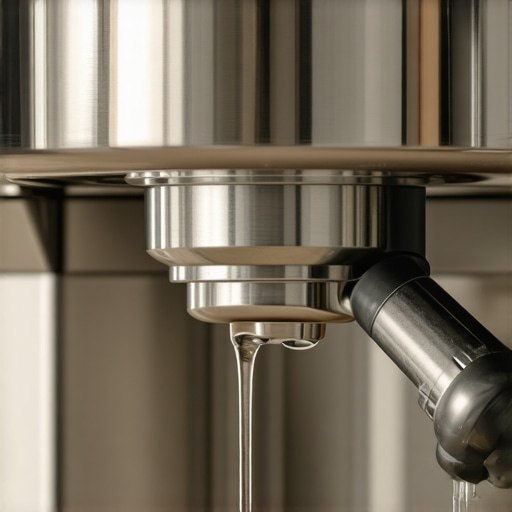
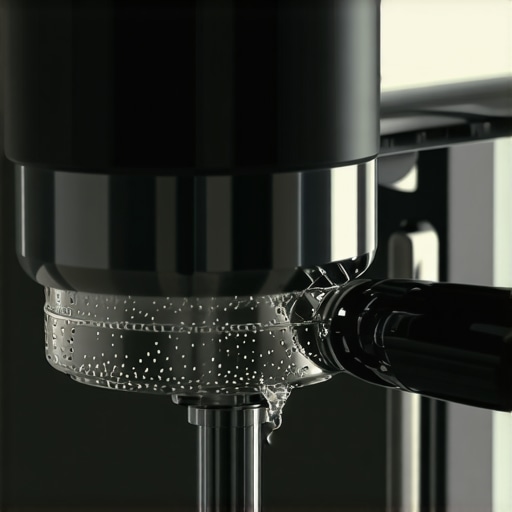
Ever been mid-steam, watching your milk froth turn into a soggy mess because your espresso machine decides to leak from the steam wand? I’ve been there—not long ago, actually. One day, as I was preparing a special cappuccino for a friend, my machine hissed dramatically, and suddenly, hot water started dripping from the steam wand. Talk about a buzzkill! It dawned on me then that I couldn’t keep ignoring that tiny, persistent leak that was slowly damaging my machine and ruining my mornings.
Tackle that Leaking Steam Wand Before It Turns Into a Big Problem
Leaky steam wands are more common than you’d think, and while they might seem like minor annoyances, they can lead to bigger issues if not addressed promptly. The good news? With a little patience and practical know-how, you can fix this in roughly ten minutes—no expensive repair calls needed. Trust me, I’ve learned that DIY fixes not only save time and money but also give you a sense of mastery over your beloved gear.
Is Fixing a Leaky Valve Really Worth the Effort?
Maybe you’re skeptical, thinking, “It’s just a tiny leak, will fixing it really make a difference?” Believe me, neglecting such issues can lead to water damage, bacterial buildup, and even more costly component failures down the line. Early intervention can extend your machine’s lifespan, improve its performance, and ensure every shot of espresso or froth looks as professional as your favorite café. I made the mistake early on of ignoring minor leaks, which only worsened over time—so learn from my oversight! If you’re curious about maintaining your gear effectively, check out this guide for more tips on home espresso mastery.
Now that I’ve shared my “lightbulb moment,” let’s cut to the chase. Here’s how you can fix that pesky, leaky steam wand without juggling an expensive parts order or calling a technician. Ready? Let’s dive into the straightforward steps that will have you back in action, steaming milk, and impressing friends, all in just ten minutes.
Disconnect and Prepare Your Machine
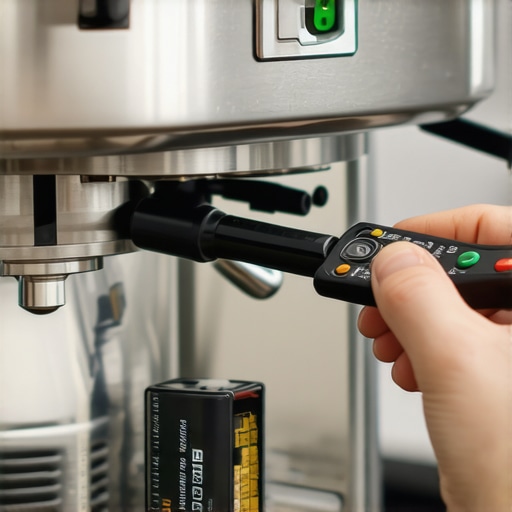
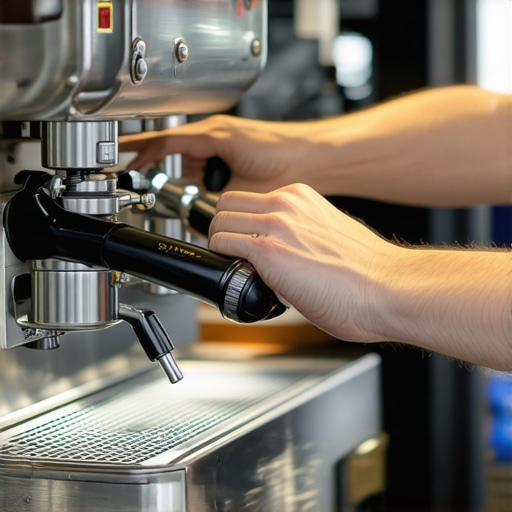
Before you start, ensure your espresso machine is turned off and completely cooled down; hot components can cause injuries. Unplug the machine from the power source to avoid accidental activation. Carefully detach the steam wand from the connection point, usually by unscrewing it counter-clockwise. Think of this step as removing a stubborn cap—firm but gentle pressure prevents damage. I recall the first time I did this, I used an old towel for grip, and it made the process smoother.
Inspect the Steam Wand and Gasket
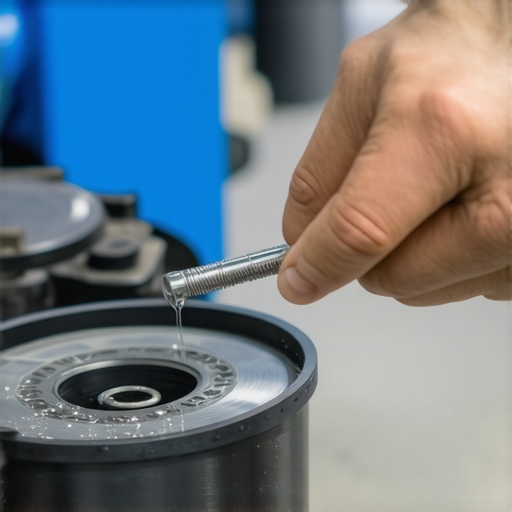
Once removed, examine the o-ring or gasket sealing the steam wand to the boiler. Over time, these rubber rings can crack or shrink, leading to leaks. Remove the gasket carefully using tweezers or a small flat-head screwdriver, taking care not to tear it. Compare it with a new one; if it looks worn or deformed, it’s time to replace. I once replaced a faulty gasket with one from a hardware store, which instantly stopped my leak and saved me a costly repair. For compatible parts, visit this contact page to find expert guidance.
Clean and Reset the Components
Next, clean the threaded connection and the valve seat with a soft cloth and some vinegar solution to remove mineral deposits or coffee oils that could impair sealing. Also, check the steam wand’s nozzle for lint or scale. Use a brush or pin to clear any blockages, ensuring smooth operation. Remember, a clean connection is key to an airtight seal. I learned this during a DIY session when neglecting cleanliness caused persistent leaks. It’s a quick step that pays off.
Replace Gasket and Reassemble
Place the new or cleaned gasket onto the steam wand’s threaded end. Tighten the wand back onto the boiler by turning clockwise, ensuring it’s snug but not over-tightened—think of tightening a bottle cap to avoid stripping threads. Hand-tightening usually does the trick. If your machine has a locking clip, reattach it carefully. Once assembled, gently test the connection by running steam for a few seconds while observing for any leaks. Adjust tension if necessary. I once over-tightened, and it caused a small crack in the plastic housing, a lesson learned—moderation is essential here. For a more comprehensive guide, check this detailed fix on common repairs.
Final Checks and Maintenance Tips
After confirming no leaks are present, run a brief steam cycle to ensure everything operates smoothly. Regular maintenance like replacing worn gaskets and cleaning connection points prolongs your machine’s life. Keep a spare gasket handy and periodically inspect your steam wand connection as part of your cleaning routine. Remember, a well-maintained machine not only prevents leaks but also ensures optimal espresso quality. If issues persist, professional assistance might be necessary, so don’t hesitate to consult experts. For more maintenance advice, visit this beginner’s guide.When it comes to home espresso and coffee equipment, many enthusiasts get caught up in the hype of trendy gadgets or oversimplified advice. But true expertise requires understanding the nuanced details behind the gear we use daily. One widespread myth is that expensive equipment automatically guarantees perfect coffee. While high-quality machines can certainly help, they won’t compensate for poor technique or maintenance mistakes. For example, a top-tier espresso machine can still produce bitter or flat shots if the grind size, tamping pressure, or water quality aren’t properly managed. Therefore, focusing solely on the gear without mastering the fundamentals is a common trap that hampers progress.
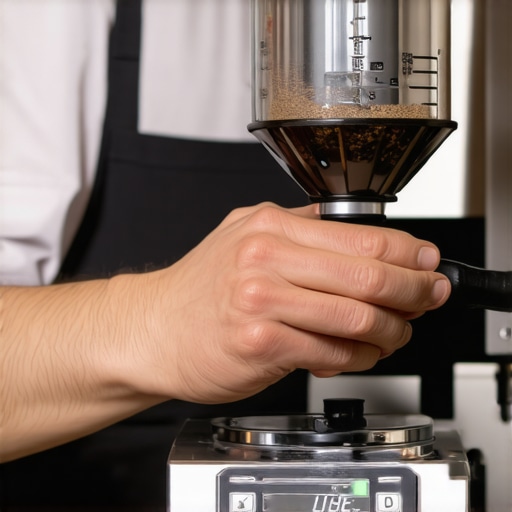
Another misconception involves coffee grinders—many assume that larger burrs or more expensive models are always better. However, the grind consistency, burr material, and calibration precision matter more than size or price. Choosing a grinder with inconsistent grind size can lead to channeled shots or under-extraction, regardless of how advanced the machine is. To avoid this pitfall, consult expert reviews and consider the specific needs of your brewing style, as detailed in this guide on selecting grinders.
A stealthier mistake revolves around milk frothers. Many believe that a powerful motor or high pressure equates to better microfoam. Yet, the key lies in technique; controlling the milk’s temperature, pitcher position, and whirl are more critical than hardware specs. For instance, an overzealous frother can introduce too much air, resulting in stiff, uneven foam. Check out this article on milk frothing tips to refine your craft.
Ever wondered why your shots sometimes taste sour or bitter despite following recipes? Advanced nuances like water hardness, group head temperature, and pre-infusion timing play significant roles. Many novices overlook these details, leading to inconsistent results. For aggressive brewers aiming for precision, understanding and adjusting these factors is crucial—something I only realized after deep dives into espresso science. As researcher James Hoffmann explains, “Temperature stability and proper pre-infusion significantly impact flavor.”
When I first started, I focused on buying fancy gear without considering maintenance schedules or calibration. The result? Frequent clogs, uneven extraction, and wasted beans. The lesson? Excellence comes from understanding gear intricacies, not just owning expensive equipment. Otherwise, you risk falling into the trap of thinking that gear alone creates quality. To prevent that, always stay updated on maintenance tips and calibration techniques, like those found in this maintenance guide.
Are you guilty of overemphasizing your gear at the expense of technique? Or perhaps you’ve fallen prey to misconceptions about equipment? Share your experience below, and let’s keep learning together. Mastery in coffee isn’t just about the tools but about understanding and applying their nuances—so dig deeper, stay curious, and refine your craft continually.
Maintaining your coffee gear isn’t just about occasional cleaning; it’s a dedication to precision and longevity. Investing in quality tools like a calibrated coffee grinder or a reliable milk frother ensures that every espresso shot or microfoam remains consistent over time. I personally rely on a digital scale with auto-tare functionality, which I calibrate monthly using a standard coin, to guarantee accurate dosing—correct calibration can be the difference between a good shot and a great one.
How do I maintain my espresso machine for years of reliable use?
Regular descaling is vital. I use a commercial scale remover every 3-6 months, depending on water hardness, to prevent mineral buildup in the boiler and steam wand, as recommended by technical documentation from espresso machine manufacturers. Always follow the manufacturer’s guidelines and use a dedicated water filter system, like those discussed here, to extend your machine’s lifespan.
One often overlooked aspect is the cleaning schedule of your grinder burrs. Dull burrs not only make a mess but also cause inconsistent grind sizes, affecting extraction and flavor. Replace or sharpen them every 500-1000 pounds of coffee, and use a burr grinder cleaning brush regularly to remove stuck coffee particles. Keep all rubber seals, especially those connecting the steam wand, in check; cracks lead to leaks that can damage your machine. Replacing worn gaskets from trusted sources is straightforward and can save you expensive repairs down the line.
Predicting future trends, I believe that smart, app-connected espresso machines with automatic diagnostics will become more accessible, helping home baristas maintain their gear with minimal effort. But until then, a proactive approach involving routine checks, proper cleaning, and timely replacements remains essential. Want to optimize your setup? Try calibrating your grinder with a precision scale and a coin to fine-tune your grind size; the difference in shot quality is remarkable. Remember, good maintenance starts with understanding each component’s role—like that tiny gasket sealing your steam wand. Don’t neglect it; your coffee will thank you.
The Hardest Lesson I Learned About barista gear, home espresso, coffee grinders, espresso machines, milk frothers
One profound realization was that even the most expensive equipment can’t fix poor technique or neglectful maintenance. I used to believe a high-end espresso machine would solve all my brewing issues, but it only highlighted the importance of consistent upkeep and understanding each component. That lesson shifted my approach from chasing new gadgets to refining my routine.
Why Sometimes Less Is More in Coffee Equipment
I once invested in a multitude of specialty tools, thinking they would drastically improve my coffee. Yet, I found that simplifying my setup—like focusing on a calibrated grinder and proper tamping—yielded better and more consistent results. It taught me that mastery comes from understanding and perfecting fundamental skills over accumulating gear.
The Surprising Power of Routine Maintenance
Regularly cleaning my grinder burrs and replacing worn gaskets didn’t just prolong my equipment’s life; it dramatically enhanced flavor extraction. These small, consistent efforts proved that attention to detail transforms good coffee into great coffee. The insight was that proactive care is as crucial as the initial investment in quality gear.
My Favorite Resources for Coffee Mastery
- Expert blogs like EspressoTech Guide—I trust their thorough guides on calibration and repair because they combine technical accuracy with accessible advice.
- Specialized tools such as a digital scale and precision tampers—they gave me the control to fine-tune my brewing process, which has been pivotal in achieving consistent shots.
- Community forums and local workshops—learning from fellow enthusiasts provided real-world tips and accountability that books often can’t replicate.
A Reminder to Keep Your Coffee Journey Personal and Patient
Embracing the journey of mastering home espresso is both exciting and humbling. Each tweak and fix, like replacing that leaky gasket or calibrating your grinder, is a step forward. Remember, your best coffee depends less on the gear and more on your patience and curiosity. Keep experimenting, learning, and savoring every shot you make. What’s one small maintenance step you’ve been putting off? Share your story below, and let’s grow together in our coffee adventures.