How to Balance Your Shot Time for Better Flavor
Have you ever pulled a shot of espresso that tasted flat, sour, or overly bitter despite following all the supposed ‘rules’? I remember the first time I tried making espresso at home. I was so eager — so determined — that I overlooked one crucial detail: how to balance my shot time. The result? A shot that was either under-extracted or over-extracted, leaving me frustrated and questioning my equipment.
Time is Flavor: Why Balancing Your Shot Matters
In the world of espresso, timing isn’t just a technical detail; it’s the keystone of flavor. The moment water touches the coffee grounds, extraction begins. Too short, and the shot tastes sour and weak; too long, and it turns bitter or earthy. Finding that sweet spot is like tuning a musical instrument. When done right, you unlock a rich, complex flavor profile that makes every sip unforgettable. But achieving that perfect balance doesn’t come from guesswork or luck — it requires understanding and control.
From personal experience, I used to think that following recipes or relying solely on my grinder’s settings would guarantee great shots. Turns out, I was missing the bigger picture: shot timing is a dynamic process influenced by grind size, tamping pressure, and even how fresh the beans are. Early on, I made the mistake of chasing perfect grind settings alone, which only led to inconsistent results. I wish I had known sooner that mastering shot timing is the real game-changer.
So, what exactly should you focus on? How can you refine your timing to extract the best possible flavor? That’s exactly what we’ll explore now, with practical steps you can implement today to elevate your home brewing skills.
Take Control of Your Espresso with Proper Timing
Set Up Your Equipment Precisely
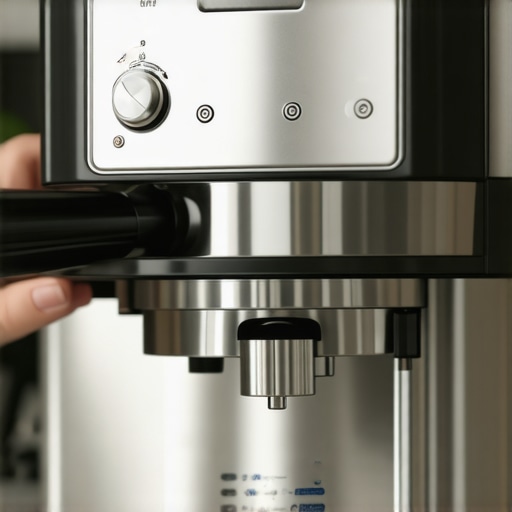
Begin by ensuring your espresso machine and grinder are at optimal settings. For the grinder, verify calibration by checking the particle size consistency — a well-calibrated grinder produces uniform grounds, crucial for predictable extraction. Use a calibrated grinder to achieve this. Double-check that your barista gear like tampers and baskets fit well and are within your machine’s specifications.
Dial In Your Grind Size
Adjust your grind to influence flow rate and extraction time. A fine grind slows the water flow, increasing extraction time, while a coarse grind speeds it up. Light roast beans often need a finer grind because they are denser, affecting shot timing. Practice by doing test shots and noting the duration — aim for 25-30 seconds. Remember, if your shot pulls too quickly, try a finer grind; if it drips and takes over 30 seconds, go coarser.
Use the Right Tamping Technique
Apply even pressure using a tamper that fits your basket perfectly. Consistent tamping ensures uniform resistance, promoting even extraction. Practice a steady, moderate pressure — around 30 pounds — and level the puck confidently. During my first attempts, I experienced uneven shots due to inconsistent tamping; locking the tamper with my hand helped me maintain uniform pressure.
Start the Shot and Measure
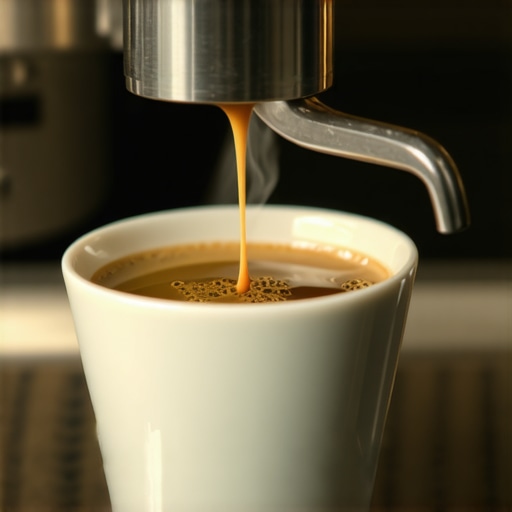
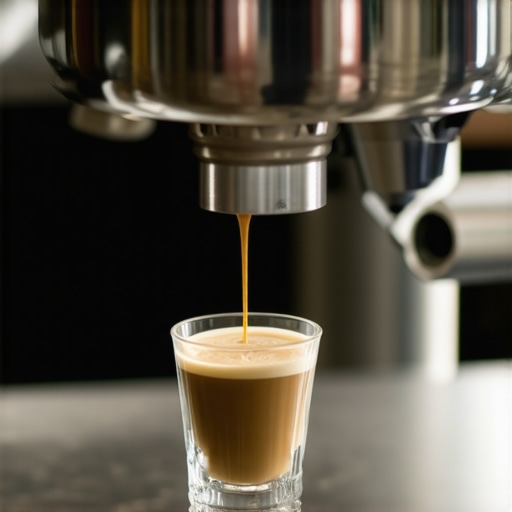
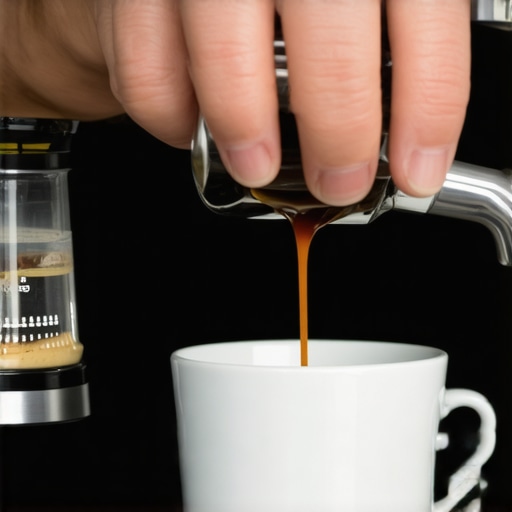
Begin extraction immediately after tamping, noting the shot timer. Use a high-quality home scale to monitor dose weight, ensuring consistency. Ideal shot time falls between 25-30 seconds; if it’s faster or slower, adjust grind size accordingly. For example, during a session, I adjusted from a slightly coarse setting to a finer grind when my shot shot out in under 20 seconds, which improved extraction and flavor.
Fine-Tune and Observe
Make incremental tweaks — typically no more than a quarter turn — to grind size or tamp pressure. Keep detailed notes of each shot’s timing and flavor. Over time, you’ll identify patterns and optimize your process. During one session, I noticed that a slight tweak to my grinder’s setting improved my shot timing from 22 seconds to a consistent 28 seconds, markedly enhancing flavor. Remember, patience and precise adjustments are key to mastering espresso shot timing.
Leverage Visual and Tasting Cues
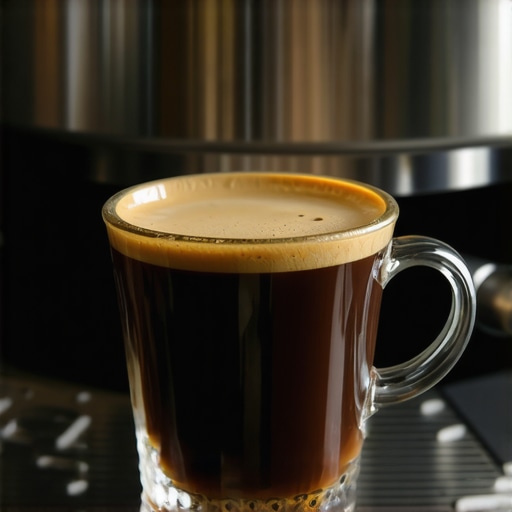
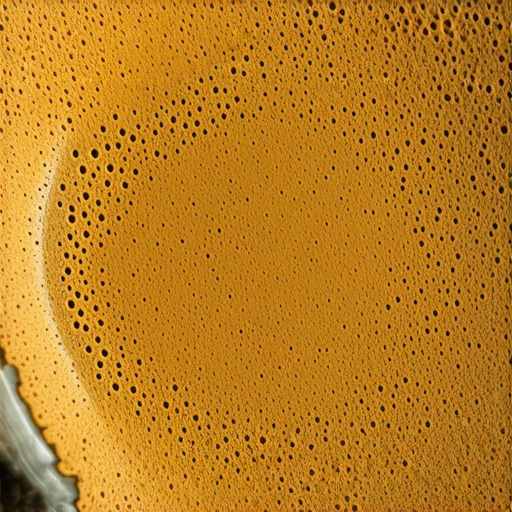
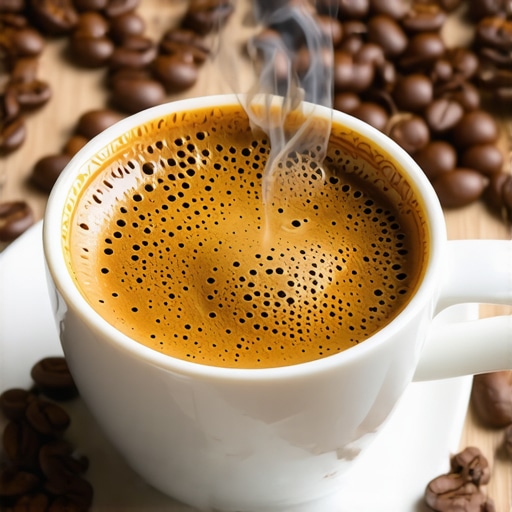
Pay attention to the espresso’s color, especially the crema — golden and even indicates proper extraction. Also, taste each shot; sour hints under-extraction, bitter indicates over-extraction. Adjust your variables based on these cues. For quick reference and troubleshooting, you can explore resources like cleaning tools and pouring techniques to improve overall quality.
” alt=”Barista adjusting grinder and tamping for perfect espresso shot” title=”Adjusting grinder and tamping for consistent espresso extraction”/>Many enthusiasts believe that buying the most expensive espresso machine or latest barista gear guarantees perfect shots, but this is a misconception. In my experience, focusing solely on high-end equipment often overlooks the nuanced techniques that truly elevate your brewing. For example, many assume that a professional-grade grinder automatically produces optimal results, yet without understanding grind consistency or calibration, your espresso can suffer from static buildup or uneven grounds, leading to inconsistent extraction. According to expert analysis, equipment calibration and mastering the fundamentals often matter more than equipment quality alone. Additionally, there’s a widespread myth that milk frothers are all equal—many don’t realize that some frothers create microfoam while others produce froth with large bubbles, significantly affecting your latte art quality. Choosing the right tool tailored to your skill level is essential. When it comes to espresso machines, many overlook the importance of routine maintenance, such as descaling and gasket inspection, which directly impact performance and flavor. Rushing into complex setup procedures without proper understanding can result in device damage or subpar espresso. For instance, incorrect calibration of group heads or steam wands can cause uneven extraction or inconsistent milk texture. A common mistake I see is neglecting grinder burr sharpness; dull burrs can generate uneven particle sizes, diminishing extraction quality. Regularly inspecting and replacing burrs is crucial—this is a topic often underappreciated by amateurs. Intriguingly, advanced users ask, ‘How can I optimize extraction at a microscopic level?’ The answer lies in detailed practices like pour temperature control, shot timing precision, and pressure profiling—an area where many home setups fall short, despite having good equipment. A study published in the Journal of Coffee Research emphasizes that minute adjustments in variables like agitation, temperature, and pressure can dramatically improve flavor complexity. To avoid common pitfalls, I recommend investing time in understanding each component’s role rather than chasing the latest gadgets. For example, proper distribution tools and tamping techniques significantly contribute to uniform extraction, as highlighted in expert tutorials. Remember, consistently good results come from mastering foundational practices, not just equipment upgrades. So, next time you consider a new espresso machine or gadget, ask yourself: Are you overlooking the fundamentals? Have you ever fallen into this trap? Let me know in the comments.
Maintaining your home espresso setup isn’t just about occasional cleaning; it involves a systematic routine that ensures longevity and performance. Regular upkeep of your barista gear and accessories is essential for preserving flavor and preventing costly repairs. Investing in the right tools and establishing a maintenance schedule can make a significant difference in your coffee quality over time.
How do I keep my grinder and espresso machine performing like new?
One of my go-to tools is a high-quality burr cleaner. I use it weekly to remove coffee oils and residue that cause static and uneven grinding. Dull burrs can also lead to inconsistent particle sizes, so I schedule burr replacements based on usage—usually every 1,000 to 1,500 pounds of coffee. The calibration of your grinder is equally critical; a misaligned burr set can cause misfiring and temperature fluctuations, ultimately affecting shot quality.
For espresso machines, routine descaling is paramount, especially in areas with hard water. I follow the descaling procedures outlined in this comprehensive guide. Regularly inspecting and replacing worn gasket seals prevents leaks and maintains proper pressure. Additionally, cleaning the steam wand and milk frother after every use prevents milk buildup and keeps froth quality at its peak.
Maintaining your tools extends their life and improves your shot consistency
Using dedicated tools like a brush and pick set helps keep all components spotless. Remember, a well-maintained machine not only lasts longer but also ensures that each shot is as flavorful as the first. I recommend setting aside weekly and monthly tasks—monthly deep-cleaning and descaling, weekly bean and grinder maintenance—to keep everything running smoothly.
Looking ahead, innovations like automated descaling systems and smart calibration tools are becoming more accessible, promising even more effortless maintenance. From now on, try incorporating a monthly cleaning routine using tools like specialized cleaning kits—you’ll notice a tangible difference in your espresso’s consistency and flavor profile. Dive into your maintenance routine today and keep your gear—as well as your skills—at their best.
” alt=”Barista cleaning and maintaining espresso gear” title=”Routine maintenance of espresso equipment ensures durability and flavor”/>
Looking back, some of my most memorable espresso shots didn’t rely on the latest fancy equipment or obscure brewing techniques—they hinged on mastering a simple yet powerful concept: shot timing. The journey to a beautiful, flavorful espresso is often a winding road, filled with trial, error, and unexpected lessons. One thing I’ve realized over years of brewing is that understanding and controlling shot timing can make a profound difference, elevating your home espresso game from mediocre to world-class.
Lessons from the Espresso Lab: When I Got Hold of Shot Timing
In my early days, I used to obsess over grind size and tamp pressure—thinking that these alone dictated shot quality. But despite fine-tuning those variables, my shots still lacked consistency. The breakthrough came when I started paying close attention to extraction time. I discovered that even small adjustments in shot duration—ranging between 25 to 30 seconds—could dramatically influence flavor, aroma, and crema. This highlighted a crucial insight: these variables are interconnected, and shot timing often serves as the master switch that brings harmony to the process.
One lightbulb moment was realizing that our equipment and beans are always changing—beans lose moisture, grinders settle, machines need calibration. Tracking shot times, rather than relying solely on taste or visual cues, gives a reliable, measurable way to dial everything in. The more I aligned my process with precise shot timing, the more I reliably pulled shots bursting with complexity and balanced acidity.
Refined Tactics for Total Control over Your Espresso
Start by setting your grinder so that your initial shots pull within the 25-30 second window. Use a timer to monitor shot duration from the moment you start the extraction. If your shot finishes too quickly, try a finer grind—think of it as squeezing more flavor through a tighter channel. If it drags on past 30 seconds, coarsen your grind, giving water an easier path. Remember, small adjustments here make big differences. Keep a detailed log of your shots: note grind setting, tamp pressure, shot time, and tasting notes. Over time, patterns emerge, guiding you toward your perfect shot. For instance, I discovered that a slight tweak to my tamp pressure resulted in a more stable shot time, enhancing my espresso’s flavor and crema.
Don’t forget to observe visual cues like crema color and pour rate, but rely on timing as your anchor. When everything aligns—timing, grind, tamp—you’ve created the conditions for a truly balanced shot. And for further precision, consider using tools like a calibrated coffee scale. Their insights can push your espresso closer to perfection.
My Secret Weapon for Consistent Results
A little-known trick I adopted was to adjust my shot timing based on bean roast level. Dark roasts often extract faster, so I aimed for slightly shorter shots, whereas light roasts needed more time to develop their complex flavors. Knowing this, I tailored my approach, toggling grind size and shot duration with confidence. For me, maintaining a stable shot timing became a reliable compass, reducing guesswork and improving repeatability. If you want to dig deeper into why shot timing matters as much as grind and tamp, I recommend exploring comprehensive guides that emphasize process control, like this beginner resource.
In essence, honing your shot timing transforms your espresso from a hit-or-miss affair into a craft you can fine-tune with confidence. It’s a skill that empowers you to adapt quickly when variables shift—be it beans, equipment, or even ambient conditions—ensuring each cup meets your standards and showcases the beans’ best qualities.
Ready to Elevate Your Espresso Experience?
Embrace the power of shot timing, and you’ll unlock a new level of mastery in your home brewing. Remember, every adjustment you make—small as it may seem—is a step towards capturing those elusive flavors that make espresso so special. So, what’s your next move? Will you start tracking your shot times more carefully or experiment with timing-based adjustments? Share your experiences below, and let’s learn from each other’s journey to perfect espresso.