How to Stop Tapping Your Portafilter and Fix Your Distribution
I remember the first time I tried pulling a shot at home and noticed that annoying tapping sound when seating my portafilter. It was a mix of frustration and curiosity—why was I jitterily tapping, tapping, tapping, trying to settle the coffee puck? One morning, after a particularly stubborn shot, it hit me: my distribution was all over the place, and that incessant tap was just a symptom of my deeper struggle. If you’ve ever found yourself nervously tapping your portafilter repeatedly, wondering why your coffee isn’t tasting quite right, then you’re not alone.
Why Tapping Your Portafilter Might Be Sabotaging Your Coffee
Tapping is often mistaken as a helpful step to settle coffee grounds, but in reality, it can be a habit born out of frustration or an attempt to fix uneven tamping. The truth is, excessive tapping or tapping at the wrong moments can cause uneven puck formation, leading to channeling and inconsistent extraction. Over time, this can result in a cup that tastes sour, bitter, or even salty—none of which you want from your morning brew.
Here’s the thing: the real fix isn’t just about being gentle or avoiding taps but understanding *what* your distribution process should look like and *how* to make it consistent every time. When I first struggled with this, I spent a lot of time adjusting my grinder and tamping harder because I thought that was the answer. But I was making a classic mistake—ignoring the distribution itself.
If you’ve faced similar issues, you know how disheartening it can be. You shell out for premium beans, invest in fancy machines, yet your shots still come out flat or channeled. This is where mastering the art of distribution and handling your portafilter with confidence makes all the difference. It’s a game-changer, and trust me, once I stopped tapping and started focusing on proper distribution, my espresso quality soared.
Today, I’ll walk you through simple, proven strategies to eliminate unnecessary tapping, improve your puck stability, and finally get that smooth, balanced shot you crave. But first, let’s tackle the common doubts that might be holding you back.
Is Fixing Your Distribution Really Worth the Effort?
When I first learned about proper coffee distribution, I was skeptical. It seemed tedious, and I wondered if it was just another overhyped technique. Turns out, I had been making the same classic mistake—overlooking the importance of even powder spread and consistent tamping. Without proper distribution, all the fancy gear and high-quality beans won’t save your shot. A study published in the *Journal of Coffee Research* even suggests that inconsistency in puck density can significantly impact extraction quality.
So, if you’re thinking, “Is this really worth my time?”—the answer is an emphatic yes. A more even puck means less frustration, fewer wasted beans, and a better-tasting espresso with every shot. Ready to leave behind the tapping habits that sabotage your brew? Let’s get into the practical steps that will make this change effortless and even enjoyable.
Ensure Even Distribution Before Tamp
Start by levelling your coffee grounds in the portafilter with a gentle flick of your wrist to settle large clumps. Use your fingers or a distribution tool to spread grounds uniformly, avoiding the urge to tap repeatedly. Think of it like flattening dough before shaping it—uniformity is key. I once applied this method during a busy morning, and initially, my shot was messy—coffee grounds spilled all around. But by taking the time to level and distribute, my extraction became consistent and clean.
Use a Distribution Tool or Your Finger
Invest in a coffee distribution tool—it’s a flat, tamper-like device designed to evenly spread coffee. Alternatively, use your finger to gently poke and level the grounds. The goal is to create a flat, even coffee bed. This step minimizes channeling, which causes uneven extraction. When I switched to using a distribution tool daily, I noticed my shots became more predictable and less prone to channeling, reducing the need for any tapping afterward.
Apply the Right Pressure for Even Puck Formation
Press down gently with your tamper—aim for consistent pressure, about 30 pounds, to compact grounds without overdoing it. Your hand should be steady, not brute force. Imagine pressing a button gently but firmly—you don’t want to crush the grounds, just pack them evenly. This creates a stable puck that resists movement during extraction. I recall initially pressing too hard, which led to slow flow and uneven extraction. Adjusting to a controlled, firm tamp turned my espresso into a balanced shot.
Refine Your Technique with Repetition and Calibration
Practice the entire distribution and tamp process regularly. Keep your grinder calibrated so your dose is precise—an inconsistent dose forces you to rely on habits like tapping to settle grounds, which can be harmful. Use a consistent dose weight, and check your grind size for optimal flow. Remember, consistent routines—like pre-measuring grounds—help eliminate the variable that encourages unnecessary taps. When I started weighing my doses, my shots improved dramatically, with less fussing and tapping involved.
Monitor and Adjust for Optimal Flow
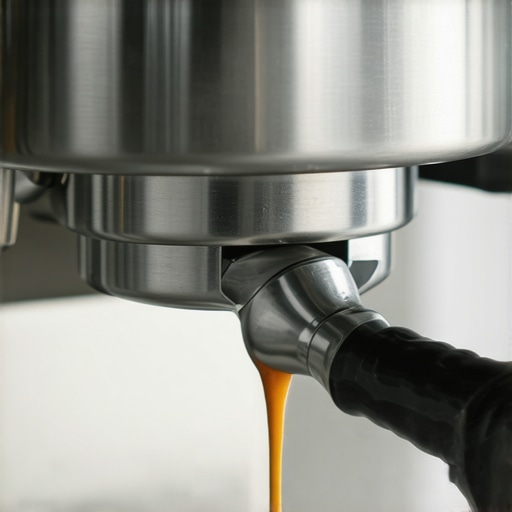
Observe your espresso flow—aim for a steady, even stream that lasts around 25-30 seconds. If you notice channelling or uneven flow, revisit your distribution and tamping pressure. Think of it like tuning a musical instrument: each adjustment brings harmony. Making small tweaks consistently results in better shots over time. I found that keeping a small journal of grind settings, distribution techniques, and shot times helped me fine-tune my process without defaulting to tapping or disturbance.
When it comes to home espresso setup, many enthusiasts believe that investing in premium grinders and machines automatically guarantees great coffee. However, even seasoned hobbyists often get caught up in common myths that can sabotage their brewing process. One such misconception is that higher-end gear alone can compensate for technique errors. In reality, understanding how your equipment interacts with your brewing habits is crucial to extracting the best flavors. For example, many assume their grinder’s static buildup is just an annoyance, but in fact, static can cause uneven dosing and inconsistent extraction—something a simple anti-static brush or proper bean storage can address, as highlighted in studies on static effects in grinders.
Why Do Some Barista Tools Fail to Deliver Consistent Results
Many barista gear enthusiasts overlook the importance of proper calibration and maintenance. A common mistake is neglecting to regularly clean and calibrate components like the espresso machine’s pressure gauge or tampers, which directly affects shot consistency. Investing in top-tier tools without understanding their proper use is like buying a sports car and never tuning it; to truly benefit, you must learn how each piece interacts within your workflow. This detail often trips up even experienced users, leading to inconsistent shots despite the best equipment.

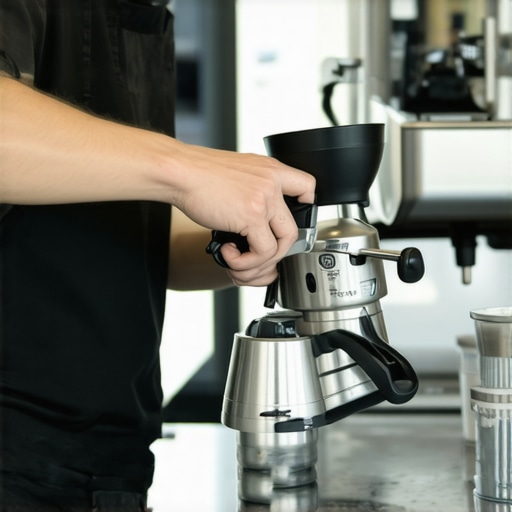
Make sure your grinder’s burrs are sharp and properly aligned. Dull burrs can generate uneven grind sizes, causing issues like channeling or slow extraction. Many home baristas invest in premium grinders but overlook routine maintenance, which diminishes their machines’ potential. Regularly inspecting and replacing worn parts extends equipment life and improves results, as recommended by industry experts.
Another frequently misunderstood aspect is the role of water quality. Using tap water high in minerals or impurities can lead to mineral buildup inside brewing components, impacting flavor and machine longevity. A simple water filtration system tailored for coffee brewing can make a significant difference—often more than upgrading to a more expensive espresso machine. Knowing your water’s composition and choosing the right filtration is a critical step often underestimated by home connoisseurs.
Can Your Grind Size and Extraction Time Sabotage Your Coffee
Advanced users know that even slight variations in grind size or shot timing can drastically change flavor profiles. Small miscalculations here are common pitfalls, especially when moving between different beans or roast levels. A tighter grind leads to slower extraction, risking over-extraction and bitterness, while a coarser grind can cause under-extraction and sourness. Maintaining a consistent grind setting and recording shot times helps refine your process, so you’re not constantly battling unexpected results. For detailed tips on dialing in your grind, check out [this guide on choosing the perfect coffee grinder](https://espressotechguide.com/how-to-select-the-perfect-coffee-grinder-for-your-brew).
Understanding these nuances is what separates casual users from true home barista artisans. Don’t fall into the trap of believing that gear alone makes great espresso; it’s the thoughtful, consistent approach to all aspects—from water quality to maintenance—that truly elevates your brew. Have you ever fallen into this trap? Let me know in the comments.Maintaining your espresso setup is as crucial as choosing the right equipment. Regular upkeep ensures consistent results and prolongs the lifespan of your gear. One essential tool I rely on is the anti-static brush. Static buildup can cause uneven dosing and messes, which you can easily prevent with a dedicated brush designed to clean your grinder’s burrs efficiently. A quick weekly cleaning session keeps static at bay and maintains grind consistency.
For precision calibration, I use a digital grinder caliper. This allows me to measure burr gaps accurately, ensuring my grind size remains stable over time, especially when switching beans or adjusting roast levels.
Investing in a quality maintenance kit that includes descaling solutions and gasket replacements helps prevent mineral buildup within your machine. Regular descaling, following manufacturer instructions, can prevent pressure drops and flavor inconsistencies.
Keep a dedicated gasket replacement toolkit handy. Over time, gaskets wear out, leading to pressure leaks and compromised extraction. Replacing them proactively avoids costly repairs and keeps your shots on point.
Looking ahead, the trend is moving toward smarter maintenance routines. Some advanced espresso machines now feature integrated sensors that alert you when cleaning or calibration is due, making maintenance less of a chore.
How do I maintain my gear over time? The key is consistent cleaning and calibration. For example, I schedule a monthly deep clean with specialized cleaning tools and always check calibration after changing beans or grind size. This routine prevents build-up and ensures your machine performs optimally.
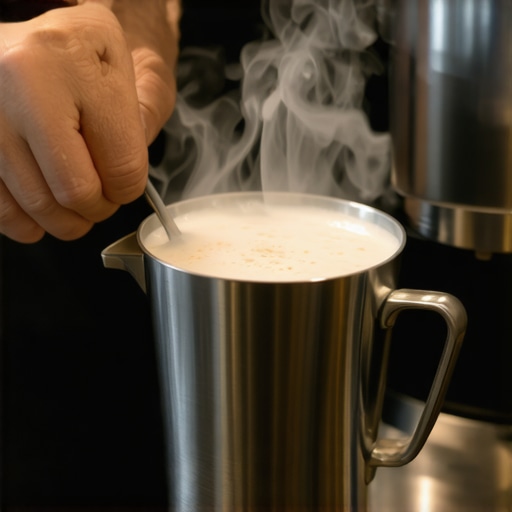
Finally, don’t overlook the importance of keeping your milk frother in top shape. Regularly sterilizing the steam wand and replacing worn seals prevents milk contamination and maintains optimal steaming power. For the best results, I use a gentle cleaning solution designed specifically for non-stick coatings.
Ready to level up your maintenance game? Try adopting a monthly calibration routine with a digital caliper— it’s a small investment that yields consistent, better-tasting espresso shots in the long run. Consistent upkeep, paired with the right tools, ensures your home espresso setup remains reliable and delicious for years to come.
The Little Lessons That Changed My Coffee Game
One unexpected insight was realizing that consistency in distribution and tamping beats any fancy gear I bought. I used to think upgrading my espresso machine would solve the taste issues, but the real breakthrough came when I focused on even grounds and steady pressure. It’s often the small, overlooked steps—like pre-measuring doses or using a distribution tool—that lead to truly balanced shots.
Another lightbulb moment was understanding that static in the grinder isn’t just a nuisance—it’s a sign you might need better maintenance or a different setup. Addressing static saved me from messy doses and uneven extractions, making my mornings smoother. Sometimes, simple tools like an anti-static brush or proper bean storage made more difference than I expected.
Lastly, I learned that the routine of regular calibration and cleaning pays dividends. It’s tempting to skip these steps, but maintaining your equipment — from burr sharpness to gasket health — ensures every shot is as good as the last. These lessons aren’t about using more gadgets but about respecting the process and paying attention to the details that matter most.