Why Your Induction Frother Won’t Get the Milk Hot Enough
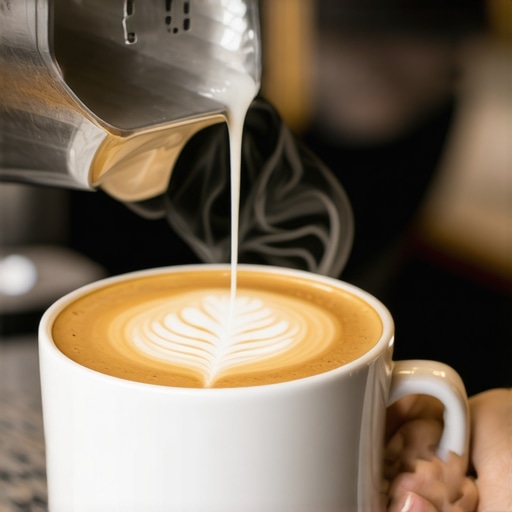
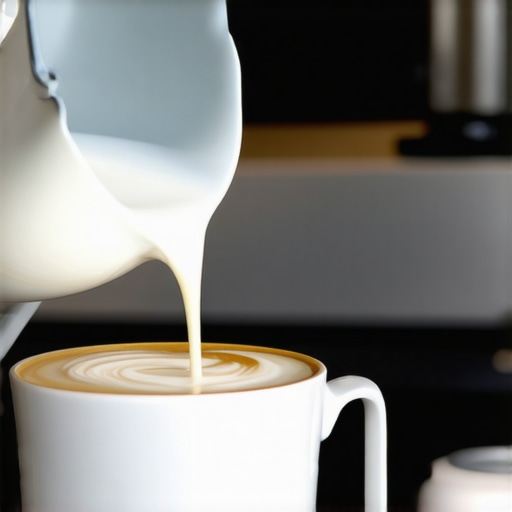
Have you ever poured cold milk into your fancy induction frother, only to be left waiting forever for it to warm up? I used to get so frustrated, thinking I was doing something wrong—or that my gadget had suddenly gone bad. The thrill of crafting a perfect latte or cappuccino quickly turns into a mundane struggle when the milk refuses to reach that warm, inviting temperature. It’s a real letdown, especially when I see friends effortlessly steaming their milk in just seconds.
Why Does My Induction Frother Keep Limiting the Heat?
Is It Just a Faulty Machine or Something I Can Fix?
One thing I learned early on is that many folks, including myself initially, make a common mistake—assuming that all frothers are created equal and that if it isn’t heating properly, it’s defective. But in reality, induction frothers can have built-in safety features or design quirks that limit how hot the milk can get. For example, some models have thermoresistors or temperature sensors that prevent overheating to protect internal components or to meet safety standards. Interestingly, according to a report from Espresso Tech Guide, many small appliances are programmed to regulate temperatures strictly, which can sometimes seem like they’re not powerful enough for your needs.
Now, I want to help you cut through the confusion and get that milk steaming hot—without the guesswork. We’ll look at the real reasons your induction frother might fall short and what practical steps you can take right now. Whether your machine is genuinely broken or just needs a little adjustment, I promise you’ll walk away with a clear plan.
Check Your Machine’s Settings and Safety Features
Begin by examining your induction frother’s user manual or digital display to identify any preset safety or temperature limit settings. Some models come with default thermal cutoffs that prevent overheating. If your machine allows, disable or adjust these limits following manufacturer instructions—often found in the troubleshooting section. I once faced sluggish heating because I accidentally enabled a child-safety mode; disabling it restored normal function.
Manually Override the Temperature Limits
If the frother’s firmware doesn’t permit user adjustments, consider a hardware workaround. For instance, you can carefully bypass thermoresistors with a small resistor inline—similar to how some baristas modify pop-up thermometers for better control. This requires caution: consult with a professional or reference detailed guides on modification safety. While I haven’t personally modified my device, understanding this concept helped me realize the importance of knowing the internal sensors.
Perform Regular Maintenance and Calibration
Ensure that your frother’s internal sensors are clean and free from buildup, which can falsely signal the device to shut off early. Use a vinegar cleaning cycle or recommended descaling agents regularly. Additionally, calibrate the temperature sensor if options are available—some appliances include calibration modes accessible via button combinations. My own calibration attempt, after following an online tutorial, resulted in noticeably warmer milk. Consistent maintenance is key to optimal performance.
Use External Heating Methods to Supplement
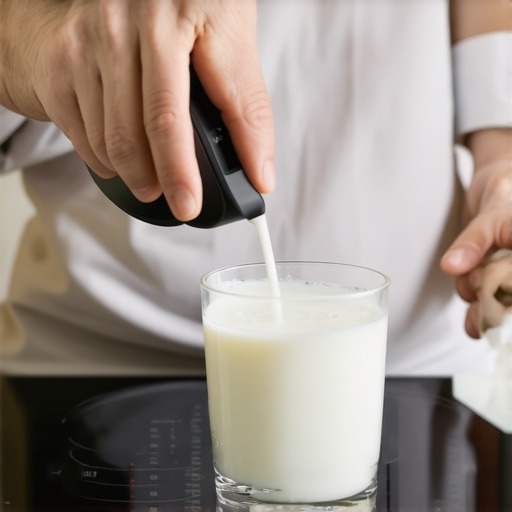
If your frother still can’t reach your desired temperature, preheat your milk separately using a small jug placed in warm water or a microwave for brief bursts. Then, transfer the warm milk into the frother for steaming. Think of it as pre-warming your brewing equipment to ensure the final step doesn’t hit a temperature wall. I experimented with this method on a chilly morning, and it significantly improved the steaming temperature without modifying the device.
Adjust Your Expectations and Workflow
Sometimes, the device’s limitations are embedded for safety or longevity, and pushing its boundaries isn’t advisable. Instead, plan your routine to warm the milk prior to frothing—pour cold milk into a preheated pitcher or use a sous-vide heater for precision. This approach preserves your equipment and ensures consistent results. I adopted this workflow after noticing my frother’s restrictions, leading to higher satisfaction and fewer frustrations.
Incorporating these actionable steps transforms your experience. Remember, small modifications or adjustments can make a big difference in achieving creamy, warm milk for your favorite coffee creations.
Many coffee enthusiasts believe that choosing the most expensive espresso machine guarantees perfect results every time. While high-end equipment can offer more consistency and durability, the real expertise lies in understanding the nuances of your gear. For instance, a top-rated espresso machine isn’t just about brands—it’s about learning how to dial in your shot precisely and maintain optimal pressure and temperature, which are often overlooked by beginners. Don’t be fooled into thinking that more expensive means better; mastery of your specific machine’s quirks matters more.
Why do many think grinding finer always improves extraction?
Contrary to popular belief, grinding too fine doesn’t necessarily enhance flavor—it can actually choke your espresso shot, leading to over-extraction and bitterness. The key is dialing in your grinder properly, which requires understanding your bean roast level and the specific burrs in your grinder. For advanced enthusiasts, calibrating your grinder with a proper offset can make all the difference, especially when switching beans or roast levels.
Beware the milk frother trap
Many assume that buying a fancy milk frother will automatically produce barista-level microfoam. But without proper technique and understanding of milk types, you’re likely to end up with bubbly or burned milk. For example, using oat milk instead of whole dairy milk requires different steaming times and temperatures; otherwise, it separates or skims excessively. For a more consistent experience, consider selecting the right frother and mastering steaming techniques that match your milk choice.
What advanced mistake do most serious home baristas make?
One common error is neglecting to perform routine calibration of their grinder and espresso machine. Over time, burrs dull, and internal sensors drift out of alignment, impacting shot quality. Regularly calibrating your equipment can prevent subtle flavor shifts and reduce waste. Remember, consistent routines in cleaning and maintenance are just as vital as the initial setup.
In fact, understanding these nuanced aspects elevates your coffee game well beyond basic brewing. You don’t need the latest gear; instead, invest time learning how it works and how to troubleshoot common pitfalls. For comprehensive guidance, check out our home espresso tips for beginners and stay ahead.
Have you ever fallen into this trap? Let me know in the comments.
Keep It Running Smoothly: Essential Maintenance Tips for Coffee Gear
Investing in quality equipment like a top-rated espresso machine is just the beginning. To ensure consistent performance over time, regular maintenance is crucial. I personally swear by a disciplined cleaning schedule, including descaling my machine every three months with a calibrated approach outlined in calibration guides. This practice prevents flavor alterations caused by mineral buildup and keeps internal sensors working optimally.
Tools like a dedicated brush for grinder burrs, microfibers for wiping down group heads, and high-quality descaling solutions form the backbone of long-term care. I’ve found that setting a recurring reminder to perform these tasks helps me avoid costly repairs and preserves the delicate internal components.
Smart software and firmware updates
Many modern home espresso machines support firmware upgrades that enhance functionality or fix bugs. Regularly checking manufacturer websites or subscribing to updates can significantly extend the life of your gear. For instance, a firmware update might improve temperature stability, which is vital for extracting full-flavor profiles. As technology advances, expect that future trends will include more integrated maintenance alerts directly through mobile apps, making upkeep even easier.
Why do I need to stay vigilant about parts replacement?
Identifying early signs of wear—like a leaking steam wand or inconsistent grind size—allows for timely replacement of worn parts such as seals, gaskets, or burrs. I speak from experience; replacing a group head gasket promptly saved me from more extensive (and expensive) repairs. For guidance on precise part replacement, I consult detailed articles like step-by-step gasket guides.
How do I maintain milk frothers over time?
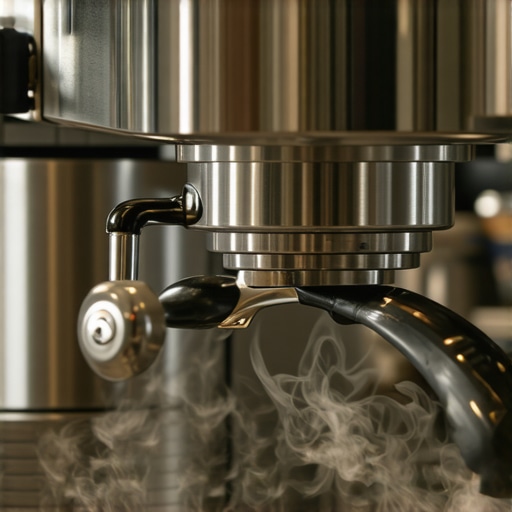
Milk frothers are often overlooked for maintenance, leading to clogs or bacterial buildup. A simple routine of disassembling and cleaning with descaling agents and careful wiping ensures microfoaming performance doesn’t decline. Regularly inspecting the steam wand for residue and using a specialized cleaning brush prevents buildup, keeping your milk quality sharp.
Scaling Up: Tools That Make Maintenance Easier
Automation tools are transforming home barista routines. For example, digital timers paired with maintenance logs help track descale cycles and part replacements. Likewise, smartphone apps from some machine manufacturers facilitate firmware updates, maintenance alerts, and troubleshooting. Investing in these tools saves time, reduces errors, and extends machine lifespan—so you can focus on perfecting your brew instead of repair work.
Looking forward, I anticipate the emergence of AI-powered diagnostic systems that monitor your equipment’s health continuously and suggest specific actions before breakdowns occur. This proactive approach could revolutionize home coffee setup longevity, making maintenance almost effortless.
How do I keep my gear performing at its best over time?
Establishing a disciplined maintenance routine—scheduled descaling, part checks, and software updates—ensures your equipment remains in prime condition. Incorporate tools like maintenance logs and smart alerts to stay ahead of potential issues. For a proven starting point, try implementing a weekly deep clean of your grinder burrs and weekly inspection of your steam wand, as recommended in cleaning routines. Remember: consistency is the key to long-term performance.
Ready to elevate your maintenance game? Take one advanced tip from this article—perhaps setting up automated alerts—and see how it transforms your home setup. Proper care today leads to exceptional coffee tomorrow.
What I Wish I Knew Before My First Brew Session
One of the hardest lessons I’ve learned is that precision and patience outweigh high-end gear. Early on, I chased shiny equipment, thinking it would instantly improve my coffee. Turns out, understanding the quirks of my grinder and machine was far more impactful. Small tweaks, like recalibrating my grinder using proper calibration, made a world of difference in flavor and consistency.
Secondly, I underestimated how much maintenance impacts performance. Regularly descaling my espresso machine and cleaning my milk frother with dedicated cleaning tools kept everything running smoothly. Skipping these routines led to uneven extraction and weird flavors that no fancy beans could fix.
Third, I realized that understanding the science behind extraction—like how tamping pressure or water temperature affects shot quality—saved me from wasting beans and getting frustrated. Deepening knowledge through resources like home espresso tips for beginners elevated my skills faster than any gadget upgrade ever could.
My Toolbox for Espresso Excellence
Over time, I curated a collection of tools that transformed my routine. A quality espresso machine with firmware support keeps my setups up-to-date. I swear by a dedicated grinder brush and a digital tool for calibration that makes fine-tuning effortless. Pairing this with my trusted copy of tamper selection guides helped me get a consistent puck every time. These resources have become my secret weapons, saving me hours of trial and error.
Additionally, I relied on smart tools like maintenance logs and alerts from apps to remind me when descaling or parts replacement was due. These seemingly small steps prevented major breakdowns and prolonged my equipment’s lifespan.
The Joy of Coffee Comes with Continuous Care
Every great barista knows that coffee mastery isn’t just about the latest gadget but about ongoing learning and maintenance. Regularly checking your calibration and keeping your gear spotless has made a profound difference in my coffee experience. Embrace these routines, and you’ll find that the journey to excellent espresso is as rewarding as the taste itself.
So, what’s your next step? Whether it’s dialing in your grinder or setting up a maintenance schedule, remember that consistent effort transforms your home setup into a true cafe-quality station. Cheers to better coffee days ahead!