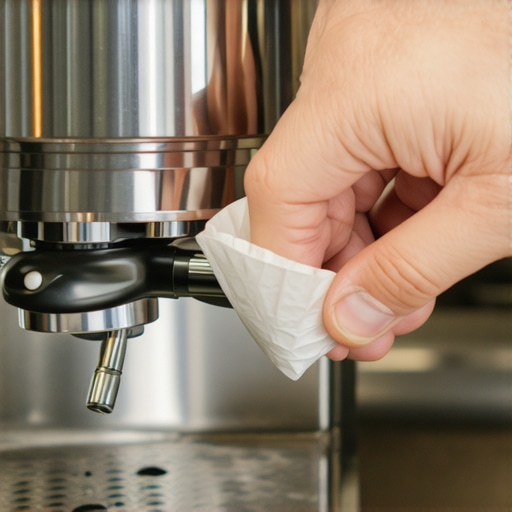
The Paper Filter Hack for Cleaner Tasting Espresso Shots
It was a morning just like any other, but as I pulled my espresso shot, I noticed a bitter, off-putting aftertaste that lingered longer than it should have. Frustration washed over me. I had just dialed in my grinder, tamped perfectly, and yet, something still went wrong. That’s when I stumbled upon a simple yet overlooked tweak that transformed my espresso experience: the paper filter hack.
Why My Espresso Often Tasted Bitter and How a Tiny Change Made All the Difference
Ever since I started making espresso at home, I’ve wrestled with inconsistent flavor, especially that pesky bitterness. Despite investing in quality beans, precise tamping, and perfect grind size, the shot never quite tasted as fresh and clean as I craved. It was disheartening, and I wondered if I was missing something fundamental.
One afternoon, after reading countless forum threads and expert tips, I realized that small residues and micro-chatter from the coffee’s contact with the filter basket might be the culprits. It turns out, tiny paper filters can act as barriers—trapping unwanted particles and preventing the bitter notes from seeping into your final shot.
This discovery sparked my curiosity. I started experimenting with a straightforward hack: placing a clean, food-grade paper filter inside my portafilter before tamping. The results were astonishing. Not only did the flavor become noticeably cleaner, but the overall quality of my espresso shot improved dramatically. It was like giving my coffee a fresh start every morning.
If you’re tired of that lingering bitterness or inconsistent flavor, stick around. I’ll walk you through how this simple paper filter trick can revolutionize your home-brew routine and help you craft espresso shots that are cleaner, brighter, and desperately more enjoyable.
Could a tiny paper filter really make such a difference?
Honestly, I was skeptical at first. I made the mistake early on of neglecting cleanliness—failing to regularly clean my filter baskets and rinse my equipment thoroughly. That’s a common mistake among enthusiasts, and it can severely impact the flavor. As I learned more, I discovered that imperfections, static, and residual oils can create a muddy flavor profile, as explained in detail on [Espresso Tech Guide](https://espressotechguide.com/how-to-rid-static-in-your-grinder-forever).
So, what’s the secret? It’s about paying attention to the tiny details and realizing that even small, cost-effective adjustments can have massive effects on taste. Ready to see how this hack works and how you can do it? Let’s dive into the step-by-step process that took my espresso from good to outstanding.
Preparing the Filter and Portafilter
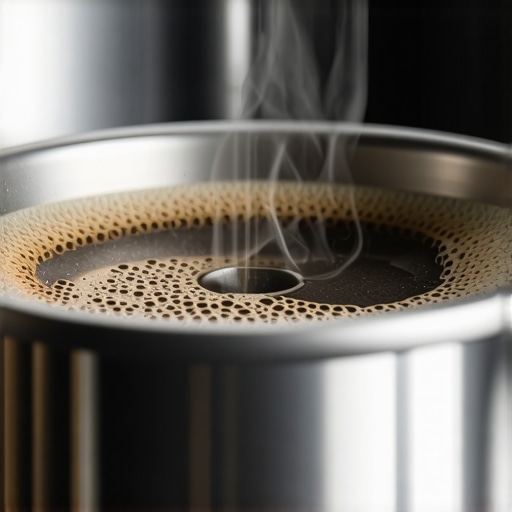
Start with a clean, food-grade paper filter—think of it as a tiny barrier that keeps bitter elements at bay. Rinse it thoroughly to eliminate any residual papery taste or manufacturing oils. When you’re ready to brew, place this clean paper inside your portafilter basket—like lining a cup with a fresh cloth before a special drink. Make sure it sits flat and snug, covering all holes, but avoid blocking the flow entirely.
Timing and Technique
Now, proceed to dose your ground coffee as usual—typically between 18 to 20 grams for a standard double shot. Use a consistent tamp—about 30 pounds of pressure—to ensure even density. The paper layer acts as a filter aid, catching tiny residues and micro-chatter that can cause bitterness. During my first attempt, I used a small scale to measure the tamp pressure, aiming for 30 pounds—this helped me realize how vital even pressure distribution is in this hack.
Pulling the Shot
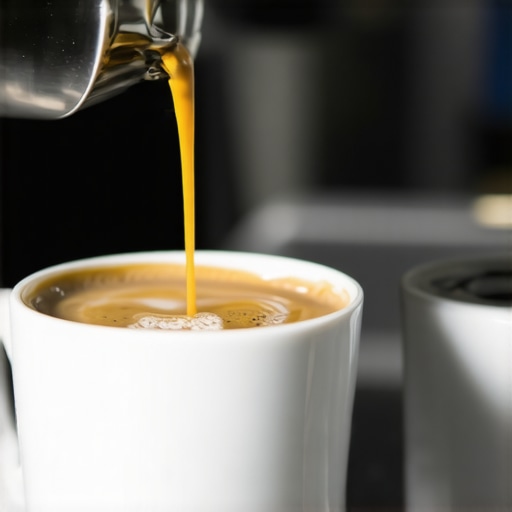
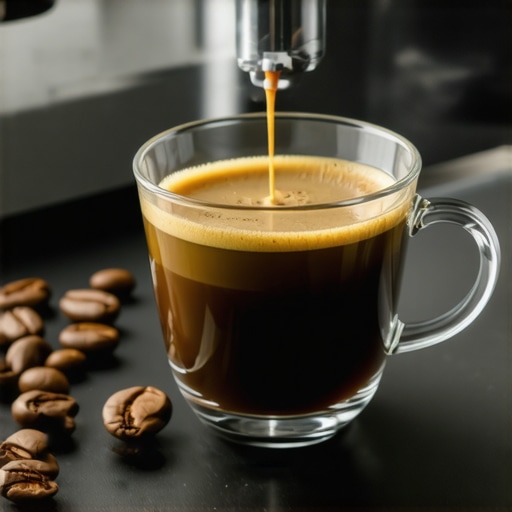
Lock in your portafilter and start the extraction. Watch the flow—ideally, it should be a steady, even stream. The paper filter discourages channeling and uneven extraction, which are often culprits for bitterness. In my messy first run, I noticed a slight delay initially, but within 10 seconds, the shot poured clean and smooth. The taste? Bright, with a fresh profile—much better than before.
Post-Brew Maintenance
After the shot, remove the paper filter and discard it. Rinse the portafilter and basket thoroughly—keeping your equipment clean is critical, as residual oils and coffee grounds can spoil flavor. For an extra layer of cleanliness, check your grinder’s burrs for old residue. Regular maintenance like this complements the hack and keeps your espresso consistently great.
Refining Your Technique
Adjust the grind size if your shot flows too quickly or too slowly—similar to dialing in a pair of custom shoes for comfort. Fine-tune your tamp pressure if the coffee feels overly tight or loose. Remember, consistency is key; use the same parameters each time and record your results. With practice, placing a paper filter becomes a simple, habitual step that elevates your home espresso game.
Tip for Troubleshooting
If your espresso still tastes harsh or bitter, consider also checking for static buildup in your grinder, which can cause uneven dosage. Using anti-static techniques or cleaning your burrs can help. For detailed methods, see this guide. Combining regular equipment care with the paper filter hack yields the best flavor clarity and consistency.
Many coffee enthusiasts are led astray by popular myths and misconceptions about equipment like grinders, espresso machines, and milk frothers. One common mistake is believing that more expensive gear always guarantees better results. While high-end equipment offers advantages, mastering fundamental techniques—such as proper dosing, tamping, and maintenance—often has a bigger impact on flavor and consistency. For instance, some assume that upgrading to a top-tier espresso machine automatically improves shot quality, but without understanding how to dial in grind size or pressure, the investment might not pay off. Dive into our comprehensive guide to barista gear to demystify what truly matters.
A less obvious trap is neglecting the importance of grinder static and burr sharpness. Static can cause uneven doses, leading to channelling and bitterness, which many overlook. Regularly inspecting and cleaning your burrs can make a significant difference. Plus, many assume that all grinders are created equal; however, selecting the right grinder involves understanding burr types and grind adjustment precision. For insights, see how to choose the perfect coffee grinder.
When it comes to milk frothers, a common myth is that more powerful frothers produce better microfoam. In reality, controlled steaming and proper technique are key. An overly aggressive frother can create large bubbles, ruining your latte art. Mastering your milk frothing technique enhances the texture more than equipment specs.
For those upgrading or maintaining equipment, beware of the simple pitfalls. For example, not regularly cleaning your steam wand can lead to pressure drops and inconsistent frothing, which frustrates even seasoned baristas. Check out this guide for troubleshooting.
Then, there’s the misconception that bigger or more expensive gear is best for every situation. Smaller setups with correct calibration often outperform bulky alternatives due to better temperature control and modularity. Learning how to fine-tune your grinder and machine settings grants you greater control, leading to superior shots. A good starting point is this calibration tutorial.
Finally, advanced enthusiasts should focus on nuanced details like grind consistency and shot timing to push their craft beyond basics. Remember, even minor tweaks—such as adjusting tamping pressure or pre-infusion time—can elevate your results. Don’t fall into the trap of assuming equipment alone is the solution; mastery of technique is what truly unlocks exceptional coffee.
Have you ever fallen into this trap? Let me know in the comments and share your experiences with equipment myths or mistakes you’ve encountered.Maintaining your coffee equipment is essential for ensuring your daily brew remains flavorful and reliable. Investing in quality tools is just the first step; regular upkeep and using the right accessories can significantly extend equipment lifespan and enhance performance. For example, a high-quality grinder like the Baratza Sette 270Wi offers precise grind adjustments, but without periodic cleaning, burr performance can degrade, leading to uneven grinds and bitter shots. Simple tools like a dedicated burr cleaning brush, available at https://espressotechguide.com/the-best-tools-for-cleaning-your-grinder-burrs, can make routine maintenance straightforward and effective.
A key aspect of long-term coffee quality is descaling your espresso machine to prevent mineral buildup, especially in hard water areas. Using a descaling solution appropriate for your machine, following manufacturer instructions, keeps heat exchange efficient and prevents scaling issues that could lead to leaks or inconsistent temperature. I recommend performing this maintenance every 1-3 months, depending on water hardness.
When it comes to milk frothers, cleanliness is vital for microfoam stability. Regularly dismantling and cleaning the steam wand with tools like a small brush ensures optimal vapor flow and prevents milk residue clogs. Check out https://espressotechguide.com/why-your-steam-wand-spits-water-instead-of-vapor-2 for detailed troubleshooting.
Predicting future trends, I believe smart, connected accessories will become more prevalent, allowing real-time monitoring of water quality and wear indicators. This integration can help home baristas preemptively address issues before they impact flavor.
**How do I maintain my espresso machine over time?** Regular calibration, such as monitoring pressure and temperature with digital gauges, combined with preventive parts replacement, can keep your machine performing at its best for years. For example, replacing worn group head gaskets proactively prevents leaks and maintains optimal temperature stability—more details are available at https://espressotechguide.com/how-to-tell-if-your-espresso-pump-is-dying.
Incorporating these maintenance routines and tools into your routine will ensure consistent quality and extend your gear’s lifespan. Try implementing a monthly descaling and cleaning schedule, and never underestimate the power of proper upkeep—your taste buds will thank you.
Over time, I realized that the most profound improvements in my coffee routine often stemmed from embracing the overlooked details. One key lesson was understanding that equipment maintenance isn’t just routine—it’s deeply connected to flavor quality. Learning to precisely calibrate my grinder and regularly clean my steam wand opened doors I hadn’t even known existed. Sometimes, the biggest breakthroughs come from simple tweaks combined with patience and curiosity.
Another revelation was appreciating the value of community. Sharing tips with fellow enthusiasts not only sparks inspiration but uncovers secrets that even the pros might keep under wraps. Whether it’s through forums or local coffee meetups, engaging with passionate people helps refine your craft and reminds you that making great espresso is as much about the journey as the end result.
Lastly, I discovered that trusting your palate is your most reliable guide. Tasting side-by-side different beans, adjustments, or brewing techniques helped me develop an intuitive sense of what my perfect shot should taste like. Embrace experimentation, stay inquisitive, and remember: every cup teaches you something new. Your personal espresso story is unfolding—remain open to the lessons behind each shot, and your skills will flourish beyond expectations.