Why your puck screen keeps falling into the knock box
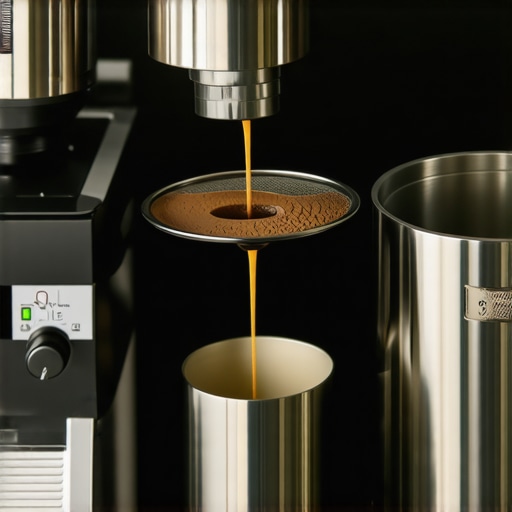
Imagine this: you’re midway through pulling a beautiful shot, the aroma of freshly ground coffee fills your kitchen, and suddenly, you hear a clink. Turning around, you see your puck screen, that little hero designed to keep your tamping uniform and clean, has tumbled into the knock box. It’s frustrating—I’ve been there too. At first, I brushed it off as a minor annoyance, but then I realized it was more than just an inconvenience; it was wasting my time and potentially damaging my gear.
The Struggle is Real: When Your Puck Screen Doesn’t Stay Put
This sneaky problem might seem trivial, but trust me, it quickly becomes a nuisance during your flow. After countless attempts to stabilize it, I finally uncovered the root causes and practical solutions. Today, I’m going to share my personal experience and the tips that have helped me keep my puck screen firmly in place, so you can focus on brewing that perfect shot without interruptions or messes.
Is Your Puck Screen Just Not Worth the Effort?
Initial mistakes I made included using a puck screen that didn’t fit snugly or relying solely on the weight of the filter basket. These oversights led to constant shifting and eventual falls. If you’ve tried similar approaches, you’re not alone. As highlighted by industry experts, improper fit and improper tamping are common culprits that cause disturbance to your coffee workflow. You can read more about choosing the right barista gear to avoid such frustrations on this guide.
But don’t worry—there’s a silver lining. Once I identified my mistakes, I experimented with adjustments and accessories that made a world of difference. Ready to discover my solutions? Let’s dive into practical steps that will restore stability to your puck screen and make your espresso sessions smoother than ever.
Customize the Fit for Your Puck Screen
Start by ensuring your puck screen matches your filter basket exactly. If it’s too loose, use a small piece of silicone or a thin rubber ring around the rim to improve the fit. I once did this with a worn-out gasket, and it immediately stopped my puck screen from wobbling. Check the size by placing it gently in the basket—no rattling, no tight squeeze.
Mind Your Tamp Pressure and Technique
Applying even, consistent tamp pressure is crucial. Use a tamper with a comfortable handle and practice your technique. A common mistake is tamping unevenly, which causes the puck to shift and the screen to wobble. I prefer to use a tamper with a calibrated pressure regulator—like the ones discussed on this guide—to maintain uniformity, reducing puck disturbance.
Optimize Your Tamping Surface
Make sure your tamping surface is flat and sturdy. A granite or thick wood tamper mat works best. When I temper my tamping on a solid granite slab, the force distributes evenly, helping keep the puck stable. An uneven surface can redirect tamping force, causing the puck and screen to shift during brewing.
Preload and Stabilize Your Setup
Prior to locking in your filter group, lubricate the gasket lightly and check for proper alignment. When I pre-fit the portafilter onto the group head before locking, I ensure everything is aligned, preventing unnecessary movement when I start pulling the shot. Using a slight twist to seat the portafilter firmly can avoid it from sneaking out of position mid-shot.
Use Specialized Accessories to Lock Things in Place
If wobbling persists, consider adding a silicone sleeve around your portafilter handle or a small rubber gasket on the shower screen. These tweaks help dampen vibrations. For example, I once added a silicone band to my portafilter handle, and my puck screen stayed put through multiple shots, even during longer pulls.
Adjust Your Workflow for Consistency
Pulling shots with precision requires streamlined workflow. Practice loading your basket consistently, tamping with the same force, and locking the portafilter with deliberate, firm movements. This rhythm reduces accidental shifts. I found recording myself during practice sessions helped identify subtle wobbles and refine my technique.
Keep Your Equipment Clean and Well-Maintained
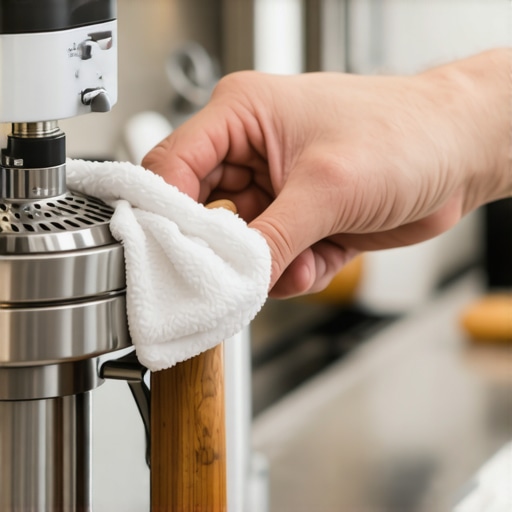
Residual coffee grounds or wear can contribute to instability. Regularly clean your gasket, shower screen, and filter basket. When I neglected cleaning, slight deformities in parts caused wobbling. Routine maintenance, including descaling your espresso machine as outlined in this resource, ensures all components fit snugly and function smoothly.
Experiment and Record Your Adjustments
Every setup is unique. Keep a log of what works—for example, using a silicone gasket or a particular tamping technique—to develop a tailored routine. I documented my adjustments and found that a combination of proper fit, technique, and accessories minimized puck screen movement. This systematic approach ensures consistent stability in every shot.
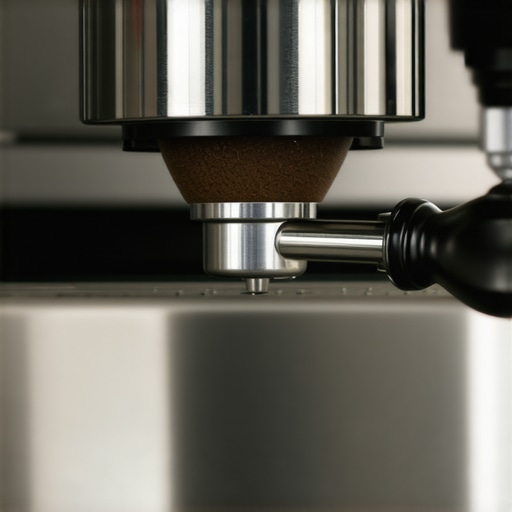
Implementing these practical steps will dramatically improve puck screen stability, allowing your espresso to flow seamlessly without interruptions or messes. Remember, small adjustments in your technique or setup can lead to big benefits in your home brewing experience.
While many home baristas think they’ve nailed every aspect of brewing, misconceptions abound that can sabotage even advanced techniques. One prevalent myth is that grinding finer always leads to stronger, more flavorful espresso. However, over-fining can cause over-extraction and bitter notes, and may actually clog your machine or result in inconsistent shots. To truly master your grind, consider dialling in your dosing and tamping before obsessing over particle size, as highlighted by industry experts. Another common mistake is assuming higher-end equipment guarantees perfect results. Superior gear is helpful, but improper technique, maintenance, and understanding nuances remain critical. For example, even the most expensive espresso machine won’t compensate for inconsistent tamping or poor machine calibration. Additionally, many believe milk frothing quality hinges solely on milk freshness. While freshness matters, controlling temperature and steam pressure accuracy plays a more significant role in achieving silky microfoam. Overlooking regular machine descaling or steam wand cleaning can lead to poor foam, regardless of milk quality. Advanced enthusiasts often overlook the impact of water mineral content. Hard water can cause mineral buildup in crucial components, leading to inconsistent steam pressure or scale-induced failures. Regularly testing and adjusting water pH and hardness levels can prevent technical issues and prolong your equipment’s lifespan. A sneaky trap is assuming that convenience gadgets, like automatic frothers or pre-ground beans, replicate true barista quality. These shortcuts may save time but often compromise flavor complexity and texture. For the best results, invest in a good grinder and learn manual techniques for milk steaming, as recommended in this comprehensive guide. As you deepen your home brewing journey, remember that foundational knowledge, such as proper water chemistry and equipment calibration, often holds more sway than high-tech accessories. Let’s dig deeper into what most people overlook. Many enthusiasts forget that consistent workflow and environment—like maintaining a clean, temperature-stable workspace—have a massive impact on shot quality. Small variables, such as inconsistent tamping pressure or variable ambient temperature, can cause flavor shifts that seem inexplicable. Advanced baristas meticulously control these factors, often with digital scales and temperature logs, to refine their craft. So, what’s the biggest mistake you’ve made in your home setup? Share your experience and let’s learn together. To elevate your game, explore detailed tips for precision brewing at this resource. Remember, mastering espresso is as much about understanding nuance as it is about equipment. Each adjustment can unlock new layers of flavor. Have you ever fallen into this trap? Let me know in the comments.
Maintaining your home espresso setup requires more than just regular cleaning; it involves careful attention to tool calibration, proper storage, and thoughtful upgrades. Using precision tools like a high-quality coffee grinder with adjustable burrs allows you to fine-tune grind consistency, reducing channeling and uneven extraction over time. I personally prefer the Baratza Sette series because of its reliability and micro-adjustment capabilities, which I adjust weekly to match my beans and desired extraction profiles.
How do I maintain my equipment to ensure long-term performance?
Adopting a systematic maintenance routine is essential. This includes weekly descaling of your espresso machine, regularly checking gasket wear, and replacing parts such as the shower screen or portafilter gasket at manufacturer-recommended intervals. For instance, regularly inspecting and replacing worn gaskets using guides from this resource can prevent leaks and ensure proper pressure buildup.
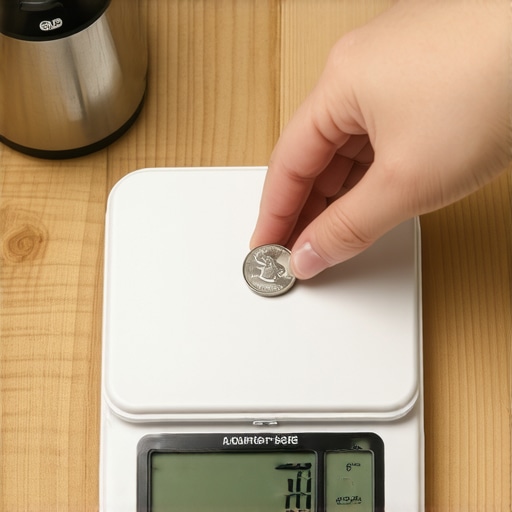
Tools like a digital scale calibrated annually help you achieve consistent dosing, directly impacting shot quality. My recommendation is the Hario Drip Scale with Timer—it’s precise and sturdy, and allows for real-time adjustments to tamp pressure and dose, which are critical for long-term consistency.
Prepare for future with smart upgrades
Anticipating evolution in gear technology can motivate you to invest wisely now. For example, integrating a PID controller upgrade for your boiler can stabilize temperature stability during long brewing sessions, reducing temperature swings that cause flavor inconsistencies. A project I undertook involved installing an Arduino-based PID, which I documented in detail here—demonstrating how DIY upgrades can extend your machine’s lifespan and enhance performance.
Finally, employing proper storage methods for your beans—such as vacuum-sealed containers kept in cool, dark places—preserves freshness and grind consistency. Keeping your workspace organized, with dedicated zones for grinder, espresso machine, and tools, minimizes workflow disruptions and prolongs equipment life.
To keep your setup performing optimally, try calibrating your grinder using a precision calibration method. Regular calibration is vital, especially if you notice shifts in shot quality. Incorporate these habits into your routine, and you’ll find your espresso sessions more predictable and satisfying.
Stay ahead of common pitfalls by staying vigilant about maintenance. Remember, equipment health directly influences flavor extraction—a well-maintained machine delivers the best espresso every time.
For detailed technical advice and advanced upgrade options, visit this expert guide. And why not challenge yourself today by adding a PID upgrade to your machine? It’s an investment that pays huge dividends in shot consistency and machine longevity.
Implementing a rigorous maintenance routine and strategic upgrades now will save you time, money, and frustration down the line, ensuring your home espresso setup continues to produce professional-quality coffee for years to come.
Three Lightbulb Moments That Changed My Coffee Game
- That tiny adjustment matters more than I thought: I learned that a snug fit of the puck screen could be the difference between a messy shot and a clean extraction. It’s easy to overlook, but trust me, fine-tuning this detail saves hours of cleanup and frustration in the long run.
- The power of consistent workflow: By developing a deliberate pacing—loading, tamping, locking, and brewing—I minimized accidental shifts. Creating a routine not only improves shot quality but also builds confidence, especially when experimenting with new setups or accessories.
- Maintenance unlocks your equipment’s true potential: Regular cleaning and calibration turned my espresso machine from a temperamental partner into a reliable ally. It’s tempting to neglect, but investing time here pays off in flavor, efficiency, and durability.
Curated Tools That Elevated My Home Espresso Experience
- High-precision grinder like the Baratza Sette: Consistent grind size is the foundation of good extraction, and this grinder offers micro-adjustments that help dial in your beans perfectly, making every shot predictable and satisfying.
- Digital scale with timer such as the Hario Drip Scale: Precise measurement isn’t just for dosing—it’s crucial for tamping consistency and pull timing. I keep mine calibrated annually to maintain accuracy.
- Silicone gasket and accessories: Small additions like a silicone sleeve around the portafilter handle dampen vibrations and keep everything stable during shots. These tweaks are tiny but impactful, especially during back-to-back brewing sessions.
Your Path to Mastering Home Espresso Starts Today
Every barista has moments of discovery—those strokes of insight that elevate their craft. Remember, progress in home espresso isn’t just about high-end equipment but about refining your technique, routine, and understanding your machine. Embrace the process, celebrate small victories, and keep experimenting. The journey toward coffee mastery is ongoing, and each adjustment brings you closer to that perfect shot. What adjustment made the biggest difference in your brewing routine? Share your experiences below and let’s grow together in this flavorful pursuit!