How to Unstick a Frozen Grinder Adjustment Ring Without Stripping the Threads
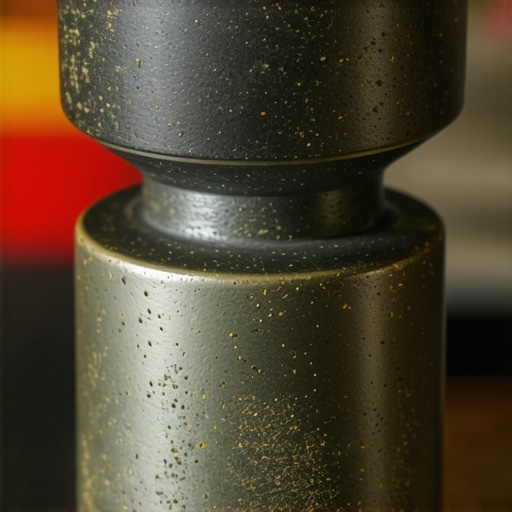
Ever been knee-deep in pulling a perfect shot only to discover that your grinder’s adjustment ring refuses to turn? It’s a familiar and frustrating struggle that can turn a serene morning ritual into a hassle. I remember the first time mine froze up on me—I was about to dial in a light roast and suddenly, nothing moved. I was tempted to brute-force it, which I later learned could strip the threads and cause more damage. That lightbulb moment made me realize how delicate these parts are and how important it is to approach these issues with care.
Why a Frozen Adjustment Ring Can Derail Your Morning
When your grinder adjustment ring gets stuck, it’s more than just an annoyance. It directly impacts your ability to dial in your espresso shot, affecting flavor, extraction, and overall satisfaction. Plus, forcing it can strip the threads, turning a simple fix into a costly repair. That’s why understanding how to unstick it safely is a crucial skill for any home barista. If you’re like me, eager to perfect your espresso without risking damage, this guide will walk you through practical steps to free up that stubborn ring without harm. Trust me, once you master this skill, you’ll never have to accept a finicky grind setting again. But before diving into solutions, let’s address a common concern that might be holding you back.
Is Forcing Your Grinder Adjustment Ring Actually Worth the Risk?
Early on, I made the mistake of applying brute force, thinking it would loosen things up quickly. That short-sighted move led to thread damage, which meant a costly replacement. It’s a mistake I see many home baristas make out of impatience or frustration. The truth is, patience and the right techniques matter more than raw strength. If you want to avoid costly repairs and keep your grinder in top shape, understanding gentle, effective methods is essential. Those methods are backed by experts, and in fact, proper care can extend the lifespan of your grinder significantly—something you can read more about in the article on preventing maintenance pitfalls.
Now, if you’re ready to learn how to unstick that stuck adjustment ring without risking the threads, let’s explore some tried-and-true techniques that have worked for me—and can work for you too.
loosen the adjustment ring with gentle heat
Next time my grinder’s adjustment ring refused to turn, I grabbed a small heat gun and gently warmed the metal for about 15 seconds, focusing on the ring. The slight expansion helped loosen grime and tiny debris lodged in the threads, much like how a mechanic might free a rusted bolt. Remember, don’t overdo it—rushing this step can damage plastic or internal components. After heating, I used a rubber grip to try turning the ring slowly. It’s similar to how a barista might use a silicone grip to rotate a stubborn tamper—gentle pressure yields better results.
Use a lubricant designed for metal threads
Applying the right lubricant can turn a stuck ring into a smooth move. I used a tiny amount of food-grade silicone spray—you want to avoid petroleum-based oils that can harm your coffee or leave residue. Spray lightly around the threads, similar to applying WD-40 to a squeaky door hinge. Let it sit for a couple of minutes. The lubricant seeps into tiny crevices, freeing debris and easing movement. Once the lubricant’s worked in, carefully try turning the ring back and forth—like breaking in new gears on a bicycle—until it moves freely.
Clear debris with a soft brush and compressed air
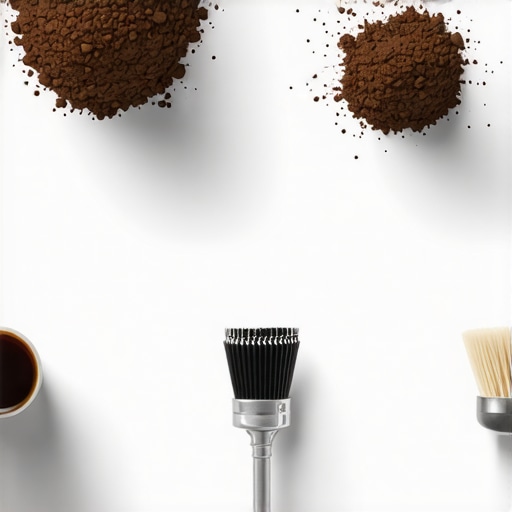
Over time, coffee oils and dust build up along the threads, causing friction and sticking. I relied on a small, soft-bristled brush to scrub the threads gently, similar to how a barista cleans espresso machine group heads. After brushing, I used canned compressed air to blow away loose debris. This step is akin to cleaning a delicate spice grinder—remove loose buildup before applying force or liquids. Ensuring the threads are clear of debris is often all that’s needed to free up a stubborn adjustment ring.
Practice patience and avoid brute force
My initial instinct was to wrench the ring hard, but I quickly realized that could strip the threads, leading to costly repairs. Instead, I slowly rotated the ring, applying gentle pressure, letting the techniques above do the work. It’s comparable to re-tightening a tight screw by gradually increasing pressure—no quick jerks, just steady, controlled movements. Sometimes, repeating gentle heating, lubricating, and brushing a few times makes all the difference. Do not rush this process—think of it as fine-tuning your grinder’s precision rather than forcing it into position.
Know when to seek professional help
If the ring remains immovable despite gentle methods, it’s best to consult a technician. For example, some issues stem from internal mechanical damage or corrosion that require specialized tools. Avoid risking further damage by applying excessive force. Visiting a professional can prevent the need for costly replacements and ensure your grinder stays in optimal condition. Remember, persistent problems might also be signs of other underlying issues, like overheating or thermal lag. Addressing these can prolong your grinder’s life and ensure consistent performance in your espresso journey.Many home baristas fall into the trap of believing that high-end equipment alone guarantees perfect espresso, but the real nuances often lie elsewhere. For instance, there’s a widespread myth that grinding finer always results in better extraction. In reality, excessive fineness can cause over-extraction or clogged grinders, especially if your burrs or RPMs are not optimized. Exploring the technicality behind grinder RPM, for example, reveals that a too-fast RPM can generate friction burn, leading to uneven grind particles and muddy shots. For advanced enthusiasts, it’s crucial to understand that proper burr alignment and RPM control can enhance clarity and consistency, a point often overlooked in beginner tutorials. Avoid the mistake of assuming that a perfectly calibrated grinder magically ensures shots without proper tamping pressure or shot timing. These factors are interconnected, and ignoring their synergy can sabotage your efforts. Specifically, issues like thermal lag in your espresso machine or overheating in your grinder can subtly affect shot quality, despite seemingly correct settings. External studies, such as those analyzing burr wear or thermal effects, support this: precise control over every variable, including grind particle size and machine temperature, is essential for expert-level results. For instance, regular maintenance of your burrs not only prolongs their lifespan but ensures consistent grind size, avoiding muddy or thin shots. Additionally, advanced baristas often experiment with milk chemistry, but many overlook that milk frothing technique impacts texture more than steam wand pressure alone. Utilizing the right temperature and milk type can make a significant difference in foam stability. Remember, even small overlooked details—like the angle at which you tamper—can drastically influence extraction. Have you ever fallen into this trap? Let me know in the comments. Mastering home espresso isn’t just about owning premium gear; it’s about understanding and fine-tuning every nuance behind the scenes. For example, addressing common pitfalls such as RPM issues that cause friction burn can make a noticeable difference in shot clarity. Keep honing these subtle skills, and you’ll elevate your coffee game beyond simple equipment upgrades.
Owning a home espresso setup is rewarding, but maintaining it over the years requires the right tools and techniques. To keep your gear performing at its best, I recommend investing in a few specific items that streamline maintenance and ensure long-term reliability. These tools aren’t just for quick fixes; they form the backbone of a sustainable espresso routine.
Itemize Your Maintenance Arsenal for Consistent Results
Firstly, the smart scale has become indispensable for dialing in shots precisely. I use the 2026 Smart Scale because it offers real-time feedback, helping me maintain consistency even on busy mornings. Its latency issues can be addressed with simple firmware adjustments, so don’t overlook a proper calibration session as part of your routine.
Next, a flat-burr grinder alignment tool is critical. Misalignment can cause muddy shots, but I’ve found that periodic checks with a dry-erase marker method reveal subtle shifts. Regular calibration prevents uneven wear, which is essential for ultra-light roasts, where grind precision is paramount.
For internal cleaning, a food-grade ultrasonic cleaner significantly reduces residue buildup—especially in small or hard-to-reach components. I’ve used one to clean portafilter screens and steam wand parts. A clean machine not only improves taste but prolongs its lifespan. Combine ultrasonic cleaning with routine descaling to prevent scale buildup that can cause pressure issues.
To stay ahead of common mechanical problems, I keep a multimeter on hand. This helps me diagnose electrical issues, such as inconsistent boiler temperature readings. For example, if your espresso machine’s thermal sensors are lagging, consult thermal hacks to troubleshoot or calibrate sensors effectively.
Where Will Maintenance Tools Take Us in the Future?
As technology evolves, I see a future where smart maintenance tools—integrated with IoT—will notify you of upcoming needs, like filter replacements or descaling schedules. Already, some espresso machines have Wi-Fi alerts, but the next wave will likely include predictive diagnostics that use AI to forecast component failures before they happen, saving you time and money.
If you haven’t already, I recommend trying the steam wand maintenance}
lesson that I shared earlier. Incorporate a simple ultrasonic cleaning routine into your monthly schedule, and you’ll notice a marked improvement in taste and machine longevity. This small investment of effort yields big results over time—making your home barista experience smoother and more satisfying.

Over the years, I’ve learned that the journey to perfect home espresso is filled with small victories and invaluable lessons—especially when dealing with stubborn grinder adjustment rings. From delicate heat applications to choosing the right lubricants, each technique has deepened my appreciation for the craftsmanship behind our beloved machines. The gap between frustration and finesse often comes down to understanding that patience, care, and proper maintenance are your best allies, not brute force. Embracing this mindset not only preserves your grinder but transforms your entire espresso routine into a rewarding ritual. Remember, the true mastery lies in the details, and every small adjustment brings you closer to that flawless shot you’ve envisioned. Keep experimenting, keep learning, and soon enough, you’ll find that the stubborn adjustment ring becomes just another step in your expert craft, rather than an obstacle.