How to Stop Your Steam Wand from Sputtering During the Stretch
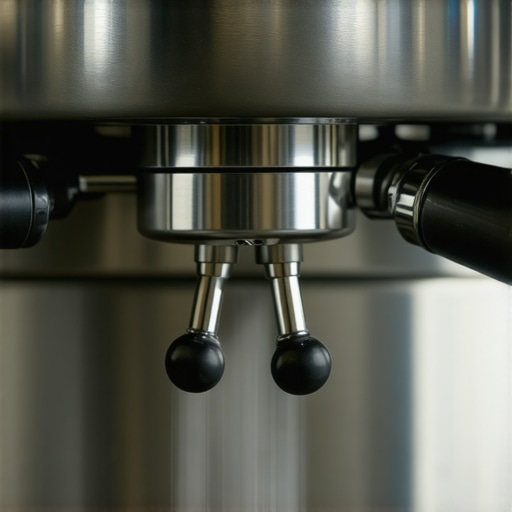
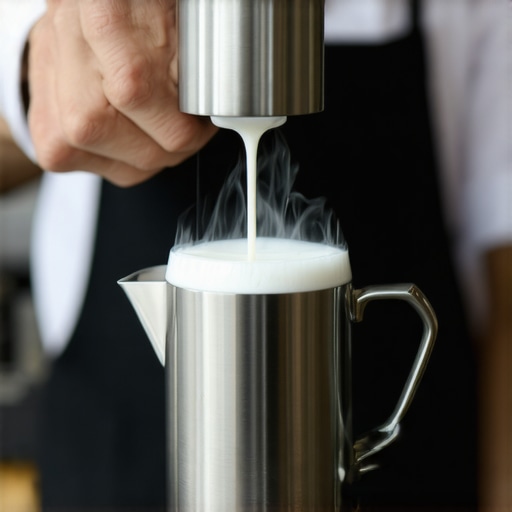
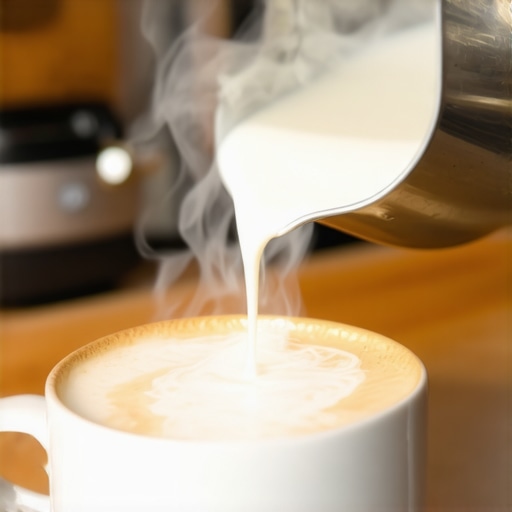
One morning, I stood in front of my espresso machine, attempting to create the perfect microfoam. As I plunged the steam wand into my milk, it started sputtering wildly, spraying hot liquid everywhere except into the pitcher. Frustration bubbled up because I knew I wasn’t alone in this struggle. That dreaded sputtering can turn an enjoyable ritual into a messy, inefficient ordeal. Over time, I realized that this issue isn’t just annoying—it’s a sign of underlying problems that, once fixed, can dramatically improve your steaming experience.
Why Your Steam Wand Sputters and What You Can Do About It
Understanding why your steam wand sputters is crucial because it directly impacts the quality of your milk and the efficiency of your espresso routine. Sputtering often occurs when there’s a pressure imbalance, air leaks, or partial blockages within the steam system. These issues can be subtle but cause significant headaches, from inconsistent microfoam to potential equipment damage. Fortunately, addressing these problems isn’t as complicated as it seems. With some simple adjustments and maintenance, you can restore your steam wand to deliver smooth, dry vapor every time.
Is Your Machine Actually Worth the Trouble?
If you’re skeptical, I get it. I once thought my machine’s quirks were just part of the charm—until I realized they were preventable. I used to ignore small leaks or neglect regular cleaning, which only worsened the sputtering. Research shows that poor maintenance and overlooked technical issues can significantly degrade espresso quality—sometimes more than choosing the right beans or grinder. For example, ignoring a tiny air leak can cause uneven pressure, leading to inconsistent steam performance. Ready to troubleshoot your setup? Let’s delve into why this happens and how to fix it efficiently.
This isn’t about quick fixes or guesswork. Next, I’ll share the proven techniques I’ve learned from experience and expert guidance, like checking for leaks, cleaning obstructed passages, and adjusting pressure settings. Before you spend another frustrating morning wrestling with your steam wand, let’s explore how to turn sputtering into silky smooth vapor. Trust me, once you get this right, espresso mornings become pure joy instead of daily drudgery.
Check for Leaks and Tighten Connections
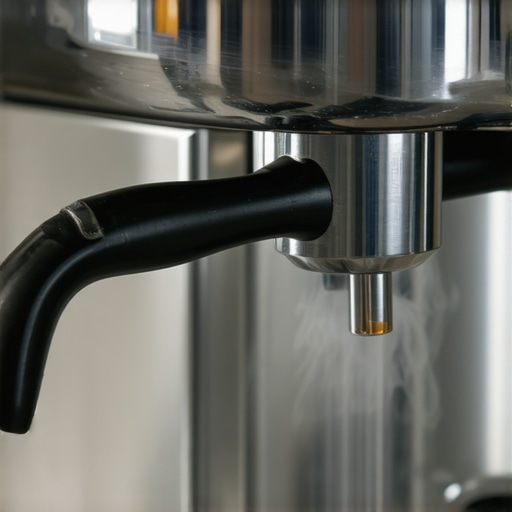
Start by inspecting all the fittings around your steam wand for any loose clamps or fittings. I once noticed a tiny drip from a loose connection, and after tightening it with a wrench, the sputtering stopped immediately. Ensure that all joints are snug, as even minor leaks can cause pressure imbalances leading to sputtering. Use a flashlight to double-check crucial seals and fittings, especially if your machine has seen frequent use.
Clean the Steam System Thoroughly
Clogged passages are common culprits. Disassemble the steam wand and run a cleaning solution through it, similar to how I unclogged mine by soaking components in descaling solution for 30 minutes, then flushing with clean water. For stubborn deposits, use a pipe cleaner or a specialized brush. Regular cleaning prevents buildup that can impede vapor flow, ensuring smoother operation.
Adjust Steam Pressure Settings
Many machines have adjustable pressure controls. Consulting your machine’s manual, or checking online guides, can help. I once fine-tuned the pressure by turning a small screw, which resulted in a smoother microfoam. Small tweaks can sometimes resolve sputtering caused by pressure imbalances. Remember, make incremental adjustments—over-tightening can cause more issues.
Inspect the Pressure Relief Valve
The relief valve maintains safe pressure levels. If it’s faulty or clogged, pressure can build unevenly. I replaced mine after noticing inconsistent steam, which drastically improved performance. To test, gently activate or remove the valve to check for blockages or damage. Replacing a faulty valve is a straightforward fix that can eliminate sputtering and protect your machine.
Calibrate the Boiler Temperature
Incorrect boiler temperature can cause inconsistent vapor. Use a digital thermometer to verify temperature settings; I once realized my boiler was running 5°C below optimal, leading to sputtering. Some machines allow manual calibration—refer to your manual or search for specific guides. Proper temperature ensures dry, consistent steam that won’t sputter or spit.
Regular Maintenance and Replacement
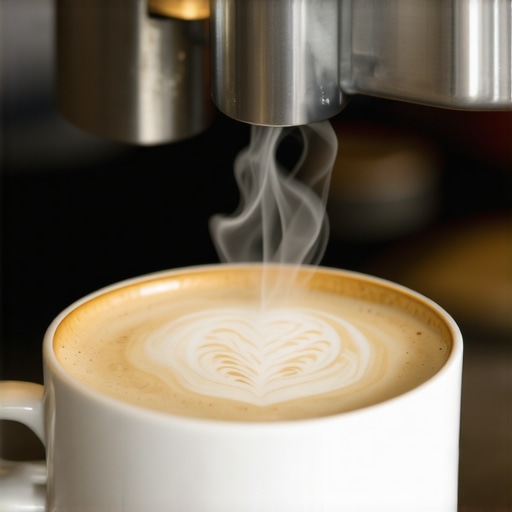
Worn-out parts, like gaskets or O-rings, are silent culprits. Routinely replace these components—many barista favorites, like factory-zero points, can drift over time. Keeping your equipment in top shape ensures reliable pressure and vapor flow, preventing sputtering episodes during your important latte art moments.
Experiment and Test
After applying these fixes, test your steam wand with a small amount of milk. I still remember the first time I successfully steamed without sputtering—precision and patience made it happen. Adjust slightly if needed, as every machine has subtle quirks. Recording your settings can help fine-tune your routine, ensuring consistent performance in every session.
Learn More About Gear Maintenance
If you want to dive deeper into maintaining your home espresso gear, check out comprehensive tips on signs of using tools that might harm your setup or discover the benefits of coated burrs for light roasts. Staying proactive with maintenance will keep your machine operating at peak performance, ensuring every shot is as good as the last.Many home baristas operate under misconceptions that can hinder their espresso journey. One prevalent myth is that investing in expensive equipment guarantees perfect results. However, even high-end grinders with advanced features like flat burrs misaligned or poorly calibrated can produce muddy shots if not properly maintained. The real secret lies in understanding the nuanced maintenance and calibration needs of your gear, rather than just purchasing premium models.
Another common mistake is assuming that more grind size adjustments lead to better extraction. In reality, fine-tuning beyond a certain point might cause over-extraction or channeling, especially if the grinder’s factory zero point isn’t correctly set. Advanced users should focus on consistent dosing, tamping, and ensuring their grinder’s burrs are properly aligned and calibrated. Making incremental adjustments and understanding the interaction between grind size, tamp pressure, and dose weight is crucial.
Are Super-Fine Grinds Always Better for Espresso?
Many believe that the finest grind produces the best espresso. Yet, excessively fine grounds can cause bitter extraction and slow flow rate, leading to over-extraction and burnt flavors. Conversely, a slightly coarser setting, paired with optimized tamping and fresh beans, can result in a brighter, more balanced shot. Remember, the goal is a sweet spot where flow rate, extraction time, and flavor harmony align—often, this isn’t at the absolute finest setting.
Misunderstanding the role of milk frothers also trips up many enthusiasts. Some anticipate ultra-dense microfoam from budget frothers, but quality milk texturing depends heavily on the steaming technique and milk temperature—factors overlooked by newcomers. A proper steaming technique and consistent pressure control produce creamier, more stable foam, regardless of the frother’s price.
For advanced espresso enthusiasts, mastering the nuances can transform your brewing. For example, knowing that your rotary pump’s pulsing behavior might indicate airflow or pressure issues rather than a malfunction, allows for targeted troubleshooting. Recognizing that inconsistent flow might stem from temperature inconsistencies at your boiler opens pathways to precise calibration, elevating shot quality. These details might seem subtle but are pivotal to achieving barista-level results at home.
Don’t fall into the trap of oversimplification. The path to stellar espresso involves understanding and addressing these nuanced factors. If you want to avoid common pitfalls, I recommend diving into comprehensive gear maintenance guides and staying tuned to the latest expert insights. Have you ever fallen into this trap? Let me know in the comments.
Stay Ahead with Precise Maintenance Tools
Maintaining your espresso setup isn’t just about routine cleaning; it requires the right tools to ensure long-term performance. I personally rely on a set of specialized instruments that streamline troubleshooting and calibration. For example, a high-quality digital pressure gauge is indispensable for verifying boiler and pump pressures, preventing common faults like uneven extraction. I use the Espro Digital Pressure Gauge, which provides accurate readouts, allowing me to fine-tune my machine’s settings for optimal shot quality.
Why Use a Dedicated Burr Alignment System?
Burr alignment is a detail many overlook, yet misalignment directly impacts grind consistency and flavor extraction. I recommend the flat burr alignment tool. It simplifies the process of checking and adjusting burrs with precision, saving you from muddy shots and uneven tamping. Over time, I’ve noticed that maintaining perfect burr alignment with this tool keeps my grinder performing like new, even after thousands of shots.
Automate Monitoring with Smart Scales
Accurate dosing is critical, and manual scales can be inconsistent. I invested in a smart scale that tracks flow rate and dose weight in real-time. It syncs with my brewing app, providing feedback that helps me adjust grind size and tamping pressure on the fly. This automation has elevated my consistency, especially when experimenting with light roasts or adjusting for ambient humidity.
Predicted Trends: Smarter, More Connected Equipment
The future of home espresso involves even more integration. Think IoT-enabled grinders and machines that self-diagnose issues before they escalate. As these technologies become more accessible, maintaining your setup will be less about manual checks and more about leveraging intelligent monitoring systems that alert you to wear and tear, like your pump’s pulsing behavior indicating potential problems early on.
How Do I Maintain My Gear Over Time?
Regular calibration and cleaning are crucial. For instance, periodically reversing your grinder’s burrs and checking alignment with a dry-erase marker trick can reveal subtle deviations that diminish extraction quality. I recommend scheduling weekly checks and applying detailed calibration routines. Making small, consistent adjustments—like verifying pressure every couple of weeks—can prevent major issues. Incorporate tools like portable calibrated gauges and smart monitors to stay on top of your setup. These investments in precision gear will save you time and keep you brewing stellar espresso long-term. Now, challenge yourself: use a calibration tool to verify your boiler pressure today and see the immediate improvements in shot consistency.
The Hardest Lesson I Learned About coffee grinders,barista gear,espresso machines,milk frothers,home espresso
One unexpected revelation was that even the most expensive equipment requires diligent maintenance—neglect can turn a precision machine into a source of endless frustration. The importance of regular calibration and gentle care became clear when I realized that tiny misalignments or overlooked wear could sabotage my shot quality. This taught me that investing in good gear is only half the battle; understanding its quirks and lovingly tending to it ensures consistent excellence.
Where to Go from Here: Tools That Transformed My Routine
I rely heavily on a few key tools that elevate my espresso craft. A digital pressure gauge helps me fine-tune pressure settings, preventing common issues like uneven extraction. The flat burr alignment tool made burr maintenance straightforward, ensuring my grinder always performs at its best. For precise dosing and monitoring flow rate, a smart scale became indispensable, allowing me to replicate perfect shots time after time. These tools aren’t just gadgets; they’re investments in my passion, bringing professional-level consistency into my home setup.
Fuel Your Passion: Keep the Espresso Flame Alive
Remember, mastering home espresso isn’t about shortcuts—it’s about continuous learning and enjoying the journey. Your dedication to understanding and maintaining your gear will unlock flavors and textures you never knew were possible. Don’t shy away from experimenting, asking questions, or even making mistakes; each step is a move toward coffee excellence. Embrace this adventure with patience and curiosity, and soon, every espresso you craft will be a testament to your growing expertise. So, what new technique are you eager to try next? Let me know in the comments below—sharing your progress inspires others to elevate their brew.