How to Stop Your Milk Foam from Separating Before the Pour
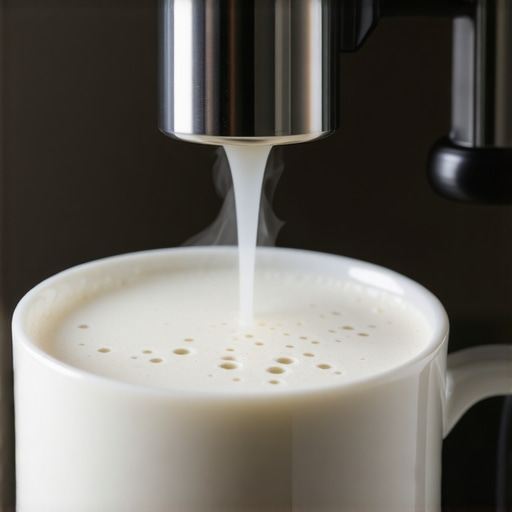
Have you ever poured a beautifully textured milk foam into your espresso only to watch it immediately start to separate and deflate, ruining that pristine top layer? That frustrating moment where your perfect latte art dissolves in seconds, leaving you questioning what went wrong. I’ve been there myself—suddenly faced with a frothy mess when all I wanted was that velvety smooth pour. It’s a common disappointment among home baristas and coffee enthusiasts alike. But here’s the truth: a little tweak in your technique or process can make all the difference.
Why Your Milk Foam Keeps Separating—and How to Stop It
This issue isn’t due to bad milk or an inferior frother, as many assume. Instead, it often comes down to the stability of the foam before the pour. If the foam separates prematurely, it’s like baking a cake only to watch it crater before it hits the table. Your foam needs to stay intact longer—yet many of us overlook critical factors like temperature, milk quality, or the timing of the pour. A shocking fact is that improper steaming techniques can cause foam instability, leading to separation within seconds—something even experienced baristas sometimes overlook (source: Espresso Tech Guide).
So, what if I told you that with just a few adjustments, you could keep your milk foam luscious and cohesive until the very moment it hits the cup? That’s exactly what I’m here to help you achieve. Stick around, because I’ll walk you through proven strategies that have transformed my milk tricks from frustrating to fantastic. Ready to make your foam stay put? Let’s dive deeper into the hows and whys—starting with the biggest mistake most home baristas make early on.
Is Milk Foam Separation Overhyped? Here’s What I Messed Up Initially
Believe me, I fell for the hype early on—thinking that just frothing the milk perfectly was enough. I didn’t realize the importance of timing and milk temperature. In fact, I used to rush pouring as soon as the foam looked shiny and smooth, only to watch it collapse into a watery mess seconds later. It wasn’t until I learned about the nuances of milk temperature and the ideal timing that I finally saw a noticeable improvement. For more insights on perfecting your brew and avoiding common pitfalls, check out these expert tips. The key is understanding that patience and precision make all the difference in maintaining foam stability before the pour. Now, let’s get into specific steps to help you keep that foam luscious and intact until the very last drop.
Control Milk Temperature for Consistent Foam
Start by heating your milk to around 140°F (60°C). Use a thermometer to monitor, so you avoid overheating or under-heating, which destabilizes the foam. During my first attempt, I blindly steamed without a thermometer, resulting in bubbly, unstable foam. Once I adopted temperature control, my foam stayed cohesive longer, making pour-ins easier.
Choose the Right Milk and Frothing Equipment
Use fresh, cold whole milk for rich, stable foam. Avoid low-fat or alternative milks—they often produce less stable foam. Invest in a quality milk frother or steam wand with fine control, like a steam tip that produces a whirlpool effect, emulsifying milk uniformly. I upgraded my basic frother to a professional-style steam wand and noticed a significant improvement in foam longevity.
Technique: Consistent Steaming and Texturing
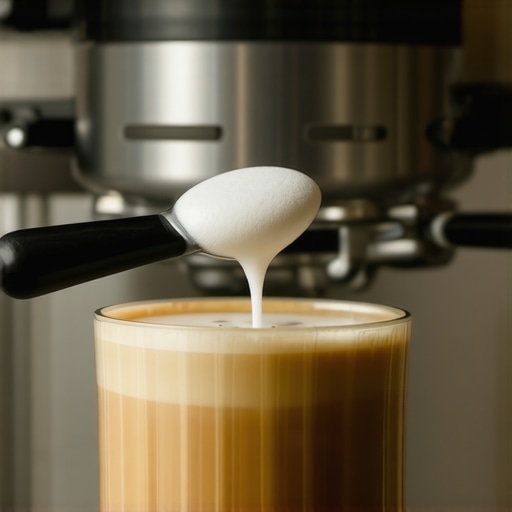
Position your steam wand just below the milk surface to introduce air, creating micro-foam. Then, submerge the tip deeper with a swirling motion to texture evenly. Keep the milk moving in a whirlpool—this prevents large bubbles and creates a smooth, velvety microfoam. I practiced this method in short bursts, and within days, my foam remained stable longer, allowing for detailed latte art.
Tap and Swirl to Achieve Uniform Microfoam
After steaming, tap the pitcher on the counter to burst any large bubbles, then swirl it to smooth the surface. This process aligns the microbubbles and stabilizes the foam. I used to skip this step, ending up with inconsistent foam that separated quickly. Now, this simple ritual keeps my latte art intact until the final pour.
Timing Is Everything When Pouring
Pour immediately after texturing—ideally within 15-20 seconds—while the foam is at its peak stability. Delayed pouring allows temperature fluctuations and bubble growth, causing separation. I once waited 30 seconds, and my foam quickly deflated. By pouring promptly, I maintain the foam’s cohesion, resulting in a glossy, lasting top layer.
Maintain Your Equipment for Reliable Results
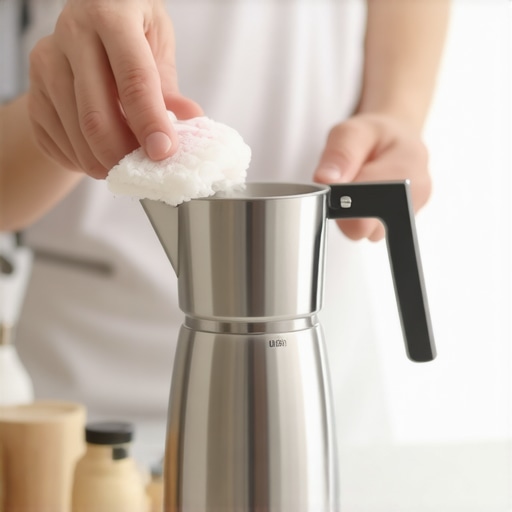
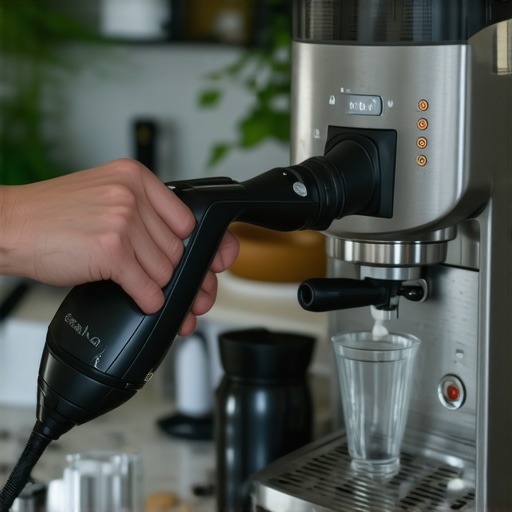
Regularly descale your espresso machine and clean your steam wand to prevent clogging and inconsistent steam delivery. A clean wand produces better frothing pressure, directly affecting foam stability. I set weekly clean routines, which eliminated sputtering and irregular foam textures, ensuring each batch stays stable longer.
Experiment with these steps, adjusting based on your milk type, frothing gear, and environment. Remember, the key is consistency—small tweaks can dramatically improve your foam longevity, bringing you closer to barista-level latte art at home. For more detailed gear advice, explore the best barista gear guide.
 Many enthusiasts believe that investing in high-end barista gear guarantees café-quality espresso at home, but in truth, understanding the intricacies of equipment and technique matters far more than sheer price tags. For instance, a common misconception is that expensive grinders automatically produce better shots—that’s not always the case. The key lies in how well you calibrate and maintain your grinder, as well as understanding grind size, tamping pressure, and shot timing. Neglecting these nuances often results in inconsistent extraction and flavor loss, despite owning top-tier equipment. Moreover, it’s a myth that all espresso machines are created equal; many beginners overlook the importance of boiler type, temperature stability, and pressure profiling, which significantly influence shot quality. Choosing a machine without considering these factors can lead to disappointment, regardless of its cost. Have you ever fallen into this trap? Let me know in the comments.
Another often overlooked aspect is the role of coffee freshness and grind consistency. Even the most sophisticated gear can’t salvage staled beans or uneven grounds. Regularly cleaning and calibrating your equipment is essential to prevent flavor contamination and mechanical issues. For example, uncleaned portafilters and group heads can harbor oils and residues that alter taste and clog your system over time. Additionally, many assume that milk frothers with high power or multiple features will produce perfect microfoam effortlessly—they might, but only if the milk temperature, texturing technique, and timing are precisely managed. A simple mistake like overheating the milk or skipping the swirl step can destabilize microfoam, ruining latte art and texture.
Advanced users often ask about the impact of water quality on espresso extraction, a subtle yet critical factor many ignore. Using hard or mineral-rich water without proper filtration can lead to mineral buildup and machine damage, impacting flavor profiles and consistency. In fact, a study published in the Journal of Food Engineering highlights that water mineral content directly correlates with extraction efficiency and taste clarity. Therefore, selecting the right water treatment process is a nuanced yet vital step to ensure optimal brewing conditions.
In my experience, avoiding these common pitfalls requires a blend of knowledge, patience, and proactive maintenance. Don’t just chase the latest equipment; focus on mastering the fundamentals, understanding each component’s role, and fine-tuning your process. For comprehensive advice on selecting the best gear and techniques, check out our guide on choosing the best barista gear and coffee grinder selection. Remember, espresso is as much about skill and nuance as it is about equipment; mastering these subtleties elevates your home barista game from ordinary to extraordinary.
Keep Your Gear in Top Shape for Consistent Results
Investing in high-quality equipment is just the start; routine maintenance is essential to ensure longevity and optimal performance. I personally swear by regularly descaling my espresso machine with a specialized descaling solution designed for my model, which prevents mineral buildup that can impair temperature stability. For example, using distilled water reduces mineral deposits and extends your machine’s lifespan. Incorporate weekly backflushing with a cleaning detergent to clear out oils and residues from the portafilter gasket and brew solenoid, which keeps your shots consistently flavorful and your machine responsive.
How do I maintain my espresso setup over time?
One of the best strategies I employ is keeping a detailed maintenance log. Note when I replace gaskets, calibrate grinders, or descale, which helps catch small issues before they turn into costly repairs. Also, investing in tools like a group head cleaning brush and a good set of calibration tools for grinders ensures your equipment stays precise and clean. Furthermore, I use a water filter system that reduces mineral content, protecting both my machine and enhancing coffee flavor—more on that in a moment.
Tools I Recommend for Home Baristas
For grinders, I rely on a conical burr grinder with stepless grind adjustment. Its durability and ease of calibration allow me to fine-tune my grind size easily and maintain consistency. For espresso machines, I prefer models from the top-rated category in 2025—these machines feature advanced temperature stability and pressure profiling, ensuring shot quality over time.
To streamline my workflow, I use a digital shot timer app that syncs with my grinder and machine. This precise control over shot timing, combined with regular maintenance, yields rich, balanced espresso shots day after day. Additionally, a sturdy milk Frothing pitcher and a dedicated thermometer help me monitor milk temperature precisely, ensuring microfoam stability and longevity. After all, consistent results depend on the right tools and rigorous upkeep.
Looking Ahead: The Future of Tool Maintenance in Home Coffee
As technology advances, I predict we’re heading toward smarter equipment integrated with self-diagnosis capabilities and automatic cleaning cycles, reducing manual maintenance. Keeping abreast of emerging innovations will enable home baristas to focus more on extraction artistry instead of equipment troubleshooting. In the meantime, adopting a proactive maintenance mindset and investing in high-quality tools is my best advice. Why not try calibrating your grinder with a simple calibration method today? Small improvements now can significantly enhance your long-term results.”} }“`#END#none#}#json#{
What I Wish I Knew When Starting Out in Home Espresso
One of the most eye-opening realizations was that even perfect-looking foam can be fragile if I don’t pay attention to the microscopic details. The microbubbles I thought were my friend could easily become unstable if I neglected small steps like swirling or waiting too long before pouring. That lightbulb moment taught me to appreciate the delicate balance between technique and patience, transforming my coffee from okay to café-quality.
Another lesson was how much equipment maintenance influences foam stability. Consistently cleaning my steam wand and descale my machine prevented subtle issues that could compromise microfoam. I found that routine upkeep saved me from troubleshooting complicated problems later, reinforcing that being proactive with my gear is part of crafting a perfect cup.
Lastly, I discovered that the little tweaks—like adjusting milk temperature precisely and pouring within the right window—had a compounding effect. Small improvements in these areas significantly extended the lifespan of my microfoam, allowing me to enjoy latte art that stays beautiful for minutes instead of seconds. These lessons, learned through trial, error, and patience, unlocked new levels of confidence and enjoyment in my home brewing journey.
My Essential Arsenal for Coffee Success
If you’re looking to elevate your brewing game, I highly recommend investing in tools that have genuinely made a difference for me. A conical burr grinder with stepless adjustments ensures grind consistency, which is the backbone of both extraction and foam stability. For espresso machines, models from the 2025 top-rated list offer features like advanced temperature control and pressure profiling—crucial for reproducible shots. To perfect the microfoam texture, I rely on a quality milk frother that provides fine, controlled steaming with minimal fuss. These tools, combined with attention to maintenance, form my core toolkit, and I believe they can do the same for you.