Stop the Sputter: Why Your Steam Wand Is Spitting Water Instead of Dry Steam
It was a morning like any other when I hit the steam button on my espresso machine, expecting that silky microfoam to flow effortlessly. Instead, I was met with a loud splattering, water spitting out alongside froth, ruining my perfect shot. Frustrating? Absolutely. But that lightbulb moment made me realize something crucial: if your steam wand is sputtering water instead of producing dry, velvet-like steam, you’re not alone—and there’s a real fix.
Why Your Steam Wand Won’t Stop Spitting Water and Why It Matters
Every home barista knows the importance of a properly functioning steam wand. It’s the difference between a latte that feels right and one that’s a watery mess. This issue isn’t just about inconvenience; it impacts the flavor, texture, and overall quality of your coffee experience. The good news? Many problems causing sputtering are fixable with some understanding and a few simple steps. I’ll walk you through what I’ve learned—from early mistakes I made to proven tricks—to get your steam wand back in top shape.
Is Your Steam Wand Actually Worth the Hassle
I used to think that dealing with a sputtering steam wand was simply part of owning a home espresso machine. Spoiler: it’s not. I wasted precious time cleaning or replacing parts that didn’t need it, just because I wasn’t aware of the real causes. For example, I used to ignore mineral build-up, thinking it was just part of routine maintenance. Turns out, this overlooked issue can be a major culprit. Curious how I finally fixed mine? Check out the [quick hacks for stubborn steam wand issues](https://espressotechguide.com/why-your-steam-wand-only-froths-large-bubbles-and-how-to-fix-it), which revolutionized my approach. Trust me, understanding what causes the sputtering opens the door to better, more consistent steaming every time.
Before diving into solutions, it’s important to steer clear of common pitfalls. Early on, I thought descaling alone would fix everything, but I overlooked the importance of cleaning the wand’s tip and ensuring proper pressure. Recognizing these overlooked details is key to stopping that annoying sputter—and achieving that perfect microfoam you crave. Now, let’s explore what causes this issue and how to fix it for good so you can finally enjoy those barista-quality drinks at home.
Clear Mineral Buildup to Restore Steam Power
Start by descaling your machine if you haven’t recently. Use a descaling solution or a mixture of equal parts water and vinegar to run through the boiler system, which dissolves mineral deposits that hinder pressure and steam flow. I once neglected this step, and my steam wand sputtered constantly. After a proper descale following the instructions in this guide, the sputtering reduced significantly—and my microfoam became creamier.
Disassemble and Clean the Wand Tip
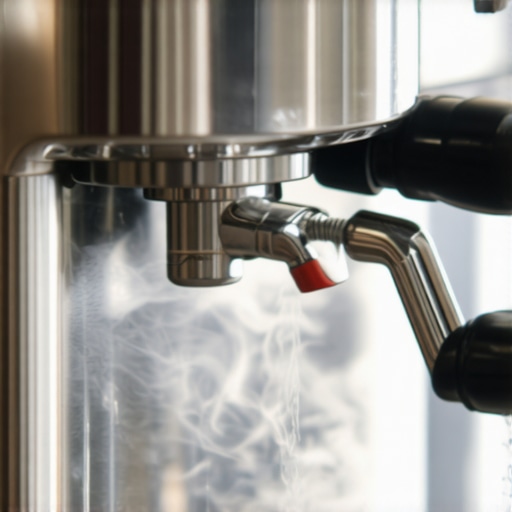
Remove the tip of your steam wand carefully—most are twist-off or unscrew. Soak the tip in hot water mixed with a bit of vinegar or descaling solution for 15-20 minutes. Then, use a small brush or pin to clear any clogs or mineral deposits from tiny holes. I once tried to clear a stubborn clog with a needle, but it damaged the tip. Following the advice in this method, I used a pipe cleaner to avoid damage. Regular cleaning ensures dry, dry vapor—no more water spit.
Check and Improve Pressure Settings
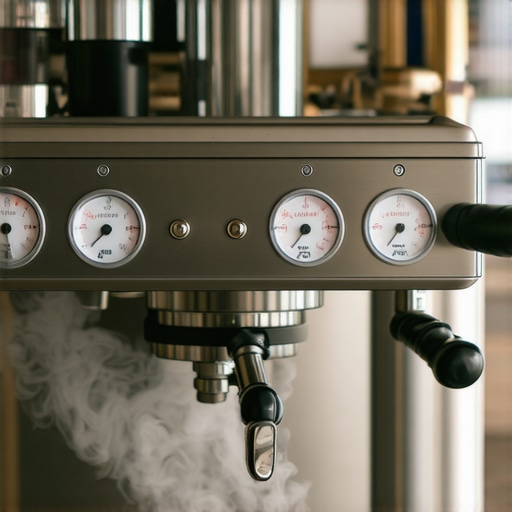
The pressure inside your boiler must be optimal; too high or low causes sputtering. Use your machine’s pressure gauge to verify it’s within the recommended range—usually around 1-1.5 bars during steaming. If it’s off, consult your machine’s manual for recalibration. I once had my pressure set incorrectly, which I fixed by following some tips from this resource, leading to a smoother steam flow. Remember, inconsistent pressure can cause water to be forced out instead of dry vapor, and fixing it is crucial for consistent microfoam.
Ensure Proper Milk Texturing Technique
Sometimes, sputtering is a result of improper steaming technique rather than machine faults. Use a tall, narrow pitcher to better control the steam. Submerge the tip just below the milk surface and open the valve fully, then gently angle the pitcher for whirlpool motion. While steaming, listen—if you hear a sputtering sound, it could be air in the system. To prevent this, make sure your milk is at the right temperature before steaming, and purge any air from the wand by opening the steam valve briefly after initial heat-up. I learned this firsthand when I struggled with large bubbles and sputtering, but applying proper technique improved my results dramatically, as explained in this article.
Maintain Regular Cleaning and Routine Checks
Set a weekly schedule to clean your steam wand thoroughly. Use the recommended cleaning solutions to prevent mineral and milk residue buildup. For stubborn deposits, try the simple auto-purge techniques to keep the wand clear. Additionally, inspect for cracks or damage to the wand tip—damaged parts often cause sputtering. I experienced a repaired tip that dramatically improved steam quality after replacing a cracked nozzle following advice from this resource, which I highly recommend.Many home baristas believe that choosing the right grinder or espresso machine is enough to brew perfect coffee. However, a common misconception is that equipment specifications alone determine quality. In reality, many overlook the subtle details—like grind consistency, maintenance routines, and understanding machine behavior—that make or break your brew. For instance, focusing solely on high wattage without considering burr alignment can lead to muddy shots, as noted by industry experts. Additionally, assuming all milk frothers are equal ignores crucial differences in vapor pressure and nozzle design, which affect microfoam quality. One often-missed nuance is the importance of regularly calibrating your espresso grinder to avoid inconsistent extraction caused by burr wear—something overlooked by many enthusiasts. Learn more about common mistakes that hinder espresso quality and how to address them by exploring detailed guides on grinder maintenance and steam wand issues. Keep in mind, mastering these nuances will elevate your coffee game from amateur to barista level. Have you ever fallen into this trap? Let me know in the comments.
Keep Your Coffee Equipment Running Smoothly with Precision Tools
Maintaining your home espresso setup requires more than regular cleaning; it demands the right tools and a strategic approach. I personally rely on specialized maintenance items that ensure consistent performance and longevity of my gear. For example, a precision burr alignment gauge has become an indispensable part of my toolkit. It allows me to verify that my grinder’s burrs are perfectly aligned after each deep cleaning, which directly impacts shot clarity and flavor extraction. I use the burr alignment gauge periodically to prevent uneven grinding that can cause channeling. Regular calibration keeps my grind uniform, which in turn saves time and improves shot consistency.
Another tool I swear by is a digital pressure tester. While most espresso machines have built-in gauges, they’re not always precise enough for fine adjustments. I use a digital pressure device to monitor boiler and pump pressures, especially when fine-tuning for lighter roasts or different beans. This helps prevent issues like under-extraction or sour shots caused by pressure fluctuations. By combining timing, pressure, and grind adjustments with these tools, I can troubleshoot issues efficiently, saving me from costly service visits.
How do I maintain my equipment over time?
The future of coffee gear suggests a trend towards smart diagnostics and remote monitoring. Some high-end espresso machines now incorporate sensors that track wear-and-tear, alerting owners when parts need replacement before a failure occurs. To stay ahead, I recommend routine use of deep cleaning kits that include descaling solutions, pipe cleaners, and specialized brushes. These ensure that mineral deposits or milk residues never compromise performance and that your machine’s internal components remain in top shape. Set monthly check-ins to replace worn gaskets, clean small water channels, and calibrate pressure accuracy.
Implementing a regular cleaning routine, combined with sharp tools, keeps your equipment performing at its best and reduces downtime. As the industry advances, expect automated diagnostics and AI-driven maintenance suggestions to become more commonplace, making it even easier to keep your gear running smoothly without guesswork.
Get the most from your gear by investing in the right maintenance toolkit
Remember, consistent performance isn’t just about buying the best machine but also about ongoing care. For example, maintaining a flexible, accessible drip tray or cleaning your steam wand regularly with targeted tools can prevent small issues from escalating into costly repairs. I suggest allocating time monthly for comprehensive maintenance, and I guarantee your investment will reward you with richer, more reliable coffee experiences. If you’re ready to elevate your setup, consider starting with a digital pressure tester or a burr alignment gauge. These tools have transformed my ability to keep my gear in prime condition, and I think every serious enthusiast should give them a try.
The Hardest Lesson I Learned About espresso machine maintenance
One of the most valuable lessons I uncovered was the importance of routine descaling and cleaning, especially of the steam wand. I once believed that occasional cleaning was enough until I experienced sputtering water during steaming—an awakening moment that forced me to reevaluate my maintenance habits.
What I Wish I Knew About mineral buildup early on
Mineral deposits are silent culprits behind sputtering steam and uneven microfoam. Recognizing the signs early—like reduced steam pressure or inconsistent frothing—can save you time and frustration. Regularly descaling and inspecting your wand’s tip can prevent larger issues down the line.
How calibrating pressure changed my approach to steaming
Seeing my machine’s pressure gauge sway outside the optimal zone was a revelation. Once I calibrated my boiler pressure to the recommended 1-1.5 bars, the difference in steam quality was night and day. Proper pressure regulation ensures your vapor is dry and velvety every time, making a noticeable difference in your milk texture.
Why Technique Matters More Than You Think
Adjusting your steaming angle and submerging the wand at the right depth can surprisingly influence sputtering. I found that maintaining a consistent pitcher angle and purging air before steaming eliminated most of the water spit, leaving me with rich, creamy microfoam.
Investing in the Right Tools Pay Off
High-quality cleaning brushes and a digital pressure tester became my allies in maintaining peak performance. These tools not only extended my equipment’s lifespan but also gave me confidence that every shot and steam session met professional standards. Check out this resource for more insights into maintaining your steam wand effectively.