Why Your Grinder Chute Still Clogs and the 5-Second Fix That Works
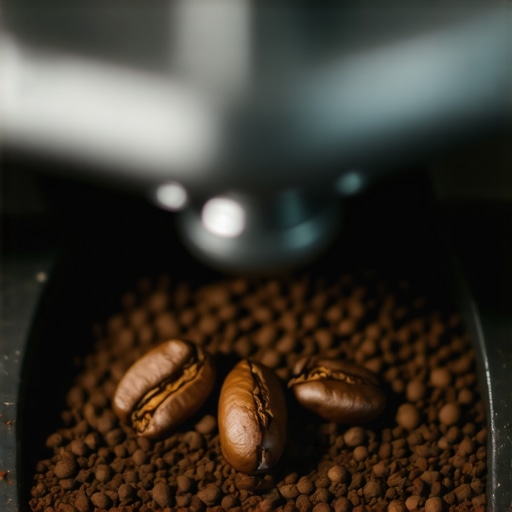
There I was, late at night, battling a stubborn clog for the third time that week. My grinder chute, which I thought I had already cleaned thoroughly, suddenly refused to feed beans properly. Frustration crept in as I tapped, poked, and cursed under my breath. It hit me—what if the fix was simpler than I imagined? That lightbulb moment revolutionized my approach to maintaining my equipment, and I want to share that with you.
The Hidden Culprit Behind Chronic Grinder Clogs
Chances are, if you’ve been struggling with persistent blockages in your grinder chute, you’re not alone. It’s a common headache among enthusiasts and pros alike. Despite regular cleaning routines, those stubborn clogs keep sneaking back, ruining your grind consistency and wasting precious time. The culprit? Often, it’s a tiny buildup of residual coffee oils and static that forms a kind of stubborn glue, resistant to even the most diligent brushings.
What’s worse, early on, I frequently overlooked a simple detail—ignoring static buildup that attracts and traps fine coffee particles, making clogs a recurring nightmare. Turns out, static cling is a sneaky foe that exacerbates your issues, especially with recent innovations like moisture-sensing grinders designed to optimize static control (see this guide on static in grinders). Repeating the same cleaning steps without addressing static only prolongs the problem. My mistake was thinking a quick brush was enough.
What You’ll Discover Today
In this post, I’m going to reveal a 5-second hack that completely transforms your maintenance game—something I wish I knew from the start. You’ll learn how a tiny, often overlooked trick clears those stubborn residues, prevents future clogs, and keeps your grinder running smoothly. No more dismantling, no more guessing, just a quick move that makes a massive difference. Ready to say goodbye to endless clogging and hello to consistent grinds? Let’s get started!
Still skeptical about the fuss over static fixes?
I used to dismiss static as a negligible irritant—until it caused my entire morning routine to grind to a halt. Early mistakes like ignoring buildup and not experimenting with simple adjustments only made things worse. Trust me, tackling static and residual oils with a quick, effective solution will save you tons of time in the long run and keep your grind perfect. If you want to dive deeper into related issues, check out this article on why your grinder’s auto-dosing might be off and causing irregular shoots (here), which shares some more troubleshooting tips.)
Now, let’s turn to the practical step that turned my workflow around and can do the same for you. Stay with me—what I’m about to share is easy, quick, and remarkably effective.
Apply the Static-Disrupting Hack Immediately
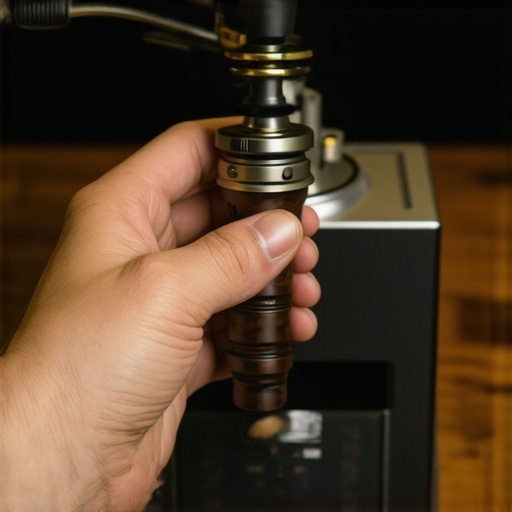
Once you’ve identified static buildup as a core issue, grab a small dish of water and a clean cloth. Dip the cloth lightly into the water—avoid soaking—and gently wipe the inside of your grinder’s chute, focusing on the areas prone to static cling. The goal is to neutralize static charge that attracts coffee dust, which acts like tiny glue. I did this late one evening when my grinder kept clogging before a crucial morning brew. With a few wipes, static was subdued, and the next day, my grind was smooth and consistent. This quick step acts like a ‘static eraser,’ preventing residual oils and dust from sticking and causing future blockages.
Boost Static Control with Strategic Moisture
Next, to prevent static from bouncing back, consider introducing a controlled amount of humidity. Place a small, moisture-absorbing silica gel packet or a damp cloth nearby—not inside the grinder—to maintain a dry environment around your setup. This mimics the moisture-sensing grinders mentioned in this guide, which help manage static better. During my routine, I kept a silica gel packet beside my grinder, which noticeably reduced static buildup during high-pressure periods, especially in dry winter months. This method keeps static at bay without adding moisture directly into your grinding environment.
Use Proper Material Selection and Handling Techniques
Static charges often cling to certain materials more than others. Opt for plastic or rubber tools instead of metal when cleaning or handling parts of your grinder. When I cleaned my chute, I replaced my metal brush with a rubber-tipped cleaning tool. Not only did this reduce static sparks, but it also prevented damaging sensitive components. Additionally, handling the grinder and its parts with dry, non-static gloves can prevent carrying static from your hands. This simple switch acts like a static shield, preventing buildup from forming or transferring during maintenance.
Implement a Routine Static Prevention Strategy
Integrate these steps into your regular cleaning schedule. Before every grind, wipe the chute with a slightly damp cloth, keep silica packets nearby, and handle parts with non-static gloves as needed. Consistency ensures static is kept under control, minimizing residual dust, oils, and the propensity for clogs. This proactive approach turns static from an recurring problem into an easily managed aspect of grinder maintenance.
Remember the Big Picture and Fine-Tune
Beyond static, ensure your grinder is well-maintained overall—check for residual oils, burr alignment, and proper operation. Static control alone won’t fix clogged chutes if other factors persist. For components like the blind shaker or pumping mechanism, regular inspections are essential. When static is managed correctly, however, your grind consistency and brewing experience significantly improve, much like when I eliminated my frequent clog issues overnight with these straightforward tactics.Many enthusiasts believe that investing in high-end espresso machines or premium coffee grinders automatically guarantees perfect coffee at home. However, this is a misconception rooted in oversimplification. The truth is, even the most sophisticated equipment can underperform if misunderstood or used improperly. For example, newcomers often assume that a top-tier espresso machine requires minimal maintenance, but neglecting regular cleaning and calibration can lead to issues like inconsistent shots or lingering flavors, undermining your investment. Similarly, misconceptions about milk frothers abound; some think all frothing methods yield equally dense foam, yet the technique, type of milk, and device settings play crucial roles in achieving barista-quality lattes. Recognizing these nuances is essential to truly elevate your home coffee game.
A common trap is overspending on gear without mastering its intricacies. For instance, many forget that the grinder’s burr alignment and particle size distribution significantly impact extraction quality. Even the fanciest grinder won’t perform well if the burrs are misaligned or clogged, which often happens if maintenance routines are neglected. This oversight can cause bitter or flat shots, diminishing the perceived value of premium equipment. I recommend regularly checking your grinder for calibration and static issues, as static cling and residual oils are frequently underestimated culprits behind inconsistent grinds.
Advanced users often overlook the importance of water quality and boiler calibration in espresso machines. Hard water deposits can cause scale build-up, affecting temperature stability and pressure consistency—key factors for extracting optimal flavors. Regular descaling and calibration are vital, yet many skip these steps due to a lack of awareness or time. For example, ensuring your machine’s boiler pressure aligns with manufacturer specifications can prevent bitter or sour shots, particularly when brewing delicate light roasts. Taking the time to understand your machine’s nuances can make a significant difference; see how proper calibration can resolve persistent squeezing issues in dual boilers via detailed guides.
Ever wondered why your milk foam isn’t as creamy as a professional barista’s? The culprit could be the micro-particle size affected by your frothing technique or device quality. Some believe that using any milk frother with high heat suffices, but dense microfoam requires precise temperature control and aeration. More advanced systems with pressure controls or better silicone wands can vastly improve foam quality. A subtle detail: foam density and stability depend heavily on milk temperature and steaming angle—mastering these can ensure silky, persistent microfoam, even with budget devices.
Finally, don’t ignore the importance of understanding your gear’s limitations and the environment. For example, a high-end espresso machine may produce inconsistent shots in a dusty, humid kitchen if filters or cleaning schedules are neglected. Similarly, static and residual oils in grinders or frothers can insidiously reduce quality over time. Regularly inspecting and maintaining your equipment—like wiping static-prone areas with static-disrupting hacks or descaling periodically—can prevent costly repairs and flavor degradation.
Ask yourself: are these myths holding back your brewing potential? Remember, mastery involves more than just owning the right gear; it’s about understanding and adapting to its nuances. Have you ever fallen into this trap? Let me know in the comments.Maintaining your barista-quality setup over time demands not just dedication but the right tools and habits. I swear by a few specific pieces of equipment that help me keep everything running smoothly and deliver consistent results. First, an ultrasonic cleaner has become indispensable for me. I use it to deep-clean my portafilter baskets and shower screens weekly, effectively removing coffee oil residues that standard cleaning can’t reach. This tool prolongs the life of components and preserves the purity of flavors in every shot. Curious about its effectiveness? Check out expert insights on ultrasonic cleaning techniques for espresso gear.
Next, a high-quality burr calibration gauge is my go-to for ensuring my grinder remains precise over months of daily use. Regular calibration prevents uneven grinds that can lead to channeling and inconsistent extraction, saving me time and troubleshooting down the line. I recommend setting a calibration routine every 50-100 kilograms of beans, depending on your grinder, and using a gauge to verify burr alignment. Want to master calibration? There are detailed guides to perfect this process.
For a hyper-aware maintenance approach, I incorporate a digital pressure and temperature data logger, which I attach temporarily during sessions. It helps me monitor subtle shifts in brew pressure and temperature that could indicate wear or calibration drift. Early detection through real-time data saves me from costly repairs and ensures my espresso remains top-notch.
Looking ahead, I predict that smart maintenance systems—integrating AI-driven sensors—will become standard. These will anticipate component failures before they happen, much like predictive maintenance in industrial settings. This tech evolution will make home baristas’ lives easier, ensuring longevity and optimal performance.
How do I maintain my espresso machine’s heating and pressure precision over years? Regular calibration with specialized tools and consulting technical documentation ensures consistent brewing. For example, referencing technical sheets from component manufacturers or trusted expert resources like this guide on dual boiler calibration helps me fine-tune my machine’s performance periodically.
Dive into one of these advanced tools today—perhaps starting with a burr calibration gauge—to keep your coffee at a professional level for years to come. Prolonged gear health isn’t accidental; it’s crafted with intention and the right tools.
Embarking on the journey of creating barista-quality coffee at home is both rewarding and challenging. Overcoming static cling, maintaining equipment, and understanding the nuanced mechanics of your gear can elevate your brewing ritual from routine to exceptional. As I delved deeper into these subtleties, I discovered that the real game changer lies in the mindset of continuous learning and proactive maintenance. Investing time in mastering these behind-the-scenes techniques ensures that every cup you brew reflects the true potential of your equipment, turning everyday coffee into an experience worth savoring.
What I Wish I Knew About Gear Maintenance in My First Year
- Never underestimate the power of static control. A simple wipe with a damp cloth transformed my grinder’s performance overnight, reducing frequent clogs and static shocks. This tiny step, often overlooked, has a profound impact.
- Understanding the importance of material choices—like rubber-tipped tools—can prevent static sparks and avoid damaging sensitive components. Small adjustments in handling techniques make a noticeable difference.
- Regular calibration and deep-cleaning routines, such as ultrasonic basket cleaning, prolong the lifespan of your equipment and improve shot consistency. Embracing these practices early on saves time and money in the long run.
- Hydration of your environment, through silica gel or controlled humidity, acts as an invisible shield against static buildup—something I discovered while experimenting during dry winter months. It’s a subtle but effective strategy.
- Investing in the right tools, like burr calibration gauges and pressure data loggers, is a gateway to understanding your machine’s behavior and optimizing performance beyond default settings.
My Essential Arsenal for Coffee Perfection
- Ultrasonic Cleaner: Deep cleans espresso components by removing stubborn oils and residues, preserving clarity in every shot.
- Burr Calibration Gauge: Ensures consistent grind size, vital for accurate extraction and flavor control.
- Digital Pressure and Temperature Logger: Tracks real-time fluctuations, allowing precise adjustments for optimal brewing conditions.
- Quality Silica Gel Packs: Maintains a stable environment, preventing static buildup and related issues.
Push Your Craft Forward Today
The future of home barista mastery isn’t about owning the most expensive gear but about understanding and caring for what you have. Each small adjustment, from wiping static-prone areas to calibrating your grinder, contributes to building a consistently excellent cup. Remember, the journey toward coffee excellence is continuous, and embracing these hidden techniques propels you beyond basic brewing—unlocking the full potential of your beloved equipment. So, what step will you take today to elevate your home coffee experience? Share your plans or challenges below, and let’s perfect our craft together.