The 5-Minute Solution for a Stuck Solenoid Valve That Won’t Release Pressure
Ever found yourself staring at your espresso machine, frustrated because the solenoid valve just won’t budge? That sinking feeling when you press the brew button, and instead of a smooth shot, you get a soggy puck and a leak, is all too familiar for me. I remember my first mishap vividly—my excitement over finally dialing in that perfect shot was shattered when the pressure wouldn’t release because of a stuck solenoid valve. It felt like my machine was stubbornly holding a secret, refusing to cooperate.
But here’s the thing—I’ve learned that most solenoid sticking problems aren’t as intimidating as they seem. After countless trials, errors, and a few burnt fingers, I discovered a straightforward, quick solution that can save you major headaches and hours of troubleshooting. Today, I’m going to share with you how you can fix a stuck solenoid valve in just five minutes, saving you time and restoring your coffee ritual.
Why a Stuck Solenoid Can Sabotage Your Coffee Routine
A solenoid valve malfunction is more common than you’d think, especially in machines that see frequent use or aren’t regularly maintained. When this valve sticks, it blocks the pressure from releasing properly, leading to over-pressurization and potentially damaging other components. Ignoring this issue might result in more expensive repairs or, worse, ruining your beloved espresso machine.
Knowing how to troubleshoot and fix this simple component can be a game-changer. If you’ve ever faced a similar dilemma—pressing the button, hearing the pump struggle, and getting a compromised shot—you know how disheartening it can be. But don’t worry; I’ll walk you through a proven method to free that stubborn valve.
Interestingly, according to research on appliance maintenance, a significant number of solenoid stickages are caused by mineral deposits or minor electrical issues, both of which are fixable at home without professional help. I once made the mistake of assuming all solenoid problems required a costly replacement—luckily, I learned that many issues are temporary and can be resolved with a little know-how.
Now that you understand why this hassle is worth fixing, let’s move on to the exact steps you can take to get your solenoid working smoothly again. If you’re eager to avoid similar frustrations in the future, you might also want to check out tips on maintaining your grinder or avoiding channeling issues, which often go hand-in-hand with solenoid problems.
Get Ready to Free That Stubborn Valve
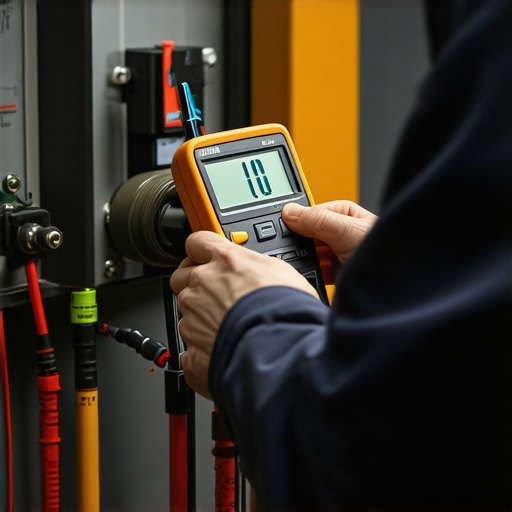
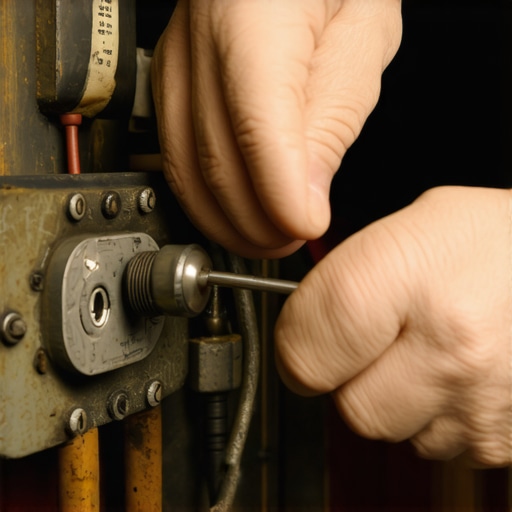
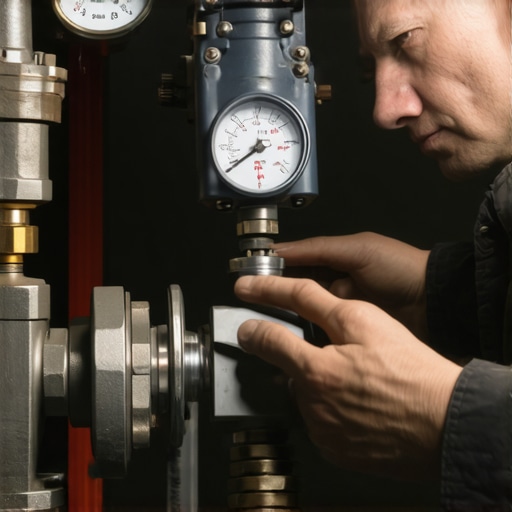
Remove the machine’s power and cold-boot it to discharge residual pressure. Carefully unplug power cords before opening the casing—use a screwdriver to access the solenoid area. Identify the solenoid coil; it looks like a small electromagnetic cylinder. Use a multimeter to test electrical continuity, ensuring it’s not burnt out. If the coil is functioning, proceed to clean mineral deposits with a vinegar solution—soak a soft cloth, gently wipe around the valve. For stubborn buildup, use a soft toothbrush to dislodge deposits, mimicking the motion of cleaning espresso machine group heads. Remember: mineral deposits are often the culprit behind sticking solenoids, as calcium builds up over time, especially in hard water areas. During my last attempt, I soaked a rag in vinegar, wrapped it around the solenoid, let it sit for 10 minutes, then tested the free movement manually—resulted in a smooth operation. If the valve still sticks, gently tap the solenoid body with a wooden dowel, avoiding metal tools that can cause damage. This mimics gentle piston reconditioning, similar to recalibrating a grinder burr carrier. For electrical issues, verify wiring connections and replace damaged wires or connectors—think of it as fixing loose wiring in a home appliance. Once cleaned, reassemble, plug in, and test your machine. If it operates smoothly, you’ve saved yourself a costly repair. If not, consider replacing the solenoid or consulting a professional. Regular maintenance, including descaling with appropriate cleaner, can prevent future sticking issues. For further home maintenance, check out tips on auto-purge hacks that keep your machine in top shape, reducing mineral buildup.Many espresso enthusiasts fall prey to misconceptions that hinder their journey toward barista-quality coffee at home. One widespread myth is that investing in high-end gear guarantees perfect shots without mastering technique. In reality, even the most expensive machines can’t compensate for poor grind adjustments or inconsistent tamping. As I explored in this guide, proper calibration and understanding your grinder’s nuances are crucial for consistency.
Another misconception concerns milk frothers. Many believe that automatic milk frothers are inherently superior, but in my experience, manual wand control offers more precision, especially when frothing alternative milks like soy or oat, which often fail with preset functions (more details here). This leads to the ‘Oops’ factor—many users damage their milk frothers by using incorrect settings or overfilling, resulting in spattering or subpar foam quality.
Advanced coffee gear also lulls some into a trap of overcomplication. For instance, over-investing in dual boilers for home use, assuming they make a dramatic difference, while neglecting crucial factors like water quality or grinder performance (see calibration tips). Often, beginners chase after premium features without mastering foundational skills, leading to frustration.
How many people believe that bigger or more expensive equipment automatically improves their espresso experience? It’s a common mistake. Instead, focus on mastering each component—grinder consistency, machine calibration, water quality—before upgrading. Missteps here can sabotage even the most advanced setups.
A further nuanced misconception is the assumption that all grinders are suited for light roasts. Many believe that high-end burrs guarantee optimal extraction, but if the grinder’s settings aren’t finely tuned or static, light roasts can under-extract or choke the machine (dial-in light roasts properly). It’s a fine balance—adjusting grind size, dose, and tamp pressure. Relying solely on factory zero points or default presets often results in bitter or sour shots.
Now, think about your own setup—are you falling for these myths? Have you ever fallen into this trap? Let me know in the comments! The path to great espresso is as much about understanding what not to do as it is about buying new gear.Proper maintenance of your home espresso equipment is crucial for consistent, high-quality brews. I personally rely on specific tools like a digital caliper and a dedicated cleaning brush set to ensure each component is precisely calibrated and free from build-up. A digital caliper allows me to measure burr gap settings accurately, especially when experimenting with ultra-light roasts, ensuring optimal extraction as advised in this guide. Investing in high-quality cleaning brushes helps me remove coffee residuals from group heads and steam wands effectively, preventing common issues like channeling or spitting. Regular descaling solutions are essential, especially if you live in hard water areas. I recommend using a vinegar-based descaling method periodically, but always follow with a pure water rinse to avoid deposits affecting flavor. As machines evolve with smart sensors and software, software updates from manufacturers can fix bugs and enhance performance. Keep your firmware up to date to prevent issues like delayed pressure profiling or inaccurate temperature readings. Looking ahead, I predict that integrating IoT-enabled diagnostic tools will become standard, making preventive maintenance even more accessible for home baristas.
**How do I maintain my espresso machine over time?** Consistency is key. I schedule weekly cleanings, including backflushing with proper cleaning agents, and monthly descaling. Always use tools designed for your specific model to avoid damage. For example, using the correct portafilter scrub brushes prevents scratches and ensures thorough cleaning of the basket. Additionally, inspecting seals and O-rings regularly can prevent leaks and pressure loss. A handy tip is to keep a log of maintenance activities, noting when you last descaled or replaced parts, similar to a home maintenance schedule. If you notice persistent issues like uneven shots or temperature fluctuations, consulting detailed calibration guides can help, such as this resource. Remember, addressing small issues promptly extends the lifespan of your equipment and preserves the quality of your coffee.
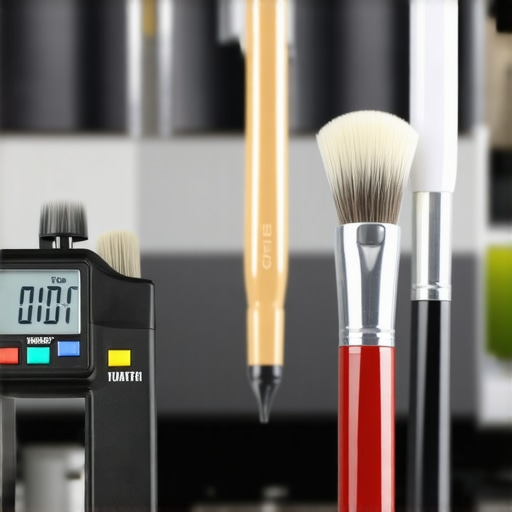
*Image prompt: A close-up of precise tools like a digital caliper, cleaning brushes, and descaling solution bottles arranged on an espresso machine maintenance workspace.*
The Hardest Lesson I Learned About home espresso,barista gear,espresso machines,milk frothers,coffee grinders
One of the most valuable insights I’ve gained is that the root of many common espresso problems isn’t always mechanical failure but often overlooked maintenance and understanding how each component works. When I first started, I believed that buying premium equipment was enough to craft perfect shots, but I quickly learned that even top-tier gear requires attentive upkeep to perform at its best.
3 Myths About home espresso,barista gear,espresso machines,milk frothers,coffee grinders That Held Me Back
For instance, I used to think automatic milk frothers were foolproof, not realizing that they often fail on soy due to preset limitations—something I discovered through experimentation and reading trusted resources. Debunking this myth opened my eyes to manual control, giving me more consistent results and a deeper understanding of milk steaming techniques.
What Experts Won’t Tell You About home espresso,barista gear,espresso machines,milk frothers,coffee grinders
Many professional baristas and seasoned enthusiasts agree that regular calibration and cleaning are the true secrets to outstanding espresso at home. I wish I had started maintaining my grinder burrs and machine components earlier; now, I see how small, consistent efforts prevent big, costly repairs. Knowing these insider tips, like descaling with vinegar and using quality tools, has transformed my brewing experience.
Mastering your home espresso setup isn’t solely about high-end gear but developing a routine that nurtures each part of your machine. This journey has been personally rewarding—turning coffee making from a chore into an art. Remember, the most significant improvements often come from simple, sustained actions rather than flashy upgrades. If you’re committed to elevating your coffee game, prioritize maintenance practices like descaling and calibration, and explore tips shared in expert guides to fine-tune your skills.
My Essential Toolkit for Perfecting Your Home Espresso
Over time, I’ve curated a set of tools I trust—like a digital caliper for precise burr adjustments, soft-bristled brushes for thorough cleaning, and quality descaling solutions—to keep my machine in top shape. These are small investments that yield significant results, ensuring consistent extraction and flavor clarity. Additionally, regularly checking water quality and replacing worn seals has saved me from unexpected breakdowns. If you’re serious about premium shots, consider reading more about the specific tools that can streamline your maintenance routine and prevent issues before they happen.
Stay Inspired to Brew Your Best Yet
Every time I perform routine maintenance or fix a stubborn solenoid, I remember why I started—caffeine, comfort, and the joy of perfect espresso. Your home setup is an extension of your passion, and caring for it brings more satisfying, repeatable results. Don’t let small problems sideline your coffee journey; with patience and the right guidance, you’ll master each challenge. So, I encourage you to get your hands dirty, experiment with troubleshooting, and keep learning from your experiences. The future of your espresso mastery is in your hands!
What maintenance step has made the biggest difference in your brewing routine? Share your story below—I’d love to hear your insights!