How to Fix a Leaky Steam Wand Connection Without a Plumber
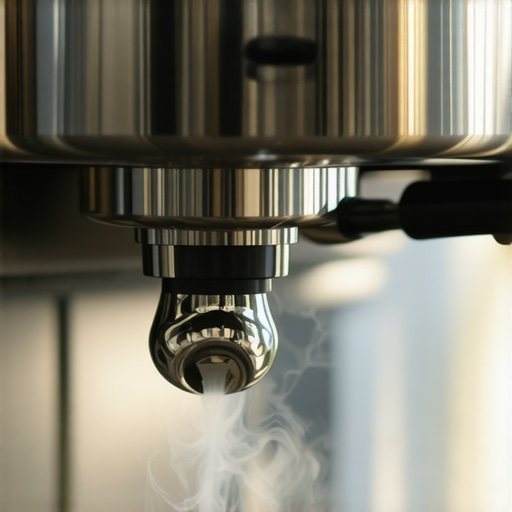
Have you ever reached for your espresso machine, only to be greeted by a burst of water and steam leaking from your steam wand connection? I remember the sinking feeling that hit me the first time it happened—there I was, mid-latte frothing, and suddenly my kitchen turned into a mini steam shower. Talk about an unwanted surprise! That lightbulb moment made me realize that my beloved home setup needed some TLC, but I was hesitant to call in a plumber for something that might be a simple fix.
Why Ignoring a Leaky Steam Wand Can Kill Your Coffee Routine
When your steam wand connection starts dripping or sputtering, it’s more than just an annoyance. Left unresolved, it can lead to bigger problems like water damage, mold, or even damage to your espresso machine’s internal parts. Plus, a leaky connection spoils the consistency of your milk microfoam—turning creamy clouds into watery messes. Tackling this issue yourself not only saves money but also preserves that perfect brew quality everyone raves about.
Is Fixing a Leaky Steam Wand Worth the Hassle?
If you’re like me, you might worry that doing repairs on your machine is complicated or risky. Early on, I made the mistake of trying to tighten the connection without properly cleaning the parts, which only made things worse. But with the right guidance and a few basic tools, I discovered fixing it isn’t as daunting as it seems. In fact, I was able to repair my steam wand in under 20 minutes, enjoying frothy milk again the very same day.
This post will walk you through the simple steps to stop that pesky leak. No need to call a plumber or buy new equipment—just a bit of patience and some elbow grease. Ready to reclaim your coffee time? Let’s dive into fixing that connection now.
Preparing for the Repair
Start by unplugging your espresso machine and allowing it to cool completely to prevent burns. Gather essential tools like adjustable wrenches, screwdrivers, and replacement O-rings specific to your model. Remember, a well-lit workspace helps you see tiny parts clearly, reducing the chance of mistakes.
Identifying the Cause of the Leak
Examine the steam wand connection meticulously. Often, leaks stem from worn-out O-rings or loose fittings. Use a flashlight to spot any cracks or damage. I once found a cracked O-ring after a quick disassembly—swapping it out fixed my leak instantly. For detailed diagnostics, check the connection points where the wand attaches to the machine.
Disassembling the Steam Wand
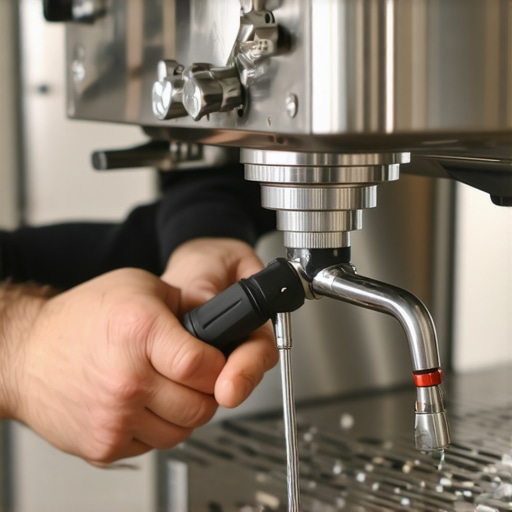
loosen the screws securing the steam wand to the machine using a screwdriver. Carefully unscrew and gently remove the wand. Take note of the order and orientation of parts as you disassemble. If it’s your first time, taking pictures during disassembly can aid reassembly. Remember, avoiding force preserves delicate seals and threads.
Cleaning and Inspecting Components
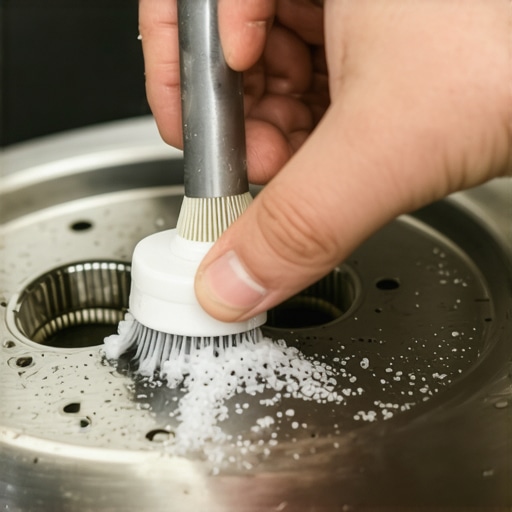
Clean all removable parts with warm water and a soft brush to remove mineral deposits or grime. Pay special attention to the O-rings, as residues can cause leaks. If an O-ring appears cracked or deformed, replace it with an exact match. I replaced mine with a generic O-ring from a local hardware store, which was an affordable fix.
Replacing the Faulty Parts
Insert the new O-ring into its groove, ensuring it sits evenly without twists. Tighten fittings snugly, but avoid over-tightening, which can damage threads. For a tighter seal, apply a small amount of food-grade silicone lubricant around the O-ring—this makes installation smoother and prolongs the seal’s lifespan.
Reassembling and Testing
Reattach the steam wand carefully, confirming all screws are secure. Power on the machine and test the connection by activating the steam wand. Observe closely for any leaks or sputtering. My first test resulted in a slight drip, prompting me to tighten fittings just a bit more, which resolved the issue entirely. For more tips on fixing sputtering steam wands, visit this comprehensive guide.
Preventing Future Leaks
Regular maintenance extends the lifespan of your machine’s seals. Schedule routine inspections of the steam wand connection, especially if you notice any changes in performance. Using filtered water can reduce mineral buildup that causes deterioration. Also, avoid forceful attachments that might stress the fittings over time.
By following these steps, you can confidently fix your leaky steam wand without calling a technician. Small maintenance like this preserves your machine’s efficiency and keeps your coffee experience smooth and enjoyable. Want to explore more common espresso machine problems? Check out this detailed troubleshooting article.
When it comes to home espresso setups, there’s a widespread myth that more expensive equipment automatically guarantees better coffee. Many enthusiasts believe that investing in top-tier grinders or espresso machines will solve most brewing issues, but in my experience, this isn’t always the case. A crucial nuance often overlooked is that equipment quality alone doesn’t ensure consistent results—technique and understanding play equally vital roles. For example, even a world-class grinder can produce uneven particle size if not properly calibrated or cleaned, leading to channeling and under-extraction. Conversely, a beginner can achieve excellent shots with mindful operation on a modest machine.
Another common misconception is about milk frothers, especially smart automated ones. Many assume that these gadgets are foolproof, but as I discovered through personal trial, some models—like those designed for soy milk—fail to produce quality microfoam due to proprietary heating mechanisms or insufficient agitation. It’s essential to know the limits of your equipment; otherwise, you risk disappointing results or damage. For instance, relying solely on the manufacturer’s settings without understanding the underlying physics and mechanics can lead to issues like scalded milk or inadequate foam texture.
For seasoned enthusiasts, a pressing question often arises: How can I refine my technique when all the gear seems optimal? In this case, attention to detail is critical. Small adjustments—like tweaking dose consistency or tamp pressure—can significantly impact extraction quality. Regularly calibrating your grinder using a precise scale and flow rate measurements can prevent common pitfalls like uneven extraction or sour shots. This is detailed in guides such as this article on flow rate issues.
Moreover, falling into the trap of assuming that all grinders are equally capable on different bean profiles can be costly. For example, fine-tuning burr alignment and settling a new grinder with a specific weight of beans is essential before dialing in shots, as explained here. Neglecting this step often results in inconsistent extraction and wasted coffee.
Understanding these nuances helps elevate your brewing game beyond the basic gear acquisition. It transforms the process from a simple mechanical routine into a precise craft enriched by knowledge. As I always say, equipment is merely a tool—mastery comes from harmony between your tools and techniques. Have you ever fallen into this trap? Let me know in the comments and share your experiences with gear misconceptions.
How do I keep my coffee gear running smoothly over time?
Maintaining your barista tools is crucial to ensuring consistent quality and extending the lifespan of your equipment. One of my go-to strategies is using a dedicated single-dose grinder. It minimizes bean residue buildup, which can impact grind consistency. Regularly inspecting and replacing worn O-rings in your espresso machine prevents leaks that can cause long-term damage, saving you costly repairs down the line. I personally check my steam wand seals monthly; it’s a simple step that ensures reliable microfoam production.
Tools I recommend for long-term reliability
Investing in precision calibration tools like an espresso scale allows me to fine-tune my grind and tamp pressure, preventing inconsistencies. Additionally, a cleaning brush designed for portafilters makes routine maintenance quicker, reducing the risk of contamination or channeling.
Where is the coffee industry heading regarding home gear?
Future innovations seem poised to simplify maintenance further, with smart sensors that alert you to scale buildup or worn seals automatically. For example, recent smart scale technology is improving flow accuracy and consistency. I predict that more equipment will integrate diagnostic tools directly into their firmware, empowering us to perform repairs before failures occur.
How do I maintain my gear over time? Best practices to keep things running
Adopt a regular cleaning schedule, including descaling your boiler and inspecting hoses and seals. Use quality water filters to reduce mineral deposits that clog components—this tip alone can extend the life of your boiler and pump. Also, avoid forcing parts like the portafilter or fiddling with delicate fittings without proper tools, as improper handling can cause long-term damage. Remember, consistency is key; incorporating a weekly check-up routine can save you from unexpected breakdowns. For instance, ensuring your milk frother is spotless helps maintain optimal foam quality and prevents clogging.
Try setting a reminder to lubricate seals and check airflow paths regularly. Investing in a quality cleaning kit designed specifically for espresso machines can make this process both easy and effective. Remember, a little preventive maintenance now can save a lot of troubleshooting later. Regular upkeep not only preserves your equipment but also guarantees that every shot tastes as good as the first.
Lessons No One Tells You About Home Barista Success
Over the years, I’ve learned that even the most expensive espresso machine can’t rescue a poorly calibrated grinder or a neglected routine. The biggest lightbulb moment for me was realizing that equipment maintenance and technique are intertwined; neglect one, and the other suffers. Small adjustments—like cleaning a stubborn O-ring or tweaking tamp pressure—have saved countless shots and preserved my equipment’s lifespan. These insights aren’t always obvious and often require hands-on experience, but once understood, they elevate your brewing to a professional level.
My Trusted Arsenal for Coffee Crafting
When it comes to reliable tools, I swear by the espresso scale for dialing in my grind size and shot timing. Regularly inspecting my steam wand seals prevents leaks and ensures consistent microfoam. A single-dose grinder keeps my burrs clean and my flavor intact. These are the essentials that make a tangible difference in everyday brewing.
Believe in Your Barista Journey
Stepping into home espresso brewing can feel daunting, but remember, every barista was once a beginner. Don’t be discouraged by initial setbacks; instead, see each mistake as a valuable lesson. My favorite part is realizing that progress often comes from tiny tweaks—whether it’s adjusting flow rate or cleaning a clogged steam tip. Embrace curiosity, and over time, you’ll find yourself brewing with confidence and precision, turning your humble kitchen into a personalized café. So, what’s the next small step you’re excited to try in your espresso routine? Share your thoughts below and keep the grind going!