Why Your Bean Degassing Is Taking Longer Than Usual This Winter
It was a chilly Saturday morning when I finally decided to brew my first espresso of the day. I eagerly loaded my grinder, measured out my beans, and pressed start. But as I waited, a sinking feeling grew—I noticed my usual vibrant shot was noticeably flat, with a hint of sourness I hadn’t experienced before. That moment hit me: something was off, and I realized that this winter, my beans just weren’t releasing their gases as quickly as they used to. Have you ever faced a similar frustrating delay in degassing, especially during the colder months? You’re not alone.
Understanding Why Degassing Slows Down in Cold Weather
Many baristas and home enthusiasts find it perplexing when their fresh coffee beans seem to ‘hold on’ to their gases longer in winter. The reason lies in the physics of degassing—the process by which beans release carbon dioxide (CO₂) trapped during roasting. Cooler temperatures slow molecular activity, meaning gases escape at a reduced rate. According to specialty coffee expert Scott Rao, “The colder the beans, the longer it takes for CO₂ to escape, which can significantly impact extraction and flavor” (source). If your beans are stored in a cold pantry or the ambient temperature drops, this effect intensifies.
But here’s a sneaky trap I fell into early on: I believed that if I just left my beans out for a day, they’d be ready. Instead, I overlooked the role of storage conditions and resting periods, which can be a game-changer. Recognizing this common mistake helped me tailor my process and avoid disappointment.
So, how can you tackle this wintertime degassing delay? The good news is that there are practical steps you can take to ensure your beans are primed for brewing, regardless of the season. Stay tuned as we delve into the solutions that transformed my espresso game during the cold months—and will do the same for you.
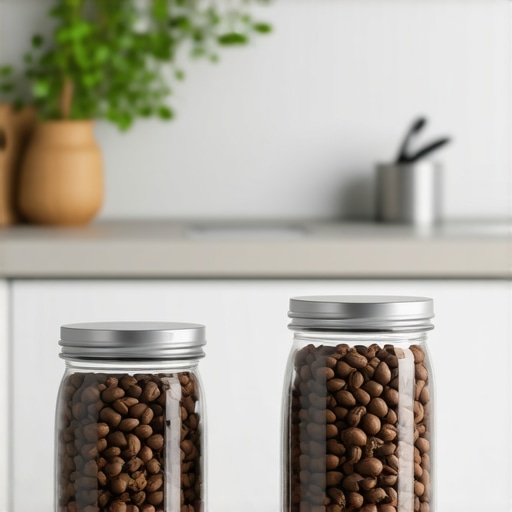
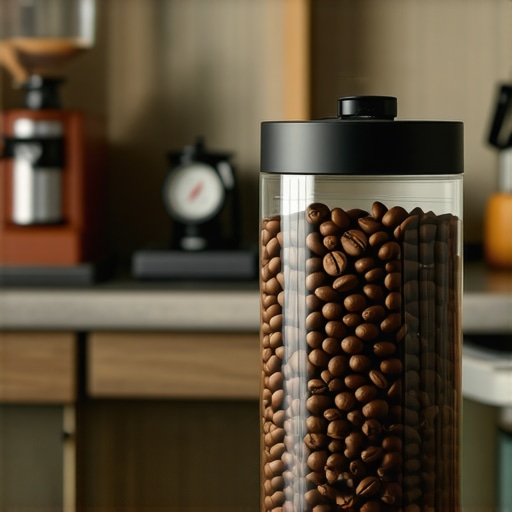
Begin by adjusting your storage routine. After roasting, transfer beans to a warm room or leave them in a sealed container at room temperature for at least 24 hours. During this period, gently shake the container every few hours to encourage even degassing, similar to shaking a snow globe to help the particles settle faster. I once experimented with this when my beans sat in a chilly pantry; by simply moving them to my kitchen counter, I noticed a richer aroma and better extraction on subsequent brews.
Before grinding, warm your beans slightly. Place the container in a warm water bath for 2-3 minutes or microwave in short bursts until just warm—not hot. This quick step helps elevate the bean temperature close to brewing conditions, speeding up CO₂ release. I recall placing beans in a towel and warming them with a hairdryer at a low setting, which dramatically improved my shot clarity and flavor during winter mornings.
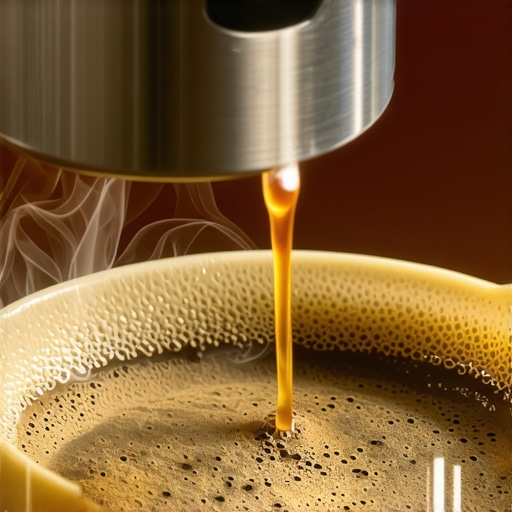
This involves applying a brief burst of low pressure to the ground coffee before full extraction. As with a gentle tap on a drum to loosen stuck parts, pre-infusion gently starts the degassing process within the puck, helping gases escape more efficiently. When I first started doing this, I noticed my espresso became more consistent, with fewer sour notes caused by residual CO₂. Adjust your espresso machine’s pre-infusion settings to keep this step in your routine.
Making your grind slightly finer increases surface area, similar to how smaller nuts crack faster. A finer grind results in more contact with water and helps push trapped gases out during brewing. Likewise, brushing your dose by a fraction more can compress the puck, increasing pressure and encouraging gas escape. Be cautious—overly fine settings can cause channeling. I learned this tip by referencing this guide on grinder calibration, which emphasizes the importance of precise grind adjustments.
Ensure even distribution of coffee grounds before tamping. Use a distribution tool or a gentle tap with your tamper to eliminate air pockets. A uniform puck prevents channeling, but it also helps gases escape evenly during extraction. I once neglected meticulous tamping, resulting in a watery shot with strange sourness. After adopting a consistent tamping technique, my shots improved, even in colder months.
If you frequently roast your beans, avoiding prolonged storage in cold environments is wise. Transfer beans from your freezer directly into your grinder, timed so they are ground immediately before brewing. This minimizes the impact of cold on degassing. For frozen beans, a quick 30-second pre-ground warm-up can prepare them for optimal extraction. Check out this article for detailed freezing and storage techniques tailored for cold weather brewing.
When diving into the world of coffee gear, many enthusiasts make assumptions that can compromise their brewing quality. A pervasive myth is that expensive equipment automatically delivers better espresso; however, the reality is nuanced. Even high-end machines can underperform if misused or improperly maintained, which is often overlooked. For example, believing that your grinder’s factory zero point guarantees perfect shots is a trap—actual calibration is essential for consistency, as outlined in expert guides (source). Many home baristas fall into the trap of selecting milk frothers based solely on price, neglecting the importance of airflow design and internal mechanisms, which significantly affect microfoam quality.
Is Your Equipment Truly Optimized for Advanced Techniques?
Advanced brewers know that nuances like proper group head pressure, correct portafilter gasket fit, and consistent tamping pressure are critical. Overlooking these details often leads to subpar results, despite using premium gear. Regularly cleaning components, such as replacing O-rings, and understanding the internal workings—like the role of the vacuum breaker or the pressure profiling—can dramatically improve outcomes (source). Beware of common pitfalls like neglecting descaling, which causes pressure drops and uneven extraction. For instance, a leaky steam wand or faulty pump can be hidden culprits that many overlook, but fixing these can elevate your brewing significantly.
Furthermore, understanding how advanced features work, such as PID temperature control or saturation levels in the boiler, allows skilled users to fine-tune their setup. This knowledge separates the confident hobbyist from the casual enthusiast. For example, improperly adjusting your PID can lead to sour or burnt notes, which, according to thermal dynamics studies, directly impacts shot quality (source). Take the time to learn these technicalities, and you’ll conserve time and money while brewing better coffee.
In essence, the secret isn’t just in owning high-caliber equipment but in mastering its subtleties. Misunderstanding or ignoring these aspects is a major mistake many make. Have you ever fallen into this trap? Let me know in the comments and share your experiences or questions about optimizing your gear.
Keep Your Gear Running Smoothly with the Right Tools
Investing in quality tools is only half the battle; regular maintenance ensures they stay reliable for years. I rely heavily on a precision calibration kit for my grinder, which allows me to fine-tune the burr alignment—crucial for maintaining consistent extraction. A flat-pack tamping station has become indispensable, helping me maintain even pressure daily and avoid channeling issues. Having a dedicated cleaning brush for the espresso machine’s portafilter and gasket ensures no coffee grounds or oils build up, which would otherwise compromise flavor over time.
One often-overlooked item is a good descaling solution like Citric Acid-based descalers. Regular descaling with a solution like this prevents calcium buildup, which can cause temperature drops or pressure inconsistencies. I make it a habit to descale my equipment every 3 months, following detailed guides such as this resource. Doing so maintains optimal performance and longevity.
Prioritize Routine Checks and Precise Calibration
Staying on top of routine equipment checks is vital. I dedicate time weekly to inspect rubber gaskets on my espresso machine; replacing worn O-rings prevents leaks that can subtly degrade shot quality. Calibration is key—relying on factory settings often leads to inconsistencies. I use a calibrated scale for doser adjustments and verify pump pressure with a dedicated gauge, ensuring the machine’s output aligns with manufacturer specs.
The calibration process also involves ensuring water temperature accuracy. Using a PID controller upgrade, I’ve fine-tuned my machine to heat precisely, eliminating sour or burnt flavors caused by temperature drift. Regularly referencing expert guides like this article helps me keep my setup dialed in.
Scaling Up Without Sacrificing Quality
As I expand my brewing routines, I focus on modular upgrades rather than replacing entire systems. Adding a commercial-grade water filtration system has improved shot clarity and extended machine lifespan. For batch preparation, I switched to a larger milk frother with adjustable airflow, enabling professional-quality microfoam at home—a game changer I highly recommend. Maintaining these tools involves regular cleaning with vinegar solutions or specialized limescale removers, following manufacturer instructions.
How do I maintain consistent performance over time?
Consistency stems from disciplined maintenance and understanding your equipment’s unique needs. Implement weekly cleaning routines, like the basket scrub to prevent rancid oil accumulation, and schedule quarterly deep cleanings. Keep a maintenance log to track parts replacement and calibration adjustments; this proactive approach will preserve your investment and elevate your brewing game. For example, regularly inspecting and cleaning the vacuum breaker prevents pressure fluctuations, ensuring smooth operation—more tips on this can be found here.
Embracing these disciplined habits and investing in quality tools ensures your setup remains dependable and your coffee consistently excellent. Don’t neglect your machine—try scheduling a full calibration routine this week and enjoy the tangible improvements in flavor and reliability.
As I sip my freshly brewed espresso on a chilly winter morning, I realize that the journey to consistently great flavor during colder months is filled with nuanced lessons. The secret isn’t just in the beans or the equipment—it’s in understanding the subtle dance between temperature, degassing, and technique. Embracing these insights has transformed my seasonal brewing and can do the same for you.
Lessons That Changed My Approach to Winter Coffee
- Patience When Resting Beans Is Key: I once rushed to brew after roasting, only to get flat, sour shots. Learning to extend resting time and gently shake stored beans unlocked richer aromas and better flavor extraction. It’s a reminder that good things, even coffee, need time—especially in cold weather.
- Warmth Enhances Degassing: Warming beans slightly before grinding or brewing accelerates gas release. I started placing beans in a warm water bath or using a hairdryer on low heat, which made a visible difference. The extra effort pays off with more lively shots.
- Adjust Your Grinder and Dose: Finer grind size and a slightly heavier dose help push trapped gases out. The frustration of sour, under-extracted espresso decreased dramatically once I calibrated these variables, proving that small tweaks have big impacts.
Gear Mastery Means More Than Price Tags
Investing in quality tools is important, but knowing how to maintain and calibrate your equipment matters just as much. Regular descaling, replacing worn gaskets, and understanding features like PID temperature control elevate your brewing. Familiarize yourself with guides on aligning grinders and other maintenance tips to keep your gear in top shape, especially during demanding seasons.
Embracing the Seasonal Shift with Confidence
Mastering coffee in winter is a blend of patience, technique, and a willingness to learn from each shot. Small adjustments—like warming beans or extending resting periods—can yield big flavor wins. Let these insights become part of your routine, and you’ll find that cold weather no longer dampens your espresso experience.
Insider Wisdom: Lessons I Never Expected to Learn from Cold Brews
- My #1 Lightbulb Moment: I realized that storing roasted beans in the fridge might seem practical, but it traps moisture, dulling flavor. Instead, a cool, dark pantry with proper sealing is best, especially in winter. Leeson learned the hard way that storage conditions directly impact degassing and freshness.
- Don’t Rely Solely on Factory Settings: My first instinct was to trust my machine’s default calibrations. But small, deliberate adjustments to pressure and temperature made a huge difference. Regularly verifying equipment with tools like calibrated scales helped me maintain consistency year-round.
- The Power of Technique Over Tech: Upgrading equipment is tempting, but refining technique—like perfecting distribution and tamping—has a more profound impact. Even the best machine won’t excel if the puck isn’t uniformly prepared, especially when cold gas release is sluggish.
Where to Continue Your Journey
For deeper mastery, exploring resources like descaling guides or fixing pressure leaks can maintain your equipment’s peak performance. Consider investing in tools like a precision calibration kit or a dedicated cleaning routine, which safeguard your investment and ensure every shot aligns with your flavor goals.
Keep Moving Forward — Coffee Awaits
Balancing warmth, patience, and precise adjustments empowers you to produce exceptional espresso no matter the season. Let this be your call to action: embrace the seasonal nuances, tweak your routine, and enjoy the rich rewards of winter brewing. Your perfect shot isn’t just a dream; it’s a series of deliberate, mindful steps waiting for you to take.