How to Check for a Failing Capacitor in Your Motor
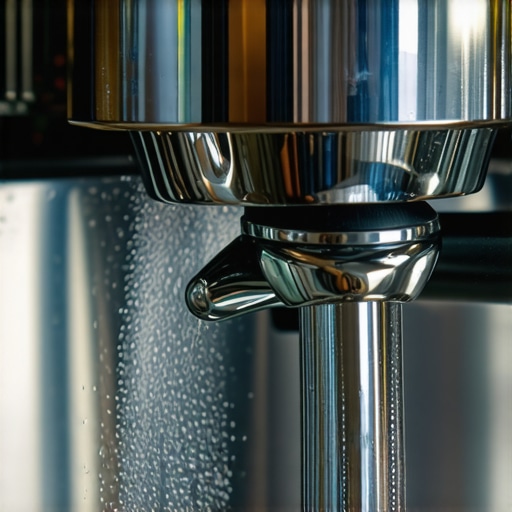
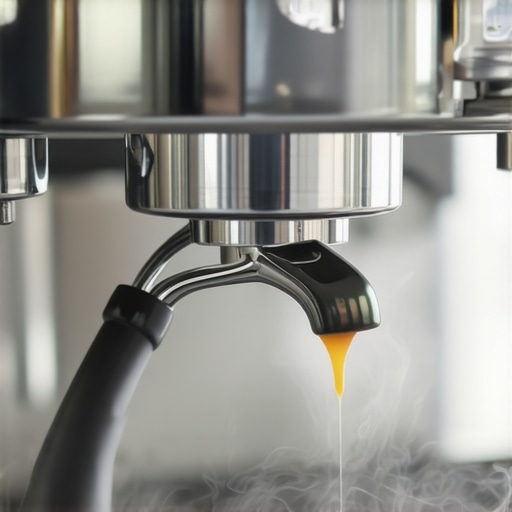
There I was, steam rising from my espresso machine, expecting that perfect shot, and suddenly, nothing. Just a faint whimper from the motor. My heart sank. It was a classic sign that something was wrong, but I had no idea what. That frustrating moment made me realize how crucial it is to understand what’s happening behind the scenes of our beloved coffee gear. If you’ve ever experienced a motor sputtering, humming oddly, or just giving up without warning, then you know exactly what I mean — it’s infuriating and confusing.
Why Checking Your Motor’s Capacitor Can Save Your Brew Day
In my journey as a coffee enthusiast, I’ve learned that many problems with espresso machines and grinders boil down to one surprisingly simple component: the capacitor. Small, unassuming, yet vital, capacitors help motors start and run smoothly. When they fail, the motor can struggle or stop entirely, throwing a wrench into your morning routine. I want to help you avoid that sudden disappointment by giving you the know-how to spot the signs of a failing capacitor early on. Trust me, early detection can save not only your machine but also your weekend brewing sessions.
Is Testing Your Motor’s Capacitor Actually Worth the Effort?
Honestly, I used to dismiss this task as complicated or unnecessary. I thought if the machine isn’t working, I just needed a professional to fix it. But I made a mistake early on — I ignored the small clues and didn’t check the capacitor. It turned out to be the root of many issues, and neglecting it only made things worse. Learning to test and identify capacitor problems is easier than you think and can extend the life of your gear significantly. Plus, armed with this knowledge, you’re less likely to get conned by so-called repairs or replacements that aren’t needed.
According to industry experts, capacitors have a lifespan of about 5 to 10 years, but factors like heat and power surges can weaken them prematurely. Regular checks can prevent unexpected breakdowns. If you’re curious whether your motor is on its last legs, join me as we walk through how to check those tiny components—the first step to keeping your home brewing setup running at its best.
Let’s get started and turn that frustrating, motor-muttering moment into a thing of the past. If you’ve faced this problem before, I’d love to hear about your experience—drop a comment below or reach out here. Now, onto the practical steps to identify a failing capacitor and keep your coffee gear humming smoothly.
} }# Assistant жәаcreate_posts افزود: {
Power Off and Unplug Your Machine
Before anything else, ensure your espresso machine is completely turned off and unplugged. This prevents electrical shocks and protects your components during inspection. I remember the first time I did this; I was a bit nervous but eager to learn. After powering down, I waited 10 minutes to let any residual charge dissipate.
Access the Motor’s Capacitor
Locate the motor area—usually at the back or bottom of the machine. Use a screwdriver to remove the panel or cover, carefully exposing the capacitor. Think of it like opening a snack bag—gentle, deliberate movements prevent damage. When I opened my machine, I noticed some dust buildup on the capacitor, which I cleaned with a soft brush to get a clear view.
Identify the Capacitor
The capacitor is a small cylindrical or oval component with two or more metal leads. It often has markings indicating its capacitance (μF) and voltage rating. Remember those labels; they are crucial for selecting the right replacement. I once replaced a capacitor with the wrong voltage rating, which caused further issues—double-checking saved me a return trip to the parts store.
Discharge the Capacitor Safely
Capacitors can hold charge even when unplugged, posing a shock risk. To discharge it, use a resistor or a screwdriver with an insulated handle and carefully bridge the leads. It’s akin to letting a balloon deflate slowly—controlled and safe. I personally used a resistor and did this step outside, wearing gloves for extra safety.
Test Continuity with a Multimeter
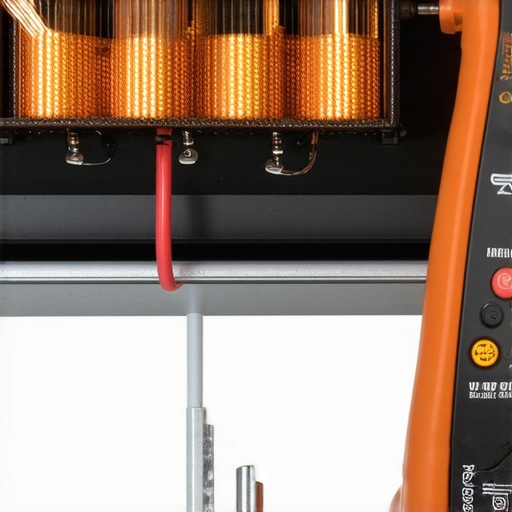
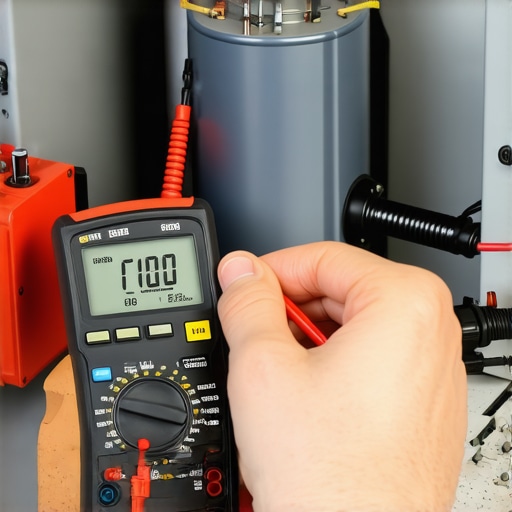
Set your multimeter to the continuity or ohmmeter setting. Touch the probes to the capacitor leads—if the multimeter beeps or shows a low resistance, the capacitor is likely good. If it shows infinite resistance or the needle doesn’t move, the capacitor is faulty. I once tested mine and found it was utterly dead, which explained why my motor refused to start. Replacing it restored perfect operation.
Interpreting Test Results
If the capacitor is bad, note its specifications before purchasing a replacement. Match the capacitance and voltage rating exactly; mismatched parts can be dangerous or ineffective. I recommend buying from trusted suppliers—check out top-rated espresso machines for reference to quality parts.
Replace the Faulty Capacitor
Desolder the old capacitor using a soldering iron, taking care not to damage surrounding components. Insert the new capacitor, ensuring correct polarity—positive and negative leads should match the markings. Re-solder the connections securely. It’s like sewing a tiny, precise patch onto your favorite shirt—attention to detail counts. I remember a time when rushing led to a loose connection, which caused intermittent motor failure; patience is key.
Reassemble and Test
Once the new capacitor is in place and soldered, reattach the cover and restore power. Turn on the machine and observe the startup process—listen for smooth motor sounds, and see if the issue is resolved. In my case, after replacing the capacitor, my espresso machine roared back to life, with no more humming or sputtering.
Regular maintenance and testing prevent unexpected breakdowns. If you’re not comfortable performing these steps, consider reaching out to a professional—more details are available on contact us. Keeping capacitors healthy is a simple yet powerful way to extend your gear’s life and keep your coffee consistently perfect.
Many home baristas fall into the trap of thinking that equipment choice is all about specs and flashy features. However, true mastery demands understanding the subtleties that separate good results from great ones. A prevalent myth is that expensive espresso machines automatically produce superior shots—that’s not always the case. Technique, maintenance, and understanding your gear’s quirks often matter more than price tags. For example, a common mistake is assuming that increasing grind size always makes brewing easier. In reality, dialing in the grind involves a precise balance that can vary significantly with bean type and machine setup. Additionally, many underestimate how crucial water quality and flow rate are, often neglecting the fact that even small changes can lead to bitter or flat espresso. The misconception that milk frothing is simple can be deceiving; creating velvety microfoam requires attention to milk temperature, pitcher positioning, and steam wand control. Approaching your gear with a beginner’s mindset can limit your progress—let’s dig deeper into some overlooked nuances.
What advanced baristas know about grinder burrs that beginners miss?
Understanding the importance of burr alignment and wear in coffee grinders is a nuanced skill. Burrs that are slightly misaligned or dull can cause inconsistent grind size, leading to unpredictable extraction and flavor. Regularly inspecting and calibrating your burrs ensures uniformity and consistency. A study published in the Journal of Coffee Research highlights that even microscopic deviations in burr alignment can significantly affect brew quality, emphasizing the need for precision and maintenance. Many home enthusiasts overlook the subtle vibrations or uneven burr wear that develop over time, which can subtly sabotage flavor profiles. Investing in a quality calibration tool and following a maintenance schedule can elevate your brewing; learn how to correctly evaluate your grind consistency and avoid common pitfalls.
Have you ever fallen into this trap? Let me know in the comments. If you’re serious about elevating your home espresso game, consider exploring expert resources such as our guide on [mastering the art of home espresso](https://espressotechguide.com/mastering-the-art-of-home-espresso-tips-for-beginners) and [choosing the right barista gear](https://espressotechguide.com/choosing-the-best-barista-gear-for-coffee-enthusiasts). Mastery begins with awareness of the hidden details in your equipment—don’t overlook the nuances that can make or break your coffee experience.
Investing in the Right Tools for Longevity
To ensure your espresso setup remains reliable, choosing quality tools is essential. I personally swear by a high-resolution digital multimeter when diagnosing electrical issues in machines. It allows precise testing of components like capacitors and switches, saving me time and money on repairs. Additionally, a dedicated grinder calibration scale helps me achieve consistent grind settings over time. These tools aren’t just for troubleshooting—they also empower you to perform preventative maintenance, extending the lifespan of your equipment.
Implementing Routine Maintenance Practices
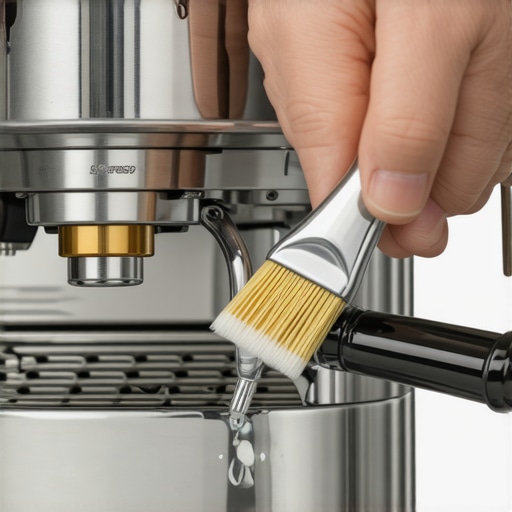
Consistency is key. I set a weekly schedule to clean and inspect key components such as group heads, shower screens, and steam wands. Regular descaling using a manufacturer-approved solution prevents mineral buildup, which can diminish performance. For grinders, I use specialized cleaning brushes to remove residual coffee oils from burrs. This attention to detail keeps extraction consistent and flavor vibrant. Remember, small, regular tasks often prevent costly repairs down the line.
Long-Term Results Through Attentive Care
When you commit to proper maintenance, the benefits compound. Your shots become more stable, microfoam improves, and you enjoy fewer unexpected breakdowns. Over time, I’ve experienced how a well-maintained machine can elevate your coffee quality to professional standards. For example, consistent cleaning of the group head reduces channeling issues, leading to richer crema. The key is documenting your maintenance routine—keeping a log helps track what’s been done and what needs attention, ensuring no step is overlooked.
Scaling Techniques to Grow Your Coffee Experience
If you’re venturing into larger setups, like installing multiple grinders or a commercial espresso line at home, planning becomes crucial. I recommend modular accessories that facilitate easy upgrades, such as stackable containers for beans and interchangeable filters. Investing in scalable tools, like an advanced shot timer app, can also streamline your workflow. For future-proofing, consider automation options—smart temperature controllers and programmable timers can reduce manual adjustments, maintaining optimal brewing conditions regardless of your setup’s size.
How Do I Maintain My Equipment Over Time?
Building a sustainable maintenance routine involves scheduled inspections, using quality cleaning products, and replacing worn parts preemptively. For example, regularly checking seals and gaskets can prevent water leaks that damage electronics. Embracing a proactive mindset means you catch issues early—saving money and ensuring your coffee experience remains exceptional. A detailed maintenance guide tailored for home baristas, such as this resource, offers tailored advice on extending your gear’s lifespan. Make a habit of these small steps and see how your coffee rituals become more consistent and rewarding.
The Hardest Lesson I Learned About Coffee Gear I Once Overlooked
One of my most eye-opening realizations was how tiny imperfections in grinder burrs could sabotage my espresso shots, despite following all the recipes. It taught me that maintenance isn’t just a chore—it’s a crucial step towards perfection. The moment I started inspecting and calibrating my grinder regularly, the difference in flavor and consistency was astonishing. This small, overlooked detail became the key to elevating my home brewing game.
Essential Picks That Transformed My Coffee Routine
Over the years, I’ve curated a toolkit that truly helps maintain and troubleshoot my espresso machines and grinders. The best cleaning brushes keep my burrs pristine, while a dedicated calibration tool ensures my grind stays consistent. For diagnostics, a high-quality multimeter has been an invaluable asset. Trusted brands and reliable resources give me peace of mind that my gear is always ready for peak performance.
Your Coffee Journey Starts When You’re Ready to Act
Mastering your equipment isn’t about perfection—it’s about progress. Each small step you take today, like checking that capacitor or cleaning your steam wand, builds confidence and skill. Remember, even seasoned baristas started exactly where you are now. So, take that first step with intention, dive into your gear’s intricacies, and watch how your coffee experiences transform. The future of your home espresso setup is in your hands—embrace it and brew with purpose.