How to Properly Align Your Flat Burrs Using Only a Sharpie
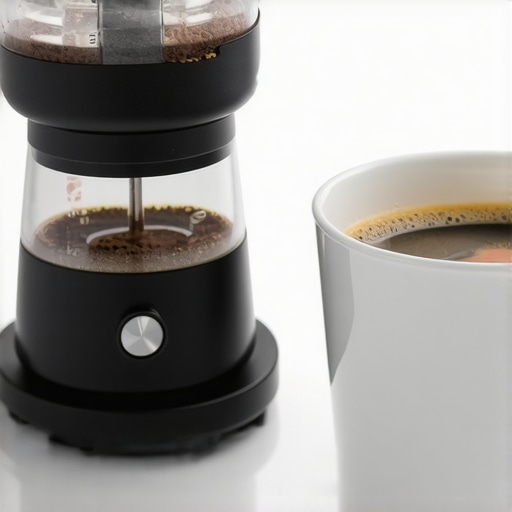
It was a morning just like any other, but when I pulled my espresso shot, I was greeted with a bitter, uneven brew that tasted absolutely off. Frustration bubbled up. I knew my grinder’s burrs were supposed to be aligned perfectly, but somehow, I had no clear idea how to confirm it—until I had my lightbulb moment. What if I could use something as simple, accessible, and precise as a Sharpie to get those flat burrs perfectly aligned?
The importance of precise burr alignment in home espresso
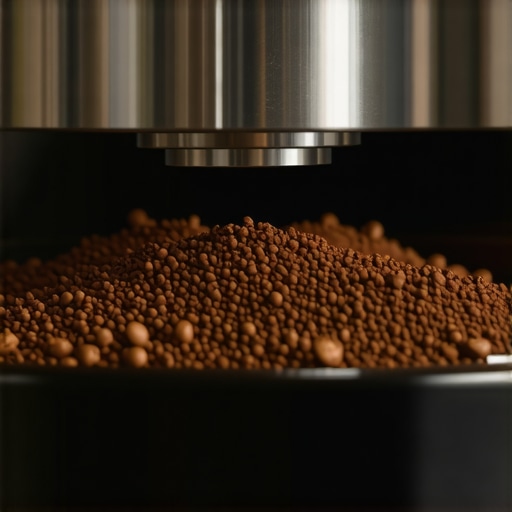
Anyone who’s tried dialing in espresso at home knows how elusive the perfect shot can seem. Small misalignments in your grinder’s burrs can cause uneven extraction, leading to bitter or sour flavors, inconsistent grind sizes, and wasted beans. While professional baristas have fancy tools and calibration devices, most home enthusiasts are left guessing whether their burrs are aligned correctly, often relying on guesswork or vague visual cues. Proper alignment isn’t just a nicety—it’s the foundation of a great espresso. When burrs are out of sync, your espresso’s flavor, aroma, and even crema suffer. The good news? It doesn’t require expensive instruments to get it right, especially when you know the hacks that make alignment simple and reliable.
Prepare Your Workspace and Gather Tools
Before starting, clear a clean, well-lit workspace. You’ll need your grinder, a simple coffee grinder, a Sharpie marker, and possibly a magnifying glass for precision. Having everything at hand ensures a smooth alignment process without interruptions.
Remove and Inspect the Burrs
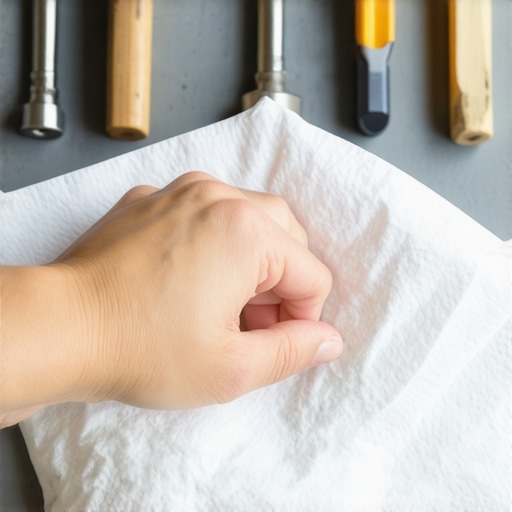
Carefully turn off and unplug your grinder. Remove the hopper and access the burr chamber according to your grinder’s manual. Use a soft cloth to clean any coffee residues. Visually inspect the burrs for uneven wear or damage; if they appear worn, consider replacing them for optimal results.
Establish the Zero Point
Set the burrs to their initial, default position. Many grinders have an adjustment screw or ring; turn it gently until the burrs are just about to touch. Do not force; instead, find the point where burrs are closest without actual contact. This zero point will serve as your reference for alignment.
Apply the Sharpie for Alignment
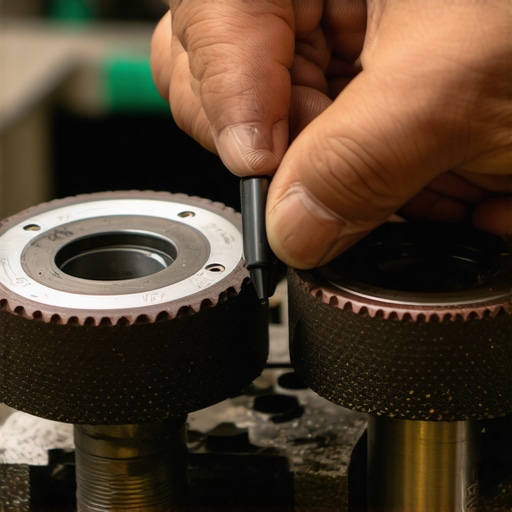
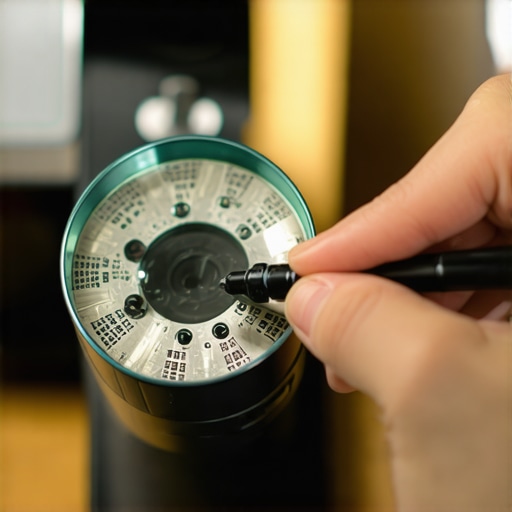
Hold the top burr steady and turn the adjustment ring slightly back and forth. As you do, use the Sharpie to color one of the burrs at the edge. Carefully rotate the burrs so the marked edge aligns perfectly with the other burr’s edge. If the colors are misaligned, use the adjustment ring to rotate the burrs until they are flush, matching the mark precisely. This visual cue helps you confirm the burrs are perfectly aligned.
Reassemble and Test the Grind
Put the burrs back in place, reattach the hopper, and run a few test grounds. Check the consistency of the grind and taste the resulting espresso. If the flavor profile improves with even extraction, you’ve successfully aligned your burrs. If not, repeat the process, making small adjustments each time. For a more detailed guide, see this comprehensive beginner guide.
Maintain and Fine-Tune Over Time
Burr alignment isn’t a one-and-done task. Regularly check your grinder’s calibration, especially after changing beans or cleaning. Proper maintenance prolongs the life of the burrs and ensures consistent, high-quality espresso shots. For further tips on grinder care, visit this article.
 When it comes to crafting the perfect cup at home, many enthusiasts fall into similar traps fueled by misconceptions. One pervasive myth is that investing in high-end barista gear guarantees superior espresso, but in reality, mastery over your equipment’s nuances matters more. For example, the belief that more expensive grinders always produce better grounds ignores the importance of understanding burr types, calibration, and maintenance. As detailed in expert resources, understanding these factors can significantly improve your results, regardless of budget.
Another common misbelief involves milk frothing—many assume that the latest frothing gadgets automatically create microfoam. However, technique trumps tools; even basic frothers can produce excellent microfoam when used correctly. This underscores the importance of mastering fundamental skills before investing in advanced equipment. Avoid the mistake of over-relying on gadgets without understanding their proper use.
A crucial advanced mistake home baristas often overlook is the impact of water quality and temperature stability. Using tap water with high mineral content can lead to mineral buildup and scale issues, compromising machine longevity and flavor extraction. Regular descaling and water filtration tailored for espresso machines are essential practices backed by industry experts. Ignoring these nuances can cause early equipment failure and subpar espresso, despite having the best machine.
From an analytical perspective, understanding the subtle effects of grind distribution and tamping pressure is essential. Slight inconsistencies here can cause uneven channeling and extraction, leading to bitter or sour shots. Mastery over these variables—more than just the hardware—is what differentiates a good barista from a proficient home enthusiast. As research indicates, pressure profiling and shot timing techniques can further refine extraction quality.
Have you ever fallen into this trap? Let me know in the comments. Remember, elevating your home espresso experience involves grasping these hidden nuances and avoiding common pitfalls, not just purchasing expensive gear. For a deep dive into these topics, check out [this comprehensive guide](https://espressotechguide.com/mastering-the-art-of-home-espresso-tips-for-beginners) and take your skills to the next level.
Keeping Your Espresso Gear in Peak Condition
Investing in quality equipment is only half the battle; regular maintenance ensures your espresso setup remains reliable and consistently produces excellent shots. I personally swear by a few targeted tools and routines. For example, I use a precision calibrated coffee scale to measure every dose with accuracy, which minimizes variables and keeps my shots consistent. Additionally, a detailed cleaning regimen with industry-specific brushes and descaling solutions prolongs equipment life and maintains flavor integrity.
The Role of Proper Tools in Longevity
For grinder calibration, I recommend a digital caliper. Accurate measurement of burr gaps allows you to set and maintain optimal grind consistency over time. A cleaning brush set designed for espresso machines helps reach tricky areas like shower screens and group heads, preventing scale buildup and channeling. Using descaling kits recommended by equipment manufacturers is vital—neglecting this can lead to pump failures and inconsistent extraction.
Long-Term Results Through Routine Checks
Consistency doesn’t happen by chance. Regularly inspecting seals, gaskets, and filters prevents leaks and maintains optimal pressure. I like to set calendar reminders—monthly deep cleans and biannual gasket replacements are standard in my routine. Over time, these small but consistent efforts build up to noticeably better-tasting espresso and fewer service calls. For comprehensive maintenance routines tailored to your machine, see this detailed guide.
Scaling Your Espresso Experience
As your skills and equipment grow, so should your maintenance toolkit. Upgrading to higher-quality filters and water softening systems, like advanced filtration units, can significantly enhance flavor consistency and machine lifespan. I plan to invest in a professional-grade water testing kit to monitor mineral content regularly. Predictably, this preemptive approach prevents mineral buildup, saving time and money in repairs later.
How do I keep my equipment running smoothly over time?
Balance routine cleaning with precise calibration. Schedule biweekly cleanings for removable parts and monthly descales, ensuring no buildup hampers performance. Use specialized tools like calibrated scales and brushes to make adjustments easier and more accurate. Staying ahead of wear and tear not only extends your gear’s life but also guarantees that your coffee remains consistently delicious. For tailored advice on specific equipment, reach out via this contact page. Make it a habit to try one new maintenance trick each month—like experimenting with a new descaling method or upgrading your filters—and watch your espresso quality soar.
Lessons I Wish I Learned Before Starting
One of the most eye-opening lessons was realizing that perfection isn’t about having the fanciest equipment; it’s about understanding and customizing what I already have. I once thought my grinder’s burrs were perfectly aligned out of the box, but subtle misalignments drastically affected flavor. Using intuitive visual cues, like the Sharpie trick, transformed my approach to calibration, making adjustments quicker and more precise.
Another insight was that regular maintenance beats occasional big overhauls. Small, consistent checks—like verifying burr alignment every few weeks—prevented issues from compounding and kept my espresso tasting consistently rich. I also discovered that water quality and machine cleanliness are as crucial as grind settings, often overlooked by beginners eager to tinker with hardware alone.
Essential Tools and Resources That Elevated My Coffee Game
Having a precision caliper allowed me to measure burr gaps accurately, ensuring my alignment was spot-on every time. I also swore by a good set of brushes and descaling kits, which kept my machine running smoothly and prevented flavor contamination. For deeper knowledge, this comprehensive guide became my go-to resource, covering everything from calibration to maintenance routines.
Books like “The Coffee Lover’s Guide to Equipment” opened my eyes to nuanced differences in gear, helping me make informed decisions without overspending. And online communities provided ongoing support and real-world tips, making my journey into home espresso both rewarding and endlessly educational.
Your Next Step Toward Coffee Excellence Starts Here
Every cup I brew now is a reflection of those small but impactful practices—precise burr alignment, regular upkeep, and embracing continuous learning. Elevate your home espresso craft one tweak at a time, and you’ll notice your skill growing faster than you imagined. Remember, mastery isn’t about instant perfection; it’s about consistently refining your process and enjoying the journey.
What’s one adjustment you’re excited to try next in your coffee routine? Share your thoughts below, and let’s grow together as home baristas!