How to Calibrate Your Grinder for the Perfect Coarse Setting
I vividly recall the moment I brewed a cup that was more mud than coffee, feeling that sinking sense of frustration. It happened during a lazy Sunday morning, my brand-new grinder whirring away as I eagerly anticipated a rich, flavorful brew. Instead, I was met with a sputtering machine and a cup that tasted like burnt rubber—disappointing and a little embarrassing. That lightbulb moment drove me to understand what I was doing wrong, especially when it came to calibration.
Many home baristas face this struggle: how to set their grinder to get that ideal coarse consistency, perfect for methods like French press or cold brew. There’s a certain art to it, but it’s also very much a science. If you’re tired of inconsistent brews, uneven extraction, or feeling unsure whether your grinder is tuned just right, you’re in the right place. Today, I’m going to walk you through a straightforward process to calibrate your grinder’s coarse setting, ensuring every cup you make is a step closer to cafe quality.
Why Calibration Makes All The Difference In Coffee Flavor
Let’s face it: a lot of the flavor we love — or tolerate — in our coffee originates from the grind size. A grind that’s too fine can lead to over-extraction, making your coffee bitter and astringent. Conversely, a too-coarse grind might cause under-extraction, resulting in a weak, watery brew. The subtle balance is crucial. Proper calibration lets you dial in that perfect grind size, unlocking richer flavors and fuller body—even with the most modest equipment.
A mistake I made early on was trusting the grinder’s default settings without testing adjustments. That oversight led to many wasted beans and frustrating mornings. It wasn’t until I learned how to calibrate my grinder step-by-step that I finally started brewing consistent, delicious cups.
According to recent coffee research, grind size adjustment is one of the most significant factors affecting extraction quality (source: ScienceDirect). However, many enthusiasts overlook this simple yet essential step, which can make or break your homebrewing experience.
So, if you’ve ever stared at your freshly ground coffee, wondering whether the size is right, and felt unsure about how to tweak it without guesswork, don’t worry. We’ll explore a clear, effective approach to calibration that transforms your coffee game. Ready to get your grinder singing in tune? Let’s start tuning your setup so every brew is a masterpiece.
Start with a Baseline
Begin by setting your grinder to the manufacturer’s default coarse setting. To avoid confusion, note down the current position or use a reference point like marking the dial. I remember when I first attempted this; I set my grinder to the default, thinking it would be perfect, only to realize I needed to fine-tune from there.
Test and Observe The Grind
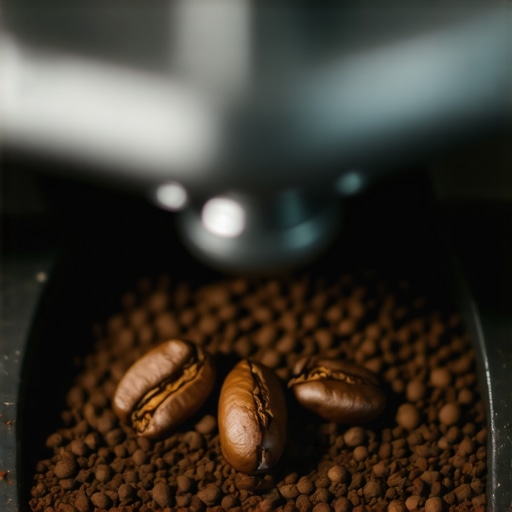
Pull a small amount of coffee into a cup and examine the grounds. They should be uniform and resemble breadcrumbs—not too sandy or too chunky. Use a tablespoon to scoop and visually inspect the consistency. If the grounds look uneven or too fine, you’ll need to adjust. For instance, I once used a finger to turn my grinder a quarter turn clockwise, which made a noticeable difference in particle size.
Adjust Incrementally
Make small adjustments—about a quarter turn—between tests. After each change, brew a new sample. Avoid drastic tweaks; rapid changes can make calibration confusing. When I calibrated my grinder, I found that turning the dial just a little left or right significantly impacted the grind size, so I committed to micro-adjustments for precision.
Use a Consistent Brew Parameter
Always brew the same amount of coffee and water during each test to compare results effectively. For example, use 20 grams of coffee and 300 ml of water. This consistency enables you to isolate the grind size as the variable. I once brewed five identical French press cups, adjusting the grind each time, which significantly helped me find the ideal setting.
Evaluate Extraction and Flavor
Look for extraction signs: a balanced flavor indicates a dialed-in grind. If the brew tastes overly bitter or harsh, the grind may be too fine; if it’s bland or weak, it might be too coarse. I learned to trust my palate, but also to assess the brew time—aim for around 4 minutes per extraction for French press. For more insight, check out this guide on choosing the right grinder.
Iterate Until Perfection
Repeat the process: adjust, brew, evaluate. I spent about 10 minutes refining my grinder before I was satisfied with the consistency and flavor. Remember, calibration is an ongoing process, especially as beans age or change. After calibration, always store your settings for easy reference during future brews. Implementing these steps will dramatically improve your coffee quality and confidence in your equipment.When it comes to coffee enthusiasts’ misconceptions, one of the most prevalent is the belief that popular milk frothers automatically deliver perfect microfoam every time. Many assume that just pressing a button guarantees barista-level results, but in my experience, this is far from the truth. Overestimating these gadgets can lead to inconsistent textures and a frustrating morning routine. Instead, understanding the nuances of frothing—like milk temperature and pitcher technique—can dramatically improve your latte art and flavor.
A common myth is that all espresso machines produce equally rich shots; however, espresso quality hinges critically on precise pressure and temperature control. Cheaper machines often lack the stability required for optimal extraction, which can result in sour or burnt flavors. Investing in a high-quality machine, or at least learning how to fine-tune yours, makes a tangible difference. Check out this list of top-rated machines to find the right fit.
Many home baristas fall into the trap of believing that a good grinder isn’t essential if they already have a decent coffee maker. This oversimplification ignores the fact that grinders are the foundation of extraction. A poorly calibrated grinder can cause uneven grounds, leading to channeling and under-extraction. Advanced users know that micro-adjustments and regular cleaning—like keeping burrs clean—are critical steps. Don’t underestimate the nuance of grinder calibration; it’s a game-changer.
**Why do some baristas struggle with perfect latte art despite having expensive gear?** It boils down to technique rather than equipment, but advanced point-of-view reveals even subtle details matter. The angle of pour, the pitcher’s temperature, and the foam’s consistency all interplay to produce those intricate patterns we admire. Achieving mastery requires practice, but fine-tuning your approach can yield impressive improvements.
**Be wary of the simplicity trap**—assuming that switching to advanced gear or following generic advice guarantees success. Sometimes, minor adjustments and understanding your tools’ quirks outperform larger investments. According to research from the scientific community, precision and user skill often trump equipment specs.
Are you guilty of overestimating these common features? Let me know in the comments! Proper knowledge and attention to detail can turn your coffee routine into a professional experience. Mastery isn’t just about equipment but understanding its intricacies and correcting misconceptions that hold you back.
Keep It Running: Essential Maintenance for Your Coffee Gear
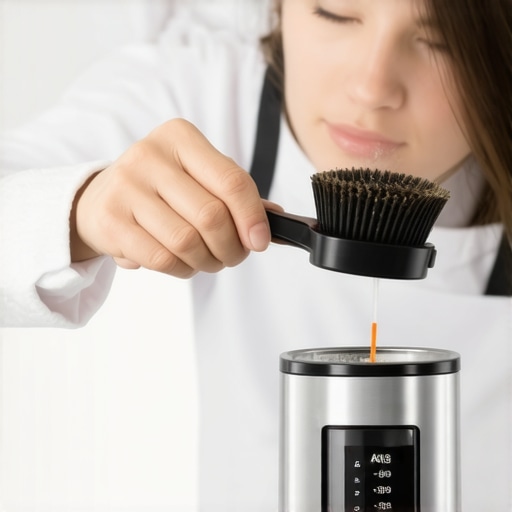
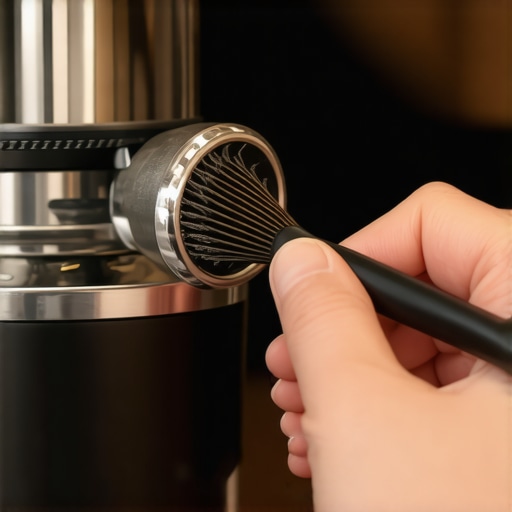
Investing in high-quality espresso machines and grinders is just the first step; maintaining them properly ensures consistent performance over time. Regular cleaning of your grinder’s burrs with dedicated tools like the best cleaning tools prevents coffee oils and residue from affecting flavor and grinding precision. For your espresso machine, descaling schedules should be adhered to diligently—most modern machines feature alerts, but manual checks using descaling solutions can prolong lifespan and prevent calcium buildup that impairs heating and pressure.
Remember, the longevity of your equipment hinges on routine inspection of seals and gaskets. Replace worn components promptly—believe me, a small gasket leak can cascade into costly repairs if neglected. Also, ensure water softeners are functioning correctly, as hard water can cause mineral deposits and corrosion, quickly degrading your machine’s internal parts. These small, consistent habits save money and maintain the quality of your brews.
How do I maintain my espresso setup over time?
Establish a weekly cleaning routine that includes backflushing your machine with appropriate cleaning agents. For grinders, disassemble and wipe burrs and hopper, especially if switching between beans. Using specialized cleaning brushes helps remove coffee dust that can clog mechanisms. Regular calibration checks are equally critical; as burrs wear down, grind consistency shifts. Keep notes of your ideal settings and revisit them periodically, particularly when changing bean types or roast levels. According to industry experts, preventive maintenance extends equipment lifespan by years and preserves the delicate balance of extraction and flavor development.
Tools That Elevate Your Routine
When it comes to long-term upkeep, possessing the right tools makes all the difference. A high-quality burr grinder cleaning kit not only streamlines maintenance but also ensures consistent particle size. A digital scale with precision to 0.1 grams is invaluable for accurate dosing—an often overlooked factor impacting extraction. For steaming, investing in a dedicated milk pitcher and a thermometer helps control milk temperature, resulting in fluffier microfoam and better latte art.
Predicting future trends, smart equipment integrating IoT sensors to monitor temperature, pressure, and maintenance needs will become increasingly commonplace. These innovations will enable home baristas to diagnose issues proactively, minimizing downtime and optimizing performance. In the meantime, it’s prudent to establish rigorous manual routines, like weekly backflushing and descaling, alongside investing in quality cleaning tools and calibration devices.
Make Small Adjustments for Big Results
One often overlooked tip is to keep a detailed log of your calibration tweaks and maintenance activities. This record helps identify patterns, like when burrs need replacement or settings should be fine-tuned. As a practical step, try adjusting your grinder’s macro settings by a small quarter turn every few weeks to compensate for burr wear, referencing expert guides such as this calibration resource. Such proactive care keeps your gear performing optimally and ensures each cup remains as delightful as a barista-crafted masterpiece.
The Hardest Lesson I Learned About milk frothers,home espresso,espresso machines,barista gear,coffee grinders
One of my biggest surprises was realizing that even the fanciest equipment can’t compensate for a lack of understanding. I once spent hours troubleshooting my milk frother, only to discover that the real secret was controlling milk temperature and pitcher angle—a lightbulb moment that transformed my approach. These tools are only as good as the user’s knowledge, so dive deep into their nuances.
3 Myths About milk frothers,home espresso,espresso machines,barista gear,coffee grinders That Held Me Back
Many believe that automatic milk frothers always produce perfect microfoam, but consistency depends on technique, not just gadgets. Another myth is that expensive machines guarantee perfect shots—without calibration and practice, even top-tier gear struggles. Lastly, some think that grinders don’t need regular adjustments; however, burr wear and bean variety demand micro-tuning to maintain quality. Busting these myths set me free to experiment and improve.
What Experts Won’t Tell You About milk frothers,home espresso,espresso machines,barista gear,coffee grinders
Real mastery comes from understanding the interplay of pressure, temperature, and grind size—details often overlooked in product marketing. For instance, controlling steam pressure and milk temperature can make or break latte art. Regular maintenance and calibration are your secret weapons; neglecting them leads to inconsistencies. Experts emphasize that the journey to great coffee is more about knowledge and routine than simply owning the latest gear.
Curated Resources and Tools That Elevated My Coffee Game
Over the years, I’ve relied on specialized cleaning tools to keep my grinder in top shape, ensuring consistent particle size. A trusted guide to barista gear helped me select equipment that matched my skill level and needs. For precision dosing, a digital scale became indispensable. Lastly, proper steaming techniques transformed my microfoam, making my drinks look and taste closer to professional quality.
Believe in Your Progress and Keep Discovering
The journey to consistently enjoying great coffee is ongoing. Every tweak, every adjustment builds your confidence and skill. Remember, even seasoned baristas refine their craft daily. So, embrace curiosity, experiment patiently, and celebrate small wins. Your perfect cup is within reach—every time you decide to improve and learn more about your equipment and technique. What’s your next step toward brewing with greater confidence? Share your thoughts below!