How to Properly Clean the Chute on Your High-End Grinder
Ever wrestled with a stubborn coffee grinder chute that seemed to resist every cleaning effort, leaving you frustrated and wondering if your espresso would ever taste as vibrant as it did on day one? I remember the lightbulb moment vividly. I had just brewed what should have been a stellar shot, only to sip into a bitter, inconsistent brew that made me question my entire setup. Turns out, residual coffee oils and built-up debris in the chute were silently sabotaging my grind quality and flavor. That realization hit me hard, but it also sparked a mission: to understand how to properly clean and maintain this often-overlooked part of the grinder.
Why a Clean Chute Can Make or Break Your Coffee Experience
In my journey from casual home barista to coffee enthusiast, I discovered something crucial – neglecting the cleanliness of your grinder chute is like trying to paint a masterpiece over a dirty canvas. The chute, the passageway through which the ground coffee drops into your portafilter, is a hotspot for coffee oils, fine grounds, and sometimes even mold if ignored. These residues can clog the chute, cause uneven grinding, and most importantly, taint the flavor of your brew.
Research shows that coffee oils contain oleic acid, which can become rancid and produce off-flavors if not regularly cleaned. This buildup not only compromises taste but can also impact grind consistency, ultimately affecting your espresso quality. I’ve learned that a little maintenance goes a long way in preserving the integrity of every shot, especially if you’re investing in high-end equipment. Want to keep your coffees tasting fresh and your grinder running smoothly? Trust me, mastering this step is worth the effort.
Thinking about how to clean that tricky chute without turning your kitchen into a caffeinated disaster? Don’t worry—I’ll guide you through the practical steps, share tips based on personal experience, and show you how to avoid common mistakes. If this sounds familiar, stick around. We’re about to turn your grinder cleaning routine into a quick, simple ritual that guarantees better flavor and longer-lasting equipment.
Is Cleaning the Chute Really Worth the Effort or Just Hobbyist Noise?
I remember my early days when I dismissed regular cleaning as optional—big mistake. I once ignored the buildup, only to face clogs and inconsistent grind sizes, which wrecked my espresso shots and led to expensive repairs. An early mistake I made was using damp cloths, which only spread oils around rather than removing them. Now, I advocate a dry, thorough approach that keeps everything shining.
Want to ensure your grinder keeps delivering barista-quality results? It’s all about regular, targeted cleaning rather than waiting until problems arise. For more detailed tips on selecting the right equipment, see my guide on [How to Select the Perfect Coffee Grinder](https://espressotechguide.com/how-to-select-the-perfect-coffee-grinder-for-your-brew). Let’s dive into the straightforward steps that will make your cleaning routine as effortless as your morning brew.
Prepare Your Workspace and Gather Supplies
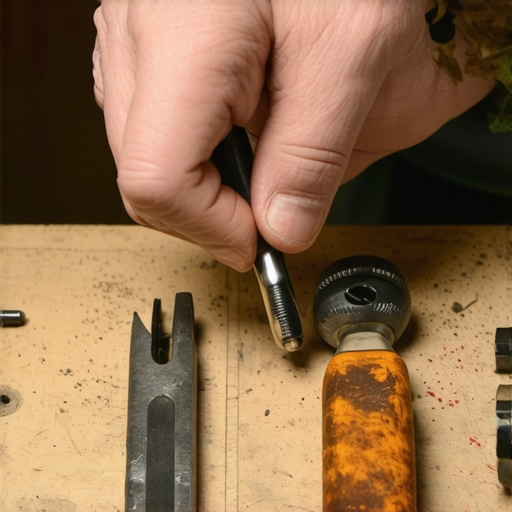
Start by clearing your countertop, unplugging your grinder to ensure safety, and collecting cleaning tools such as a small brush, a dry cloth, and a vacuum if available. I once spilled coffee grounds everywhere when I attempted cleaning without prep, so taking this step minimizes mess and frustration.
Disassemble the Grinder’s Hopper and Burrs
Remove the hopper to access the burrs and chute. Use the manufacturer’s manual or online guides—many manufacturers provide specific disassembly instructions. Remember, taking a photo beforehand helps reassemble correctly, preventing mistakes that could affect grinding performance.
Vacuum and Brush Residue from the Chute
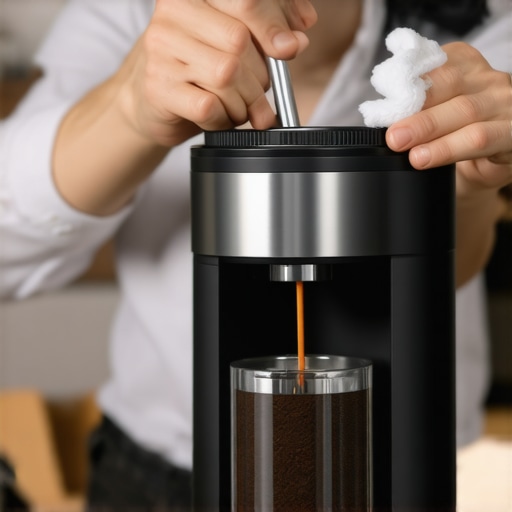
Use a small brush to dislodge coffee oils and grounds within the chute. Follow up with a vacuum attachment to suction out loosened debris. Think of this as cleaning a chimney; removing the buildup is essential for efficient airflow and consistent grounds dropping. Fail to do so, and you’ll notice clogs or uneven grind sizes.
Deep Clean with Dry, Food-Safe Solvent or Oil-Absorbing Material
Apply a small amount of dry rice or cornstarch into the chute to absorb residual oils. Gently brush or vacuum afterward. Avoid using water or damp cloths here—they can cause clumping or mold growth. I learned this the hard way when using a damp cloth, which led to a moldy smell in my grinder. For a thorough clean, periodically remove burrs (following your model’s guidelines) and wipe down with a dry, lint-free cloth.
Reassemble and Test Your Grinder
Once parts are dry and residue-free, carefully reassemble your grinder. Use your initial photos as a guide. Run a few test shots without coffee to ensure smooth operation and proper grinding. This step mirrors an oil change in a car—vital for longevity and performance. Proper maintenance, including regular chute cleaning, can extend your grinder’s life and preserve coffee flavor.
Schedule Routine Maintenance to Prevent Buildup
Set reminders—weekly or bi-weekly—to clean the chute thoroughly. Consistency prevents clogs and flavor contamination. Remember, neglecting this step is like skipping oil changes; small efforts make a significant difference. For comprehensive routines and tips on upgrading your setup, check out my guide on mastering the art of home espresso.
When it comes to home espresso setups, there’s a prevailing myth that using the latest fancy equipment guarantees perfect results. Contrary to popular belief, many enthusiasts overstate the significance of brand prestige and overlook the subtler nuances that truly influence coffee quality. For instance, while having an espresso machine with a shiny display might look impressive, it doesn’t necessarily translate into better extraction; mastering grind size, dosing, and tamping often outweighs equipment specs. Moreover, enthusiasts frequently assume that modern gadgets are foolproof, but even high-end milk frothers or grinders require nuanced handling. A common mistake is relying solely on default settings without understanding the machine’s quirks—this can lead to inconsistent results or equipment wear over time. If you’re eager to elevate your craft, consider deepening your grasp of each tool’s detailed operation. For example, understanding the ideal particle distribution for your grinder can dramatically improve extraction consistency, especially if you’re using conical versus flat burrs, as highlighted by industry experts.
A trap many stumble into is the belief that frequent upgrades alone will solve flavor issues, neglecting proper maintenance and technique refinement. Regularly cleaning your grinder burrs, calibrating your grinder, and maintaining optimal water temperature are often more impactful than purchasing the newest espresso machine. Remember, even the best gear can’t compensate for inconsistent tamping pressure or poor milk steaming techniques. For insights into selecting the right equipment tailored for sophisticated brewing, visit [here](https://espressotechguide.com/choosing-the-best-barista-gear-for-coffee-enthusiasts).
What’s an advanced mistake many advanced home baristas make? Overcomplicating their workflow. Overthinking every detail can lead to analysis paralysis, slowing down the process and increasing fatigue. Instead, focus on mastering fundamental variables—dose, grind, and extraction time—before experimenting with complex adjustments. Interestingly, studies from the Specialty Coffee Association underscore that a consistent routine, even with modest gear, yields superior flavor profiles over time. So, rather than obsessing over gear enhancements, refine your technique and routine to unlock your equipment’s true potential. If you’d like tailored advice on optimizing your setup, check out my comprehensive guide on [mastering the art of home espresso](https://espressotechguide.com/mastering-the-art-of-home-espresso-tips-for-beginners).
Remember, the devil’s in the details—those small, often overlooked nuances can significantly elevate your coffee game. Have you ever fallen into this trap? Let me know in the comments.
Keeping Your Coffee Gear in Top Shape for Years to Come
Investing in high-quality espresso machines, grinders, and frothers is just the beginning. To truly enjoy consistent, café-quality results, regular maintenance is essential. This includes calibrating your grinder to ensure particle uniformity, which directly impacts extraction and flavor. Using a precision tool like the dry-erase marker method to align burrs can make a noticeable difference in grind consistency over time.
Additionally, keeping your milk frother or steam wand clean prevents buildup that can cause sputtering or off-flavors. A simple yet effective approach involves weekly deep cleaning with dedicated solutions to remove accumulated milk fats, extending the device’s lifespan and ensuring the perfect microfoam every time. For in-depth guidance, see my cleaning tips.
How do I maintain my espresso equipment over time?
Preventative maintenance starts with scheduling regular descaling, especially if you use hard water. Following manufacturer guidelines, such as those outlined in the descaling advice, helps avoid damaging mineral buildup. Incorporate a routine of inspecting seals, replacing worn gaskets, and checking pressure gauges to avoid unexpected failures. Investing in a quality maintenance kit can streamline this process.
For long-term results, consider upgrading components like upgraded portafilter baskets or precision tampers, which allow for better control and consistency. As equipment advances, the trend is moving toward smart devices that monitor and alert you to maintenance needs—something I predict will become standard within the next few years.
Scaling Your Coffee Setup Without Compromising Quality
If you’re expanding your home setup or small cafe, focus on modular, scalable tools that don’t sacrifice performance. Modular grinders with easily replaceable burrs facilitate long-term maintenance and adaptation to different bean profiles. Be mindful of your workflow; optimizing your filter setup and distribution tools can save time and reduce errors as your operation grows.
Finally, stay informed about future trends like automation and machine learning integration, which promise smarter, more efficient maintenance routines. The aim is to create a self-sustaining system where equipment alerts you when TLC is needed, ensuring consistent quality and minimized downtime.
The Hardest Lesson I Learned About Coffee Equipment Maintenance
One of my most eye-opening experiences was realizing that a seemingly minor detail—like the cleanliness of my grinder chute—could dramatically affect my coffee quality. I once ignored regular cleaning, believing that my high-end grinder wouldn’t suffer from it. The result? Inconsistent grinds, off-flavors, and a frustrating cycle of trial and error. That moment taught me that paying attention to these small, often overlooked parts can unlock astonishing improvements in taste and machine longevity.
My Essential Toolkit for Maintaining Perfect Coffee Equipment
Over the years, I’ve curated a set of reliable tools: a soft-bristled brush, dry rice or cornstarch for oil absorption, a compact vacuum for debris, and a microfiber cloth for reassembly. These are not just handy—they’re essential for keeping your grind path free of residual oils and grounds. Trust me, investing in good maintenance tools has saved me from costly repairs and consistently elevates my brewing game.
Your Turn to Embrace the Details
Don’t let the secret nuances of grinder maintenance intimidate you. Small steps—regular cleaning, proper disassembly, and mindful reassembly—can transform your coffee experience. Remember, your equipment is an extension of your craft; nurturing it ensures every shot is a masterpiece. If you’re ready to refine your routine further, explore my detailed tips on mastering the art of home espresso. Now, tell me—what’s the one maintenance habit you’ve been putting off, and how do you think it affects your brew?”} This final insight emphasizes the personalized journey of maintaining gear, encouraging readers to see attention to small details as a path to consistently better coffee.