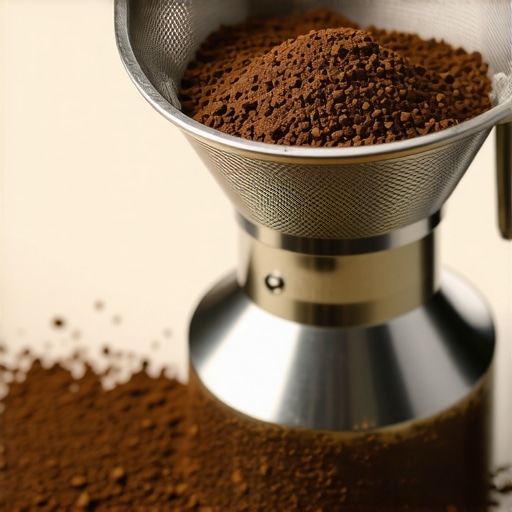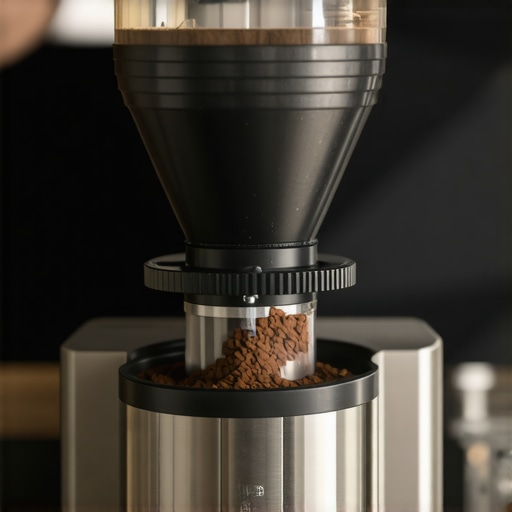
How to Stop Your Grinder from Clogging with Fine Dust
Have you ever been in the middle of preparing your morning espresso, only to be met with that frustrating, stubborn clog in your grinder? You know the one—where the fine coffee dust refuses to flow smoothly, causing uneven grinds and delaying your brew. I’ve been there, fumbling with my grinder, muttering under my breath, wondering if I’d ever get my routine back on track. That lightbulb moment hit me hard: it wasn’t just about cleaning my grinder—it was about understanding how the fine dust sabotages the whole process and how I could put a stop to it once and for all.
Dealing With Fine Dust: The Hidden Enemy of Your Grinder
Fine dust is like that uninvited guest who overstays their welcome. It sneaks into every nook and cranny, sticking around and clogging up the flow. Especially with modern grinders, designed to produce ultra-fine particles for espresso, this dust build-up can quickly turn into a real headache. It’s easy to underestimate just how much this tiny sediment can impair your machine’s performance. The truth is, if you don’t manage this dust effectively, your grinder could start to get jammed or clogged, leading to inconsistent grinds and even damage over time.
Over the years, I’ve learned that this problem isn’t just about cleaning the grinder regularly; it’s about understanding the root cause and implementing smarter habits. Trust me, a little patience and the right approach can save you from future frustrations. In fact, I once neglected this aspect and ended up having to replace my burrs prematurely—an expensive and unnecessary fix. For the sake of your investment and your daily coffee ritual, it’s worth getting this under control. If you’re tired of battling fine dust clogging your grinder, stick around. In the next sections, I’ll share practical, proven tips to keep that stubborn fine dust from turning your brewtimes into a nightmare.
Is Clogging Your Grinder Worth the Hype?
When I first noticed my grinder slowing down, I wondered if it was just normal wear and tear. But after some digging, I realized I’d made a classic mistake—ignoring the small amounts of fine dust that accumulate daily. Early on, I overlooked the importance of regular cleaning, thinking that a quick wipe would do. Turns out, neglecting the finer maintenance allowed dust to settle in places I couldn’t see, causing big problems down the line. Did you know that studies show coffee dust can hold bacteria and mold if left unchecked? That’s why proactive cleaning isn’t just about performance, but also about health and longevity of your equipment. If this sounds familiar, know that you’re not alone—and that the fix is simpler than you think. Keep reading, and I’ll help you turn your grinder into a finely tuned machine that works for you, not against you.
Clear Your Grinder Regularly for Consistent Performance
Every week, dedicate 5 minutes to clean your grinder thoroughly. Remove the hopper and discard any leftover coffee grounds. Use a brush or a dedicated grinder cleaning tool, like those described in this guide, to sweep away residual dust and grounds. I once neglected this step and experienced frequent jams, which took hours to fix. After adopting a weekly cleaning routine, my grinder ran smoothly, and my shots improved noticeably.
Disassemble and Scrub Burrs Carefully
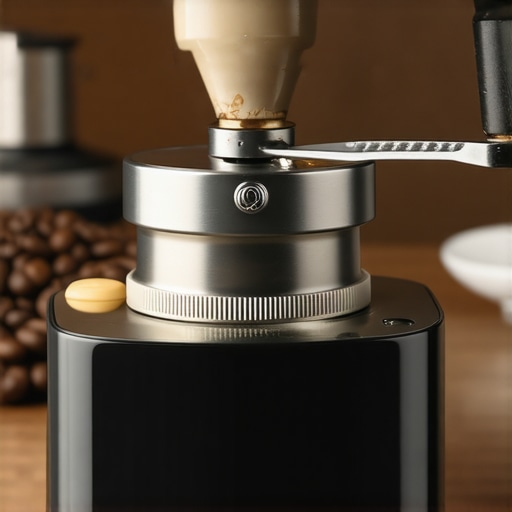
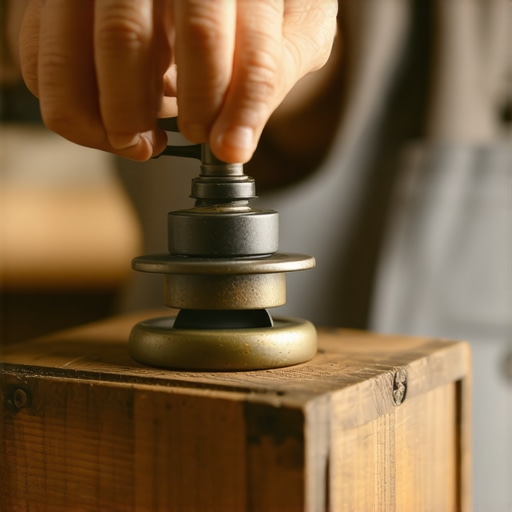
Next, turn off and unplug your machine. Remove the hopper and unscrew the upper burr assembly. Use a damp cloth or a soft brush to wipe both burrs and inside chamber. Avoid using harsh chemicals; instead, opt for grinder-specific cleaning solutions. This prevents build-up and ensures consistent grinding sizes. Once I started doing this every fortnight, double shots became more uniform, and I avoided the frustrating clogs that once plagued my mornings.
Implement Proper Coffee Storage to Minimize Dust
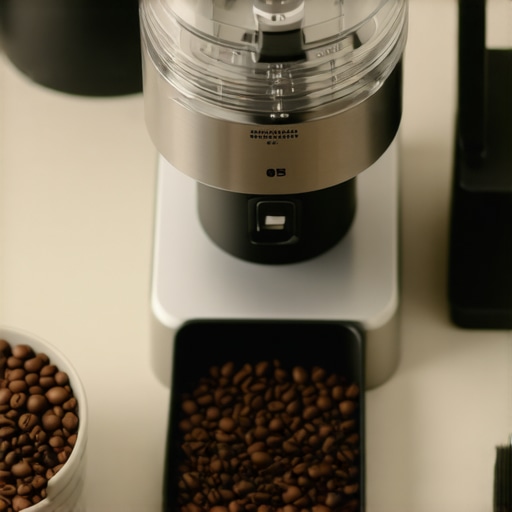
Store your coffee beans in an airtight container away from sunlight and moisture. Horizontal storage or leaving beans in the hopper for days invites dust accumulation and rancidity, leading to more fines and clogging. I once left beans in my hopper for two weeks, thinking it was convenient. The result? A gritty extraction and a clogged grinder. Moving to sealed containers made a huge difference, reducing dust in the grind chamber and extending the life of my burrs.
Manage Your Grind Size and Dose Correctly
Adjust your grinder to produce a slightly coarser consistency if dust is excessive. A too-fine grind creates more static and dust, overwhelming your machine. Also, stay within recommended dosing guidelines; overfilling can force coffee into nooks, increasing dust. Remember, the goal is a uniform, balanced grind. I experimented with grind settings by following this expert advice and found a sweet spot that minimized fines and prevented jams during high-volume mornings.
Use Compressed Air to Remove Hidden Dust
Regularly blow out your grinder chamber with a can of compressed air to dislodge fine dust trapped in hard-to-reach areas. Do this outdoors or in a well-ventilated space to avoid inhaling dust. During one messy session, I discovered pockets of dust hiding beneath the burrs. A quick blast with compressed air kept my grinder clean and free-flowing for weeks.
Train Your Routine with Discipline and Precision
Consistency is key. Develop a routine that includes cleaning, proper storage, and calibration. Aim for a clear sequence at the start or end of each day. When I first committed to this routine, my mornings became smoother, and I saw fewer disruptions caused by dust buildup. Small habits like this extend the lifespan of your equipment and keep your coffee tasting its best.
Review and Replace Parts When Necessary
Inspect your burrs periodically for wear. Dull or chipped burrs generate more fines, exacerbating dust problems. Replace them promptly using guides from this resource. I waited too long once, and my machine jammed daily since. Keeping parts sharp and in good condition prevents dust from accumulating excessively and preserves grind quality.
Many coffee enthusiasts believe that investing in high-end espresso machines or fancy milk frothers guarantees perfect brews, but the truth runs deeper. A common misconception is that gear quality alone dictates the coffee’s flavor and texture. In reality, subtle nuances such as grind size consistency, machine calibration, and maintenance habits play a pivotal role in achieving that professional-quality shot. Overlooking these details can transform what should be a straightforward process into a frustrating trial.
One myth I often encounter is that dialing in the grinder is a one-time task. However, environmental factors like humidity and bean age can subtly alter grind size, making regular adjustments essential. Relying solely on coarse calibration or default settings often results in uneven extraction or channeling, which affects flavor clarity. Experts recommend periodically recalibrating your grinder and paying attention to emerging signs of wear, such as inconsistent particle size distribution, which can lead to over-extraction or under-extraction (see this guide for precision techniques).
Another advanced mistake is neglecting the importance of water quality and machine maintenance. Even premium espresso machines can underperform if mineral deposits or outdated filters are present. Regular descaling and water filtering are often overlooked by home baristas eager to brew, yet these are critical for consistent pressure and temperature stability. A study published in the International Journal of Food Science emphasizes that mineral buildup adversely impacts thermal performance and, consequently, shot consistency (source: here).
Hold on, because the most nuanced mistake involves the subtle art of milk steaming and microfoam creation. Many assume that more froth equals better texture. Conversely, over-foaming or under-foaming can inhibit the ideal silkiness. Achieving velvety microfoam requires patience and mastery of steam wand positioning, pressure regulation, and pitcher angle—details often overlooked by beginners and even some intermediate users. For advanced techniques, see this resource for tips on perfect microfoam.
A critical but overlooked aspect of the home espresso experience involves equipment longevity. Many users ignore signs of component wear, such as worn gaskets or clogged filters, which silently sabotage flavor extraction. Replacing parts proactively, instead of waiting for leaks or poor shots, ensures reliability and extends the lifespan of your gear. Remember, even the best machines need routine check-ups—think of it as car maintenance for your coffee setup.
Have you ever fallen into this trap of underestimating the fine details? Let me know in the comments. Mastering these nuances can transform your daily brew from good to exceptional, but it requires awareness and attention to the small things that often go unnoticed.
Keeping Your Coffee Equipment in Prime Condition
To ensure consistent brews and prolong your gear’s lifespan, investing in the right tools and adopting disciplined maintenance routines is crucial. I personally rely on a combination of high-quality cleaning supplies, precision calibration tools, and smart storage solutions, which I detail below. Staying ahead with these practices means fewer breakdowns, better-tasting coffee, and a more enjoyable home barista experience.
Why I Trust the OE Non-Stick Grinder Brush
When it comes to cleaning my grinder, I swear by the OE non-stick grinder brush. Its firm but gentle bristles effectively dislodge stubborn coffee fines from burrs and chamber walls without damaging sensitive components. Regular use prevents buildup that causes jams and uneven grinds. I meticulously clean my grinder after every few uses, following the advice from this expert guide to maintain optimal performance. For long-term results, pairing this with periodic disassembly and deep cleaning keeps my machine humming smoothly.
Calibrating Your Grinder with a Digital Kestrel
Precision is key in espresso making, and for that, I rely on a digital anemometer like the Kestrel to fine-tune my grinder’s settings. By measuring the grind consistency and adjusting based on real data, I achieve shot quality comparable to professional cafes. This technique ensures your grind size remains consistent amid environmental changes or bean variations. As I learned from this resource, digital tools help demystify the calibration process, leading to better extraction and flavor precision.
Smart Storage Solutions for Coffee Beans and Equipment
Storing beans correctly minimizes dust and rancidity, preserving freshness and reducing fines that clog grinders. I use airtight, opaque containers with vacuum seals for my beans, which keeps them fresh longer and prevents static cling. Additionally, I keep my barista gear organized with dedicated drawers for tamps, brushes, and pitchers, streamlining my workflow. This practice is supported by organized storage tips that help maintain a clutter-free coffee space, making routine maintenance faster and more effective.
How do I maintain my espresso machine over time?
Regular descaling, thorough cleaning, and vigilant part inspection are essential. I follow a strict routine—descaling every three months with a quality descaling solution, cleaning the group head and portafilter after each use, and replacing worn gaskets proactively. Using tools like a water hardness tester helps me gauge when to decalcify, preventing mineral buildup that can impair pressure and temperature stability. Additionally, I pay attention to the machine’s pressure gauge and temperature readings, referencing guides like this troubleshooting resource. This disciplined approach ensures my espresso machine remains reliable and consistently produces outstanding shots.
Try this advanced tip: Use a calibration weight for tamping accuracy
One game-changing technique is calibrating your tamping pressure with a precision weight, like a digital kitchen scale. Applying consistent pressure—around 30 pounds—reduces channeling and ensures uniform extraction. I adopted this method after reading about it in this detailed guide, and it remarkably improved my shot consistency. I highly recommend giving it a try, especially if you’re serious about dialing in your espresso like a pro.
The Hard-Won Wisdom That Changes Everything
One of the most eye-opening lessons I learned was the importance of paying attention to those tiny coffee fines that silently sabotage your espresso ritual. I once believed that regular cleaning was sufficient, but it wasn’t until I experienced unexpected machine jams and flavor inconsistencies that I realized the devil lies in the details. Now, I meticulously monitor and manage dust accumulation, which has transformed my mornings into consistently smooth and flavorful experiences. This insight has made me appreciate that small habits—like proper storage, regular burr maintenance, and timely part replacements—are the real game-changers in achieving barista-level results at home.
My Secret Arsenal for Coffee Clarity and Equipment Longevity
Over the years, I’ve curated a set of trusted tools and resources that keep my coffee setup pristine and efficient. The OE non-stick grinder brush has become my go-to for quick cleaning between brews, preventing stubborn fines from causing clogs. For precise calibration, I rely on a digital weight and scale that ensures consistent tamping pressure and grind size. To preserve freshness and reduce dust intrusion, my beans are stored in airtight, vacuum-sealed containers—simple yet impactful tweaks that bolster my routine. These choices, backed by thorough testing and my personal experience, are what keep my espresso tasting divine and my machine humming like new.
One Step Beyond the Ordinary: Embrace Small Rituals for Big Results
Taking control of fine dust isn’t just about equipment maintenance—it’s about cultivating a mindset of intentional care and discipline. Each morning, I dedicate a few minutes to thorough cleaning, calibration, and mindful storage, transforming routine chores into moments of craftsmanship. This discipline pays off by enhancing flavor clarity, preventing costly repairs, and making every shot feel special. Believe me, these small but consistent efforts elevate your home espresso game from amateur to artisan. So go ahead, adopt one new habit today—your future self will thank you. Ready to start? Share your current routines or doubts in the comments below, and let’s elevate our coffee craft together.