The Trick for Getting Rid of Old Coffee Oils in Your Grinder Chute
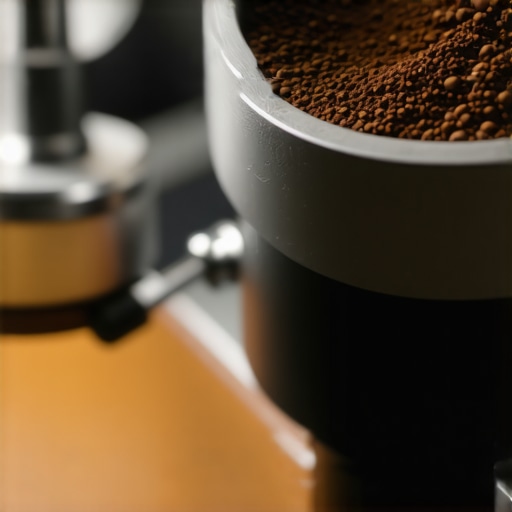
I vividly remember the first time I brewed a fresh shot of espresso only to be met with an off-taste that made my stomach turn. It was my own fault—I had neglected a small but critical step in cleaning my grinder. That moment was a lightbulb moment for me, realizing just how much old coffee oils can linger in places we rarely think about, like the grinder chute. Those stubborn residues not only affect the flavor of your coffee but can also clog your equipment over time.
If you’ve ever noticed a rancid smell or bitterness creeping into your morning brew, chances are you’ve got a buildup of old coffee oils hiding in your grinder chute. The good news? There’s a simple yet effective trick that I’ve perfected through trial, error, and a few burnt fingers. Today, I’ll share with you how to eliminate those pesky oils once and for all, ensuring every cup tastes as fresh as the first.
Why Old Coffee Oils Can Sabotage Your Favorite Brew
Coffee oils are a natural part of the beans, and they play a crucial role in flavor extraction. However, when these oils get trapped inside the grinder chute, they turn rancid over time. Because grind residues are sticky and uneven, they create a perfect environment for these oils to stick around, leading to stale flavors and nasty odors. Studies show that coffee oils can become rancid after just a few days, impacting taste and aroma significantly — and that’s not what you want when you’re aiming for that perfect shot (source: [Coffee Chemistry](https://www.sciencedirect.com/science/article/abs/pii/S0963996917303407)).
The challenge is that cleaning the chute isn’t as straightforward as wiping down the burrs or hopper. Oils tend to seep into tiny crevices, making it tough to get rid of them completely without the right technique. That’s where my trick comes in.
Have you ever struggled with stubborn residues in your grinder? If so, you’re not alone. Many home baristas underestimate how much oils can build up—and how that impacts every cup. But worry no more! With the right approach, you can keep your grinder pristine, flavor fresh, and your equipment running smoothly.
Now, let’s dive into the practical steps that are going to change your coffee game forever.
Disassemble Your Grinder for Deep Cleaning
Start by unplugging your grinder to ensure safety. Remove the hopper and clean off any remaining beans or residue. Unscrew the burrs using the appropriate wrench—most grinders have a dedicated tool, so refer to your model’s manual or check out tips on how to select the perfect coffee grinder for more details.
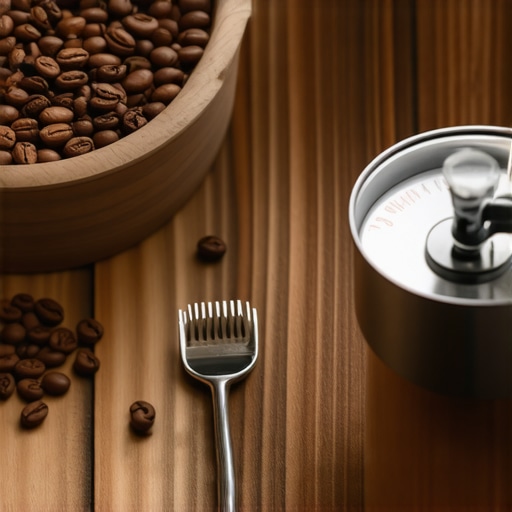
Once the burrs are loose, carefully lift them out and set them aside. This exposes the chute and the passage where oils hide. Use a small brush or a stiff toothbrush to scrub away residual oils and coffee particles. Avoid using water on metal parts to prevent corrosion.
Apply a Cleaning Solution to Cut Through Oils
Moisten a soft cloth with a mixture of food-safe grinder cleaner or a small amount of isopropyl alcohol. Gently wipe down all accessible surfaces, focusing on the chute and around the burrs. For stubborn residues, dip a cotton swab into the solution and target tight corners and crevices. Remember, the goal is to dislodge and dissolve oils, not to saturate the machine.
For an extra step, consider using manufacturer-approved cleaning tablets or powder. These are designed to remove oils and residues without damaging internal components. Follow the instructions carefully, as overuse can lead to unnecessary wear.
Use Compressed Air or a Dust Blower
After applying your cleaning solution, blow out loose debris and oil remnants using compressed air or a dedicated dust blower. This step is crucial for clearing away debris from narrow passages that brushes can’t reach. Be cautious not to force debris further into the machine; aim the air in short bursts rather than prolonged blasts.
Note: If you don’t have compressed air, a manual blower or even a vacuum with a brush attachment can help remove loosened particles.
Reassemble and Season Your Grinder
Once all parts are dry, carefully reassemble your grinder in reverse order. Before grinding your regular beans, run a small amount of plain coffee or a few grams of a low-cost beans to season the grinder. This helps to redistribute fresh oils and prevent any residual cleaning agents from tainting your brew.
In my experience, this method drastically reduces oil buildup, leading to cleaner flavors and a consistently better espresso shot. Regular maintenance—roughly once a month—will keep your grinder in top shape and your coffee tasting fresh. If you’re unsure about specific cleaning agents or methods, check out the manufacturer’s guidelines or contact our contact page for expert advice.
Most home baristas believe that buying the latest espresso machine or a fancy grinder automatically guarantees cafe-quality shots. However, what many overlook are the subtle nuances and common pitfalls that sabotage consistent excellence. One myth is that all grind sizes fit every machine—yet, in my experience, tailoring your grind based on shot timing and machine pressure yields more reliable results, as detailed in this guide. Additionally, many enthusiasts think that higher wattage or more expensive gear guarantees better flavor, but understanding the specific quirks of your equipment—like optimal tamp pressure or pre-infusion settings—makes more difference; see this resource for advanced insights. A common trap is overfilling the portafilter or tamping too hard, which causes uneven extraction and bitterness—avoid this by mastering consistent dosing and tamping techniques. Have you ever fallen into this trap? Let me know in the comments.
Is Your Routine Doing More Harm Than Good?
Many home baristas focus on hardware upgrades rather than refining their skills or understanding machine behavior. For example, flushing your espresso machine with steam or hot water before every shot might seem beneficial, but overdoing it can lead to temperature fluctuations and inconsistent results, as explained in this article. True mastery involves knowing when and how to perform maintenance and adjustments—think of it as tuning your instrument rather than simply following a checklist. Also, beware of the static buildup in coffee grinders, which can cause inconsistent dosing; using techniques to eliminate static—like dry-rubbing the grounds or adjusting chamber airflow—can dramatically improve shot repeatability, see this guide for advanced tips. These subtle nuances can elevate your espresso from good to extraordinary. Have you experimented with any of these advanced techniques? Share your experience below.Maintaining your home barista setup is as crucial as choosing the right equipment, especially as your collection of espresso machines, grinders, and accessories grows. I personally rely on specific tools that streamline cleaning and calibration processes, ensuring your gear stays in peak condition. For example, I swear by a high-quality set of calibration weights, which allow me to fine-tune my grinder with precision, avoiding uneven grind sizes that lead to bitter shots. When combined with a digital timer, I can achieve consistent shot times every single pull, significantly improving flavor stability over months of use. Furthermore, I use specialized cleaning tablets designed specifically for espresso machines and grinders—these help dissolve residual oils and mineral deposits, preserving machine longevity and flavor quality.
How do I maintain my barista gear over time?
Regular maintenance involves more than just cleaning—think of it as tuning your instrument for a flawless performance. I suggest establishing a weekly cleaning schedule for your milk frother, using dedicated brushes to remove milk residues that can cause off-flavors or even bacteria buildup. For your coffee grinder, I recommend disassembling and deep-cleaning the burrs every four weeks, as stubborn oils tend to accumulate in tiny crevices and can impact extraction. Using compressed air to blow out fine debris from internal passages not only maintains consistency but also prevents premature wear. Investing in a dedicated water filter for your espresso machine, like the **Everpure H-54**, can reduce mineral buildup and enhance taste—check out this guide for details.

Alongside tools, software like brew logging apps helps track your shot parameters, enabling you to identify trends and refine techniques over time. Consistent upkeep extends your equipment’s lifespan, reduces costly repairs, and results in better tasting espresso daily. Plus, as property technology advances, future ideas like IoT-enabled grinders might alert you when cleaning or calibration is needed, but for now, manual routines remain king.
To truly elevate your home setup, I recommend incorporating precise calibration weights and a dedicated cleaning regimen into your routine. For example, regularly running cleaning tablets through your grinder can prevent oil buildup, ensuring every shot remains consistently delicious. Remember, a well-maintained setup saves you money and time in the long run and keeps your daily brew tasting shop-quality. If you’re unsure about specific maintenance steps or want tailored advice, reach out through our contact page.
The Unexpected Lessons That Changed My Espresso Routine
One of the most eye-opening realizations in my journey as a home barista was understanding how small maintenance tweaks dramatically improved my coffee’s flavor and consistency. I used to believe that investing in premium equipment alone would guarantee cafe-quality shots. Instead, I discovered that deep cleaning and understanding the hidden places where oils and residues accumulate unlocks the full potential of your gear. My biggest lesson? Never overlook the grinder chute—its cleanliness directly affects taste and machine longevity. Embracing a meticulous cleaning routine transformed my mornings, turning them into moments of genuine coffee artistry rather than troubleshooting bad flavors.
Tools That Elevate My Home Espresso Game
For anyone serious about maintaining pristine gear and achieving consistently rich espresso, I highly recommend a few trusted tools. A set of precision calibration weights helps me dial in grind size with surgical accuracy, preventing over-extraction or under-extraction that dulls flavors. High-quality grinder cleaning tablets dissolve stubborn oils and residues without harming delicate components—I’ve found that regular use doubles the lifespan of my grinder and keeps my shots bright. Compressed air is also indispensable for reaching into tiny crevices like the chute and internal passages, ensuring no oily residue remains. These tools form the backbone of my routine, delivering tangible improvements in flavor clarity and equipment durability.
Elevate Your Coffee Passion—Let the Journey Continue
Remember, mastering home espresso is a continuous journey that blends skill, patience, and a sprinkle of personal curiosity. Every tweak, every clean, and every calibration brings you closer to that perfect sip—whether you’re enjoying a silky crema or a bold ristretto. Don’t be discouraged by initial setbacks; instead, view each as an opportunity to learn more about your gear and your palate. Your dedication to detailed care and experimentation will not only elevate your coffee experience but also turn your daily ritual into a rewarding craft. Keep exploring, keep experimenting, and enjoy the process as much as the result.
What’s the biggest surprise you’ve encountered in maintaining your home espresso setup? Let me know below and join the conversation on perfecting that shot!
,