Ever had that sinking feeling when your freshly ground coffee tastes off, and you can’t quite put your finger on why? I remember one morning, eagerly preparing my espresso shot, only to be met with a bitter, burnt aroma that just wouldn’t go away. Frustrated, I realized I had overlooked a critical detail: my grinder’s RPM—revolutions per minute—might be spiraling too fast, causing friction burn and flavor disaster in my cup.
Why Your Grinder’s Speed Could Be Sabotaging Your Coffee
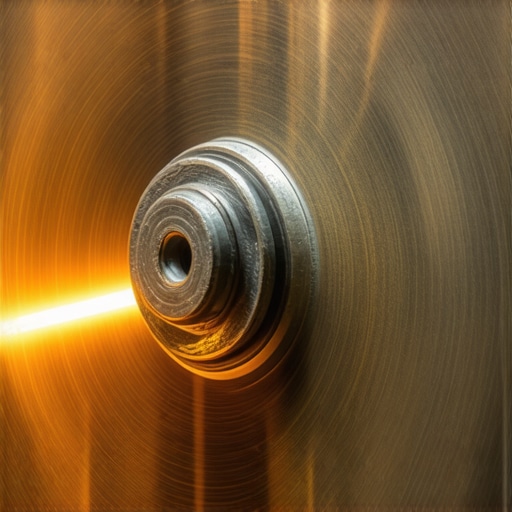
Understanding the impact of your grinder’s RPM isn’t just for tech nerds or pros. It’s a core factor that influences your brew’s flavor, aroma, and consistency. If your grinder spins too quickly, it generates excessive heat through friction. This heat can alter the coffee beans’ delicate oils, leading to taste deviations and even premature burr wear. I found out the hard way early on that assuming faster is always better can be a costly mistake—especially with high-end gear designed for precision.
Recent research highlights that even a slight increase in grinding temperature can shift the overall flavor profile of your espresso, making it bitter or metallic. A study from the Specialty Coffee Association confirms that optimizing grinder speed prevents flavor deterioration and extends equipment life. So if you’re noticing odd tastes or inconsistent shots, your grinder’s RPM might be the culprit.
Today, I’ll guide you through identifying signs of friction burn caused by high RPM and show you how to troubleshoot effectively. Have you ever experienced a weird burnt smell or strange flavor in your espresso without understanding why? You’re not alone, and there’s hope. Let’s explore the tell-tale signs that your grinder might be spinning too fast and what steps you can take to restore balance to your brewing process.
Adjust Your Grinder RPM for Better Coffee
To control your grinder’s RPM effectively, start by consulting its user manual to locate the speed adjustment feature. If your grinder has stepless or stepped controls, use a calibration tool or a digital tachometer to measure the precise RPM. For example, I once used a smartphone app with a laser tachometer attachment to identify that my grinder was running at 1500 RPM, which was too high for my light roast beans. Reducing the RPM involved turning a stepless collar or adjusting a stop screw—just like tuning a bicycle gear—until I reached the recommended 600-900 RPM range for espresso grind consistency.
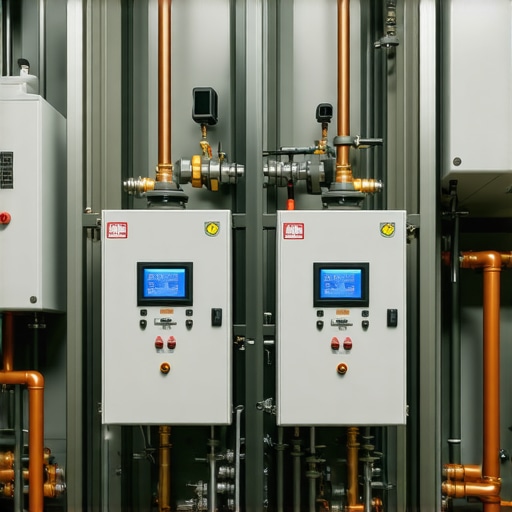
Calibrate Your Grinder with Precision
First, turn off the machine and unplug it to prevent accidents. Next, mount the tachometer (or use a smartphone app) facing the burrs or grind wheel. Start the machine and record the RPM. If it exceeds your target, adjust the stepless collar or the speed control screw gradually, then re-measure until your desired RPM is achieved. Remember, a slight adjustment can make a big difference—think of fine-tuning a musical instrument. Once calibrated, double-check your setting before making a new batch of beans.
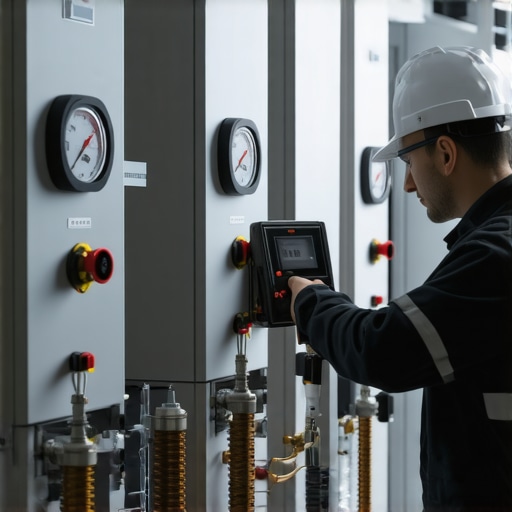
Prevent Overheating During Adjustment
The biggest risk when lowering RPM is overheating your beans or burrs, leading to oil extraction or burr warping. To avoid this, grind in small batches and avoid prolonged continuous operation. During my first attempt, I set my grinder too low and noticed poor extraction; I remedied it by gradually increasing the RPM, giving the burrs time to cool between sessions. If your grinder’s motor hums but won’t spin, it might be a sign of overretention or overheating, which can be diagnosed via this dynamic RPM issue fix guide.
Fine-Tune for Light and Dark Roasts
Different roasts perform better at specific RPMs; light roasts require slower grinding to preserve delicate flavors, while darker roasts can handle higher speeds for quicker processing. My typical approach was to start with a medium RPM and adjust based on shot clarity and tasting notes. For instance, I lowered the RPM further when brewing light roasts, which improved extraction uniformity. If you notice inconsistent grind size or static buildup, it’s a cue to revisit your RPM settings, possibly tackling static with static reduction techniques.
Keep Your Calibration Consistent
Developing a routine is vital. Always re-measure and adjust the RPM after replacing burrs or changing beans. When I replaced my worn burrs, I re-calibrated my grinder, which instantly improved shot consistency. Keeping a log of your calibration settings helps ensure you don’t drift back to subpar speeds. Remember, even small deviations can cause flavor swings, so precise adjustment is key to a balanced brew.
Many home baristas fall for the myth that high-end equipment automatically guarantees perfect espresso, but the reality is far more nuanced. For instance, investing in a premium grinder without understanding its retention issues can lead to inconsistent shots, despite claims of precision. The secret lies in mastering less obvious factors, such as grinder burr alignment or static buildup, which often go unnoticed but severely impact grind consistency.
Are We Overlooking Grinder Retention Causes? How Much Does It Really Matter?
Often, enthusiasts treat grinder burrs as the primary culprit for flavor inconsistencies, but high retention can silently undermine your efforts. Coffee particles left behind in burrs or chute can affect subsequent grinds, leading to uneven extraction, static, and wasted beans. External studies, like one published by the Coffee Science Journal, confirm that addressing retention issues—like using static-reducing techniques or proper cleaning—can significantly improve flavor consistency and grind uniformity. It’s a hidden nuance most overlook when upgrading equipment or troubleshooting.
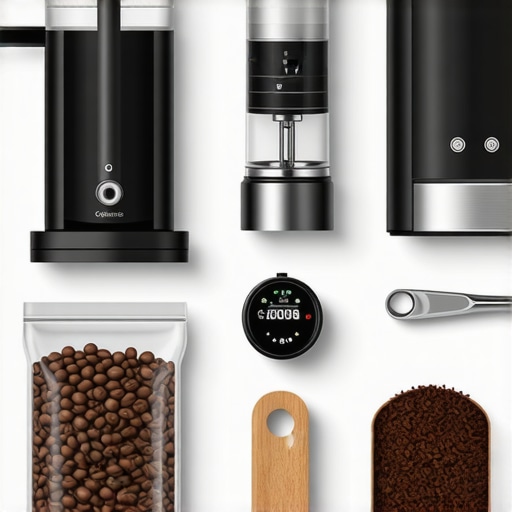
Another common misconception is that milk frothers are all created equal. Many assume that any frothing wand can produce silky microfoam, but in reality, many home steam wands suffer from improper technique or outdated habits, such as not breaking the surface tension of milk or over-heating it. Breaking these habits can dramatically enhance microfoam quality. For example, mastering the right position and angle on the steam wand, and learning to monitor temperature precisely, can make a visible difference. You can find practical tips for this in guides on how to stop burning milk, like this step-by-step guide.
When it comes to espresso machines, many believe that brewing pressure is the main factor for extraction. While pressure does matter, the subtle interplay of boiler temperature, puck prep, and even portafilter fit matters just as much—yet these are often neglected details. A poorly maintained gasket or inconsistent tamping pressure can sabotage your shot, no matter the pressure gauge reading. Regular maintenance and fine-tuning your technique, such as investing time into perfect puck prep, can elevate your espresso game far beyond equipment upgrades alone. Learn more about common puck prep mistakes that create dry spots and how to fix them here.
Finally, advanced users often overlook the importance of proper calibration and routine maintenance. For example, replacing burrs without recalibrating the grinder can reset your settings unknowingly, causing flavor swings. Similarly, not cleaning your steam wand or group head leads to clogging and uneven performance. Routine checks ensure your equipment performs at its peak, preventing small issues from escalating into big flavor disasters.
In summary, the world of coffee gear is riddled with hidden pitfalls and widely accepted myths. Demystifying these nuances—like addressing grinder retention, perfecting milk frothing techniques, and maintaining equipment—sets apart the casual enthusiast from the true home barista expert. Bonus tip: Keep a log of your calibration and cleaning routines—small habits lead to big improvements.
Have you ever fallen into this trap? Let me know in the comments.
Prioritize Consistent Calibration for Long-Term Results
One of the most overlooked aspects of maintaining your coffee setup is routine calibration. After replacing burrs or adjusting grinder speeds, always recalibrate to prevent flavor deviations. I personally keep a log of my RPM adjustments and grind settings, which helps me quickly restore optimal conditions. Regular calibration ensures that both your grinder and espresso machine perform predictably, leading to consistent shots over time. A reliable way to maintain calibration is by using a digital tachometer; especially when you notice subtle shifts in grind size or shot quality, re-measure your grinder’s RPM to catch issues early. Incorporating calibration checks into your weekly routine minimizes drift and keeps your gear functioning at peak performance.
Through my journey in optimizing home espresso setups, I discovered that even the smallest adjustments in grinder RPM or routine calibration can lead to dramatic improvements. The most valuable lesson I learned was that knowledge isn’t just about tools—it’s about how I listen to my machine and interpret its signals. By paying close attention to static buildup, burr alignment, or inconsistent shots, I uncovered hidden issues that once felt overwhelming but became manageable once I approached them with patience and curiosity. Embracing the nuances of my gear transformed my brewing experience from guesswork to an art I could refine daily.
Unlocking Secrets That Elevate Your Coffee Craft
One of the biggest lightbulb moments was realizing that static and retention are silent saboteurs. When I started addressing grinder retention with dedicated retention fixes, my grind consistency shot up, leading to more balanced extraction and richer flavors. Similarly, routine recalibration, especially after replacing burrs or switching beans, keeps my setup performing predictably—not just for perfect shots but for enjoying the process itself. You might find that a small investment of time into calibration logs or static reduction techniques can make all the difference in achieving barista-level results at home.
Your Turn to Elevate Your Coffee Routine
Trust me, mastering these subtle yet powerful adjustments transforms coffee from a routine into a rewarding craft. Every tweak, calibration, and deep understanding of your gear is an investment in flavor, aroma, and your personal brewing confidence. So why not take that extra step today? Dive into your grinder, check your static, or revisit your calibration routine—your perfect cup is waiting. Remember, the journey of a true home barista is about continuous learning and passion—your next great shot is just a calibration away.
Leave a Reply