The Best Way to Route a Drain Line for Your Home Espresso Setup
Have you ever spent hours dialing in the perfect espresso shot, only to be met with water pooling beneath your machine or a lingering sour smell? I remember the moment I realized my drain line setup was the culprit. After investing in top-tier equipment and countless hours of practice, the frustrating leaks and water mess made me question everything.
That lightbulb moment led me down a path of trial, error, and finally, clarity. Properly routing your drain line isn’t just about avoiding mess—it’s a vital step to ensure your home espresso setup is safe, efficient, and hassle-free. Whether you’re a seasoned home barista or just getting started, understanding how to position your drain line can prevent costly damage and prolong your equipment’s lifespan.
Why a Well-Planned Drain Line Matters More Than You Think
Most folks focus on selecting the right grinder or perfecting their tamping technique—trust me, I get it. But overlooking the drainage system can cause subtle headaches that grow into major problems. A correctly routed drain line helps manage excess water, prevents mold and bacteria buildup, and reduces the risk of flooding in your kitchen.
In my early days, I made the mistake of simply attaching a hose to the drain outlet without thinking about gravity, slope, or proper connection points. Within weeks, I faced leaks and water pooling that seemed unfixable. It wasn’t until I researched best practices, like ensuring the drain pipe slopes downward at a steady gradient, that my issues cleared up. Proper drain routing isn’t just a technical detail—it’s a crucial part of maintenance. For detailed guidance, you might find this resource helpful as you plan your setup.
Is Overthinking Your Drain Line Going to Save Your Kitchen?
Honestly, my initial mistake was underestimating how important this step is. I thought I could get away with a quick fix or a temporary solution—and we all know how that ends. Neglecting proper drainage can lead to long-term damage, including mold, structural issues, or even electrical hazards if water reaches outlets. That’s why it’s worth taking the time to get it right from the start.
Plan Your Drain Route Before Connecting
Start by visualizing where your drain line will run. Choose a path that allows gravity to do the work—preferably downward and with a slight slope of at least 1/4 inch per foot. For example, if you’re placing your machine near the sink, consider routing the hose behind cabinetry to keep it hidden but accessible.
Use Proper Connections for Leak Prevention
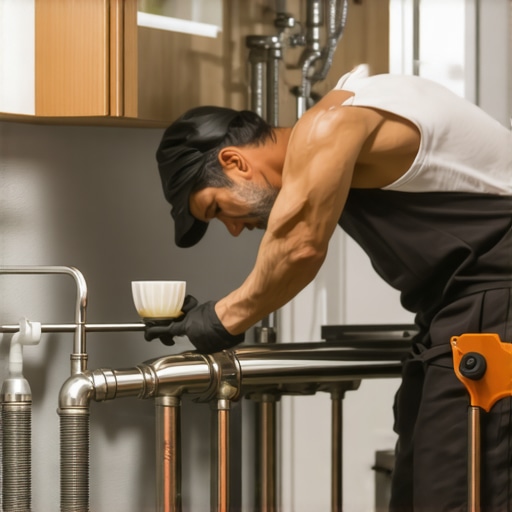
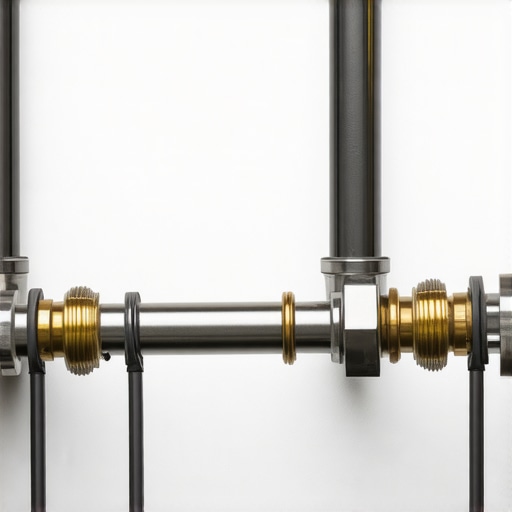
Securely attach a flexible, food-grade drain hose to the machine’s drain outlet. Tighten all fittings with a adjustable wrench, ensuring no gaps that could lead to water leaks. Remember, a loose connection is a common culprit in water pooling issues. When I did this in my setup, I wrapped threaded fittings with Teflon tape, and the leak vanished instantly.
Establish the Correct Slope and Support
The drain pipe must slope consistently downward—aim for a gradient of about 2-3%—to promote unimpeded water flow. Use pipe supports or brackets to keep the line in place, preventing sagging that could cause standing water. I recommend always checking the slope with a level, especially if you’re running the line through walls or cabinets.
Choose the Right Materials for Durability
Use standard PVC or flexible drain tubing designed for household plumbing. Avoid thin, flimsy hoses that might collapse or crack over time. When I replaced my old hose with a reinforced PVC pipe, not only did it last longer, but it also prevented kinks that would slow drainage. For detailed guidance, you can visit this resource about preventing leaks in your setup.
Test the Setup Before Finalizing
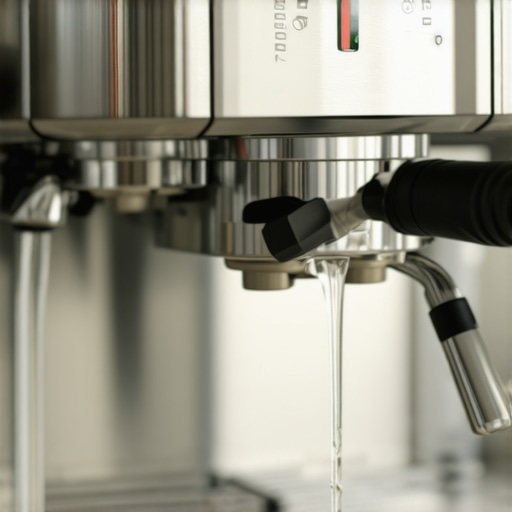
Once connected, pour water through the system to observe the flow. Watch for any leaks around fittings and ensure water flows smoothly over the slope without pooling. If you notice water backing up or escaping, adjust the fittings and the slope accordingly. I once forgot to support the pipe properly, causing a slow leak that took me hours to troubleshoot—so be thorough in testing.
Maintain and Troubleshoot Regularly
Periodically inspect your drain line for signs of wear, leaks, or blockages. Keeping the line clear of debris prevents backups that could damage your machine. If the water flow slows, try flushing the line with warm water and vinegar to remove mineral deposits. Proper maintenance extends the lifespan of both your drain system and espresso gear, saving you headaches down the road.
 While many enthusiasts believe that purchasing the most expensive espresso machine guarantees perfection, the truth is that even high-end gear can lead to subpar results if not used correctly. A common misconception is that grind size alone determines extraction quality, but in reality, factors like tamp pressure, dose consistency, and machine calibration play equally crucial roles. Overlooking these nuances can cause frustrating shots that taste sour or bitter despite premium equipment. For advanced home baristas, mastering these subtleties differentiates good espresso from exceptional coffee. An often-underestimated mistake involves misjudging the importance of temperature stability; many assume their machine’s thermostat is accurate when, in fact, calibration drifting can skew results, leading to inconsistent extraction. Expert insights advise regularly checking and calibrating your machine’s temperature to maintain optimal brewing conditions—if you’re serious about perfect shots, this step is vital. If you want to dig deeper into precision techniques, exploring resources like mastering the art of home espresso can be enlightening.
Another hidden nuance is the role of maintenance and cleaning. Many users neglect routine upkeep, assuming their equipment’s performance is solely dependent on initial setup. However, residual coffee oils and mineral deposits can significantly affect shot flavor and consistency. Regularly deep-cleaning components like portafilters, filters, and steam wands not only prolongs your machine’s lifespan but also ensures purity in flavor. A common trap is using harsh chemicals or neglecting descaling schedules, which can cause internal corrosion and scaling issues. Experts recommend using gentle, established cleaning protocols; for example, the safe cleaning methods help maintain equipment integrity.
Have you ever fallen into these traps? Let me know in the comments.
Are You Overlooking the Impact of Water Quality on Your Shots?
Many home baristas focus intensely on portafilter finesse or grinder precision but forget that the water itself influences extraction and flavor. Hard water, laden with minerals, can lead to scale buildup, affecting temperature stability and machine longevity. Conversely, overly soft water may extract too aggressively, resulting in a flat or dull taste. Using filtered or mineral-balanced water tailored for espresso brewing can elevate your results. Studies from industry experts highlight that water quality choice can be as impactful as selecting high-end beans. To optimize your setup, consider testing your water and adjusting mineral content accordingly.
Understanding these advanced nuances transforms the way you approach home espresso. It’s not just about owning the gear but mastering the environment, techniques, and maintenance that truly create extraordinary coffee experience. For personalized advice tailored to your setup, feel free to reach out through our contact page. Keep refining, and your perfect shot will become a reality.
Keep It Running: Tools and Maintenance for a Reliable Espresso Setup
If you’ve invested time and money into your home espresso station, ensuring its longevity is just as important as making that perfect shot. The right tools combined with disciplined maintenance routines can keep your equipment performing at its best for years to come.
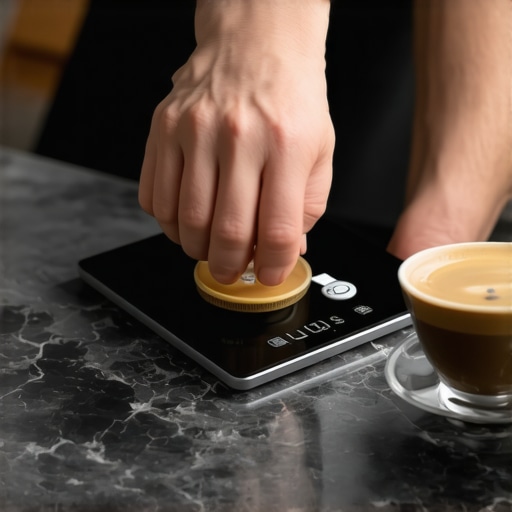
One of my go-to tools is a digital calibration scale. I use it daily to measure coffee doses and tamp pressure, ensuring consistency and precision. A high-quality scale like the Hario V60 with a 0.1g accuracy helps me dial in every shot, reducing variables that can compromise flavor. Regularly calibrating your grinder is equally vital. I recommend using a standard coin test to verify your scale’s accuracy and keep your grind settings spot-on.
Proper cleaning tools are essential to prevent flavor contamination and mechanical issues. A dedicated portafilter brush, such as the stainless-steel cleaning brush, allows me to efficiently scrub the basket without damaging the metal. For descaling, I rely on manufacturer-approved solutions like Urnex Dezcal. Regular de-scaling prevents mineral buildup, which can hinder temperature stability and flow rate, ultimately affecting shot quality.
In terms of software, I highly recommend setting up a brewing log using a simple spreadsheet or specialized app. Tracking variables like grind size, dose, tamp pressure, and shot time helps identify patterns and areas for improvement. Documenting maintenance — such as cleaning schedule and descaling dates — ensures nothing slips through the cracks.
Looking ahead, the trend points toward smarter, connected espresso gear. Future integrations with smartphone apps for real-time diagnostics and maintenance reminders will make keeping your setup in top shape easier than ever.
How do I maintain my equipment over time?
Regularly inspecting your machine for signs of wear and tear can catch issues early. Replace worn-out gaskets, seals, and worn burrs in your grinder as needed. Following a strict cleaning schedule — including backflushing your espresso machine weekly and deep-cleaning parts monthly — extends its lifespan and preserves flavor integrity. For detailed maintenance routines tailored to your specific gear, reach out via our contact page. Implementing these practices consistently transforms your home setup into a lifelong investment, ensuring every shot is delicious and trouble-free. Don’t hesitate to try incorporating a calibration routine using a standard coin — it’s a simple yet powerful way to maintain accuracy over time.
What I Wish Every Home Barista Knew About Drain Lines
One of the most overlooked yet vital elements in a home espresso setup is the drain line. I learned this the hard way after battling leaks and water damage that could have been prevented with simple knowledge. The key lesson? Proper drainage isn’t just about avoiding mess—it’s about protecting your investment and ensuring consistent performance. From my experience, paying attention to slope, connections, and support in your drain routing can save you hours of troubleshooting and costly repairs.
Another insight I gained was the importance of testing your drain system thoroughly after installation. Pour water through the line and observe the flow, making adjustments to slope and fittings as needed. Support your drain pipe with brackets or supports to prevent sagging, which can cause standing water and stagnation. These small steps, rooted in real-world trial, are the difference between a hassle-free setup and ongoing headaches.
Resources That Changed How I Approach Home Espresso Maintenance
Over time, I found that certain tools and guides made all the difference in maintaining a reliable home espresso system. The calibration techniques for coffee scales helped me achieve consistency, while diagnostics for leak troubleshooting prevented minor issues from becoming major repairs. For cleaning, the specialized brush streamlined my routine, ensuring hygienic operation and longevity of my equipment.
Additionally, I trust industry expert guides on bean freshness and cleaning protocols because they focus on practical, proven methods that fit into my busy schedule. These resources empowered me to take charge of my gear and produce consistently excellent espresso.
Embrace the Journey: Your Best Coffee Starts Here
Building a home espresso station is more than just acquiring equipment—it’s about cultivating a mindset of continuous improvement. Even small adjustments, like verifying water temperature calibration or refining your drain setup, can elevate your brews from good to exceptional. Remember, every misstep is a lesson, bringing you closer to mastering this craft.
So, whether you’re just starting or refining your setup, consider each component part of your system. From unique drain routing to water quality, these details have a profound impact on your results. Keep experimenting, stay curious, and enjoy the process of creating your perfect cup at home. Your journey toward barista-level coffee is well worth it—embrace it with confidence.
What’s the one drain-line tip you wish you knew earlier? Share your experience below and let’s learn together!