The Simple Way to Dial In a New Bag of Beans Without Wasting Half the Bag
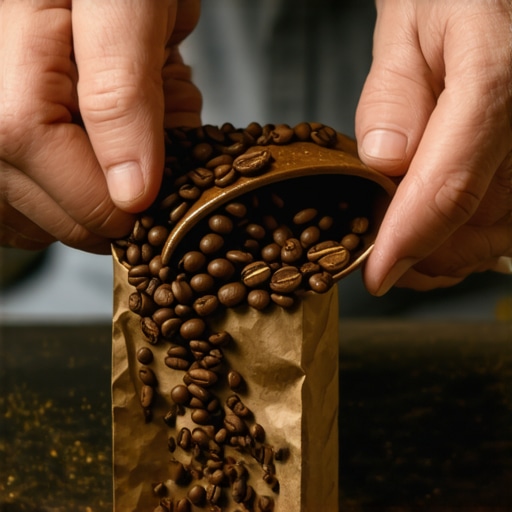
Ever poured what felt like a perfectly brewed shot, only to be disappointed by a bitter, underwhelming cup that tasted nothing like what you’d hoped for? I’ve been there—buying a fresh bag of beans, eager to brew, and ending up tossing half of it because my shots were either too sour or too bitter. It’s frustrating, discouraging, and honestly, a bit embarrassing after all the effort and expense.
The Battle of Wasting Beans and Missing Flavor
Let’s face it—dialing in a new bag of coffee can feel like navigating a minefield. Just when you think you’ve nailed the grind size and tamp pressure, your shots go astray. I used to think that the problem was my equipment, my technique, or stubborn beans, until I realized the real culprit was my approach to calibration. Wasting precious beans and precious time trying to guess and change variables randomly isn’t just costly; it kills the joy of brewing.
Assess Your Equipment and Environment
Start by ensuring your espresso machine is at optimal operating temperature—preheat for at least 15 minutes to stabilize thermal conditions, preventing calibration mishaps. Confirm your grinder’s burrs are clean and properly aligned; residual coffee oils can cause inconsistent grind sizes. To check, remove the grinder chute and inspect the blades for buildup, referencing tips from this guide. A clutter-free, dry environment reduces static and moisture, which can affect grind consistency and tamp pressure.
Dial in Your Grind Size Methodically
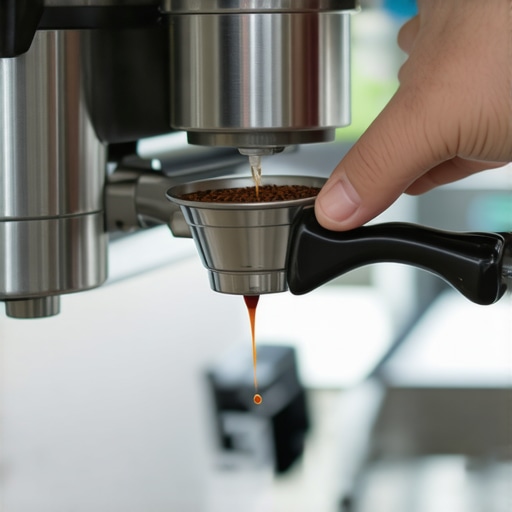
Set your grinder to a medium-fine setting—similar to granulated sugar. Brew a shot, observing extraction time and flavor. If the shot pulls too quickly (under 25 seconds) with a weak taste, tighten the grind by adjusting the grinder dial clockwise, akin to turning a faucet to slow water flow. Conversely, if extraction exceeds 35 seconds or tastes overly bitter, loosen the grind. Ludovico’s rule for grinders applies: small, incremental changes yield better calibration—about a quarter turn at a time. Remember, selecting the right grinder is critical for consistent results.
Refine Tamp Pressure and Distribution
Achieve uniform tamping by applying about 30 pounds of pressure—think of pressing a button with deliberate weight, not force. Use a calibrated tamper if possible, or a bathroom scale as a makeshift gauge during practice runs. Distribute coffee evenly before tamping: tap the basket lightly to settle grounds—an easy step that prevents channeling, which causes uneven extraction. For consistent tamping, consider tools like barista gear that aid pressure control.
Optimize Brew Volume and Extraction
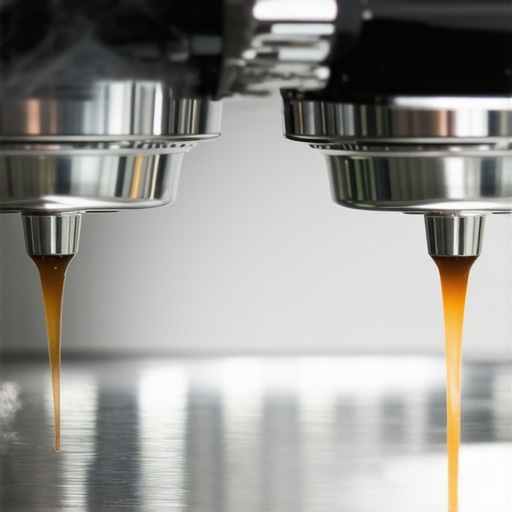
Start with a standard shot volume—around 30ml for espresso—and document the duration. Use a timer or espresso scale to measure extraction time precisely. If the shot is too weak, increase dose slightly or tighten the grind until the desired flow rate is achieved. Remember, adjustments are iterative. Once you find the ideal grind and tamp, aim for crema that’s golden and persistent—an indicator of proper extraction. Regularly cleaning your equipment, especially the group head and portafilter, ensures impurities don’t skew your calibration results—they can be cleaned using these cleaning techniques.
Fine-Tune Milk Frothing and Foam Quality
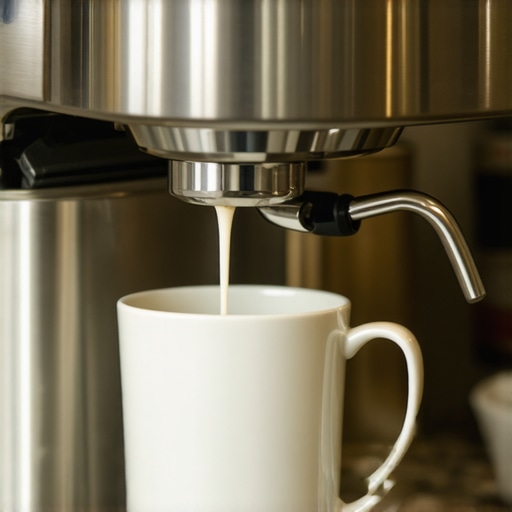
While calibration focuses on espresso extraction, achieving luscious microfoam completes the experience. Use quality milk frothers to control frothing temperature and airflow. Position the steam wand just below the milk surface at a 45-degree angle, and submerge the tip slightly below the milk line. Open the steam valve fully and listen for a smooth hissing—any sputtering indicates blockages or pressure issues. For troubleshooting, consult this guide. Properly steamed milk should be shiny, silky, and free of large bubbles, enhancing your espresso’s flavor profile and overall presentation.
Even seasoned home baristas often fall prey to misconceptions about espresso gear and brewing techniques. Let’s dig deeper into some of the nuanced truths behind equipment and methods that most people overlook, and why understanding these can elevate your coffee game.
For instance, many believe that a more expensive espresso machine automatically produces better shots. While high-end gear offers benefits, user technique and calibration often outweigh machine price. Overlooking this can lead to unnecessary expenditure without real improvement. Additionally, there’s a myth that using distilled water will enhance flavor. In reality, it can cause mineral deficiencies affecting the machine’s longevity and lead to flat-tasting coffee, as noted by industry experts.
Why does grind size vary so much, even with the same beans?
Many enthusiasts think that a single grind setting should suffice, but variables like humidity, bean freshness, and even the ambient temperature modulate the optimal grind over time. Advanced users fine-tune grind calibration by observing extraction and flow rate, rather than relying solely on the grinder’s factory settings. This subtle adjustment can make or break your shot, preventing common issues like channeling or under-extraction. For intricate calibration, referencing this guide can help refine your process.
Beware the trap of inconsistent tamping techniques
Many assume that pressing down with brute force guarantees a proper puck. However, applying uniform pressure—about 30 pounds—is key, and tools like calibrated tampers can help maintain consistency. Inhomogeneous tamping can cause uneven extraction, resulting in sour or bitter flavors. Keep in mind that dispersion of grounds before tamping prevents channeling and promotes even extraction, an often overlooked detail that can ruin even the best beans.
Make Your Microfoam Shine: Not All Frothers Are Equal
Some believe that any milk frother can produce microfoam. In truth, the quality of frothing equipment and technique significantly influence foam texture. Using quality milk frothers along with proper steam wand positioning and temperature control leads to velvety microfoam. Inexperienced frothing can create large bubbles or flat milk—both detracting from your espresso experience. Regular cleaning also prevents milk build-up that impairs performance and flavor.
Are home grinders really necessary, or are they just a luxury?
It’s a common misconception that any grinder suffices. Yet, a high-quality burr grinder, calibrated meticulously, is crucial for extracting optimal flavor. Cheaper grinders often suffer from inconsistent particle sizes, leading to channeling or over-extraction. Investing in a grinder that allows *precise* adjustments is essential for serious espresso lovers. Check out this resource to find the right match for your brewing style.
Have you ever fallen into this trap? Let me know in the comments so we can troubleshoot and improve together!
Maintaining your espresso setup isn’t just about occasional cleaning; it’s about implementing precise, reliable techniques and using the right tools to ensure consistent performance over time. From professional-grade grinders to specialized cleaning supplies, investing in quality equipment can significantly extend the lifespan of your gear and elevate your coffee experience.
How do I keep my espresso machine and accessories running smoothly?
First, I rely heavily on a dedicated set of cleaning tools, including pipe cleaners and soft brushes specifically designed for the group head and steam wand. These allow me to remove coffee oils and milk residues that can build up and cause performance issues. Regular descaling with manufacturer-approved solutions prevents mineral buildup, especially if you have hard water — this is critical for maintaining consistent temperature stability. For grinders, I swear by a microfiber brush set to clean burrs and chute surfaces, reducing retention and ensuring uniform grind size.
To monitor long-term results, I keep a detailed log of calibration adjustments, shot quality, and machine behavior. This practice helps me recognize patterns and preempt problems before they escalate. For example, tracking grind adjustments alongside extraction times reveals when deeper cleaning or part replacement is needed, preventing breakdowns during critical moments.
Tools That Make Calibration and Upkeep Easier
An essential piece of my toolkit is a dosing funnel with a magnetic base. It keeps coffee neat and prevents spills, which reduces waste and mess. For calibration, I use a high-precision espresso scale that provides real-time feedback on shot weight and flow rate, helping me refine extraction parameters with surgical accuracy.
Investing in quality tools is a wise move — they improve not just initial results but also make routine maintenance less burdensome. Keep your gear clean and calibrated, and you’ll enjoy consistently excellent coffee shot after shot.
Future Trends in Tool Development for Coffee Enthusiasts
Looking ahead, expect to see more IoT-integrated devices that offer real-time diagnostics and automatic calibration prompts. Smart grinders and cleaning systems will become standard, making long-term maintenance nearly effortless. As technologies improve, the focus will shift from reactive fixes to proactive preservation, ensuring your investment yields rich, flavorful brews for years to come.
Get Hands-On with This Tip and Watch Your Results Improve
One advanced technique I recommend trying is calibrating your grinder with a high-precision scale after every few months. Small adjustments can dramatically impact taste and consistency. Incorporate a regular cleaning routine using tools like specialty pipe cleaners to keep your steam wands and water lines clear. Consistency is achieved through discipline and the right tools—so don’t overlook the importance of investing in quality maintenance gear. Ready to take your setup to the next level? Try calibrating your grinder with detailed measurements for at least a week and see the difference it makes in every cup.
Embarking on your home espresso adventure often feels exciting, but as I learned through my own experience, the real growth comes from embracing the mistakes and missteps along the way. One of the most eye-opening lessons I discovered was how subtle tweaks in grind size or tamp pressure can drastically change your results—it’s not just about dialing in once but about constant fine-tuning. This mindset shifted my entire approach, transforming frustration into curiosity and finally into mastery. If you’re struggling with inconsistent shots, remember: patience and attention to detail are your best allies. Over time, these small adjustments compound, leading to the rich, velvety espresso you’ve been craving. My journey taught me that the path to barista-quality coffee isn’t about perfection out of the gate but about persistent learning and loving the process. For more tips on calibration and equipment care, check out this guide. Keep experimenting, and enjoy every cup as a step forward in your espresso mastery.