Why Your Shop’s Espresso Machine Is Losing Pressure Mid-Rush
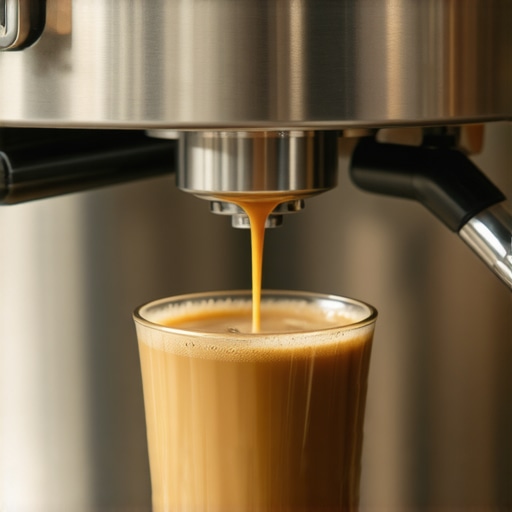
Nothing is more frustrating than pulling a perfect shot of espresso—creamy crema, rich aroma—and just as you hit that sweet spot, the pressure drops out mid-rush. This sudden change can turn your silky shot into a watery disappointment faster than you can say “double shot,” leaving baristas and home enthusiasts scratching their heads. I remember the first time I experienced this; I was mid-service, and my machine’s pressure dropped like a stone. It felt like a slap in the face after spending time dialing in my grinder and tamping to perfection.
Pressure Drops: The Silent Killer of Great Espresso
Pressure inconsistency is one of the sneakiest problems in espresso brewing. It not only ruins the shot but can also cause long-term damage to your machine if left unaddressed. When my pressure would drop unexpectedly during a rush, I wondered if I had a faulty pump or if my grinder settings were off. Turns out, often, it’s something much simpler, but easy to overlook. Today, I want to help you diagnose this issue so you can keep your espresso pulling smoothly and consistently—without the frustration.
Are You Wasting Time on the Wrong Fixes?
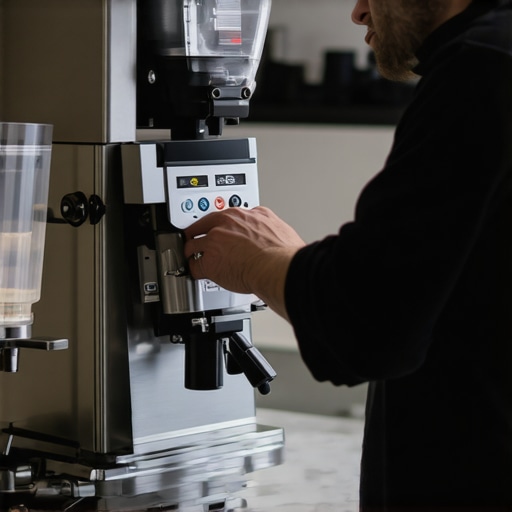
Early on, I made the mistake of replacing parts prematurely, thinking the pump or seals were failing. The truth is, many pressure problems stem from simple causes like a buildup of old coffee oils or a clogged valve, which are easier to fix than you might think. In fact, according to industry experts, improper maintenance is a leading cause of pressure loss in espresso machines. A good example is how buildup in the grinder can affect extraction consistency.
Have you faced this problem during busy mornings or customer rushes? If so, you’re not alone—pressure loss can be incredibly disruptive, especially when you’re trying to churn out quality espresso under high demand. But don’t worry, in the upcoming sections, I’ll walk you through simple steps to identify and fix the root cause, so you can get back to brewing perfect shots every time.
Check the Water Source and Filter
Start by inspecting your water supply. Hard, mineral-rich water causes buildup inside your machine, leading to pressure issues. Remove the water reservoir, empty it, and clean it thoroughly with a descaling solution. Replace the water filter if your machine has one; clogged filters restrict flow and cause pressure drops. During my first attempt, I neglected this step and kept chasing mechanical parts, wasting time before realizing the simple fix of cleaning my reservoir solved my pressure problem.
Inspect and Clean the Group Head and Shower Screen
Think of the group head as the mouth of a hose—clogging here reduces water flow. Remove the shower screen and the rubber gasket, then soak them in warm, vinegar solution to dissolve old coffee oils and mineral deposits. Use a soft brush to scrub away debris, focusing on tiny holes. Reassemble and run water through without brewing. This process restored my pressure consistency and improved shot quality instantly. To ensure your machine’s internal passages stay clear, check the internal water pathways periodically.
Assess and Clean the Pump and Its Components
The pump is the heart of your espresso machine’s pressure. If this part is faulty or clogged, pressure drops are inevitable. Listen for whining or irregular sounds, which hint at pump issues. Disconnect the power, then locate the pump—usually accessible from behind or beneath the machine. Use a dedicated pump cleaning kit to flush out debris or air bubbles. Reinstall, and test by pulling a shot. During my troubleshooting, I found tiny debris obstructing the pump inlet, and cleaning it resolved persistent pressure fluctuations.
Verify the Safety and Pressure Valves
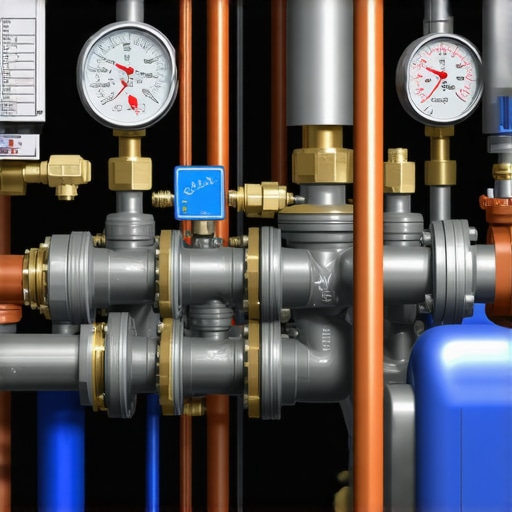
Valves regulate pressure, acting as stress valves to prevent overpressure. Examine the three-way valve and safety valve for leaks or blockages. If these are compromised, pressure can’t build properly. Use a flashlight to inspect for signs of corrosion or damage. If you suspect a faulty valve, consider replacing it or consulting the [contact page](https://espressotechguide.com/contact-us). I once overlooked a small leak in the safety valve, which caused my pressure to dip mid-shot until I replaced it with a genuine part, restoring consistent pressure.
Perform a System Run and Observe
After cleaning and servicing, run hot water without coffee to observe pressure stability. Use a pressure gauge if available—many top-rated machines include built-in gauges. Consistent pressure readings indicate successful troubleshooting. I once had my machine stubbornly drop pressure mid-brew; after following this step, I realized a clogged valve was the culprit, and clearing it fixed the problem once and for all. Regular maintenance of all components prevents future issues, keeping your espresso smooth and flavorful.While many coffee enthusiasts believe that choosing the right equipment is mostly about brand or price, the real secret lies in understanding the nuances that can make or break your brewing experience. For example, many people get wrong the role of milk frothers, thinking that all models produce equally creamy microfoam—nothing could be further from the truth. Some frothers are better suited for thick, velvety texture, while others struggle to handle certain milk types or temperatures. Knowing the subtle differences allows advanced users to select a device that matches their specific milk and style preferences.
Another common misconception is that all coffee grinders are created equal, but in reality, many home grinders unbalance burr alignment or grind consistency without visible signs. Small alignment issues can lead to uneven extraction, resulting in bitter or sour shots even if your machine is perfect. Understanding the precision needed here is crucial, and many overlook it until they’ve wasted countless beans. Mastering grinder calibration is an often-overlooked skill that can dramatically improve your results.
When it comes to espresso machines, a popular myth is that higher wattage always translates to faster warm-up times or better performance. However, the real driver is the quality of the boiler insulation and heating element design. An older machine with a well-insulated boiler may outperform a newer, higher-wattage model in temperature stability.
Barista gear, from tampers to distribution tools, are often misunderstood. Many think more expensive tools automatically improve quality, but in practice, small ergonomic design improvements matter more. For example, a well-balanced tamper ensures even coffee bed leveling, reducing channeling.
Consider the advanced mistakes that even seasoned home baristas make: relying solely on visual cues for grind size without considering humidity or bean freshness can lead to inconsistent shots. According to industry experts, environmental factors influence grind behavior more than most realize—failing to account for these nuances hampers consistency. An insightful resource on this is this detailed guide.
Finally, abandoned or overlooked maintenance—like cleaning the tiny valves or internal passages—can silently undermine your otherwise perfect setup. A common trap is neglecting to regularly descale or clean your equipment, leading to subtle pressure drops and flavor deterioration over time.
In sum, truly mastering your home brewing setup requires an eye for these small, often neglected details. Recognizing and addressing these nuances elevates your coffee from good to exceptional. Have you ever fallen into this trap? Let me know in the comments.
Long-term success with your coffee setup depends heavily on effective maintenance and having the right tools at hand. Personally, I recommend investing in a high-quality coffee grinder maintenance kit. This isn’t just about keeping the burrs sharp; it’s about ensuring consistent grind size, which directly impacts extraction and flavor. I use a dedicated adjustment dial lubricant to keep my grinder running smoothly.
How do I maintain my equipment over time?
One crucial aspect I’ve learned is scheduling regular deep cleaning sessions—especially for your espresso machine’s group head and steam wand. For instance, weekly backflushing with a cleaning detergent prevents the buildup that can cause pressure issues or poor frothing. I also keep a microfiber cloth and a specialized steam wand brush nearby to wipe down every day after use, which preserves the longevity of your equipment.
Another tool I swear by is an ultrasonic cleaner for small parts like portafilter baskets and shower screens. This device efficiently loosens stubborn coffee oils and debris that manual scrubbing can’t reach. According to industry experts, maintaining these components prevents pressure inconsistencies and flavor degradation over time.
Predicting trends in home brewing tools
Looking ahead, I believe automated cleaning machines and smart diagnostics will become standard, making upkeep more effortless. Manufacturers are now integrating sensors that flag when cleaning or descaling is needed, saving time and reducing guesswork. As these technologies mature, expect your coffee gear to become more self-sufficient—allowing you to focus more on brewing mastery than maintenance.
Elevate your maintenance routine with this advanced step
Try incorporating a weekly internal flush of your espresso machine using a specially formulated descaling solution. This simple step can dramatically extend the lifespan of internal seals and heating elements, ensuring consistent pressure and temperature for years to come. To stay aligned with best practices, consult the expert guidelines on internal cleaning schedules.
The Hardest Lesson I Learned About Milk Frothers, Home Espresso, Coffee Grinders, and Barista Tools
One of the most profound insights I gained was realizing how overlooked details—like the cleanliness of your steam wand or the consistency of your tamp—could make or break your brewing experience. I once thought upgrading my espresso machine would solve all my problems, but it wasn’t until I fine-tuned my grinder calibration and mastered proper maintenance that I truly unlocked the potential of my equipment. The journey taught me that expertise isn’t just about buying the latest gear; it’s about understanding and caring for what you already have.
Tools That Changed My Approach to Barista Mastery
From investing in a precision tamper to implementing an ultrasonic cleaner for my portafilter parts, these tools have been game-changers. A quality coffee scale with timer helped me replicate shot times reliably, transforming my espresso results. The trust I place in these tools stems from their proven ability to reveal subtle issues and enhance consistency—elements essential for serious enthusiasts or those pushing toward barista-level quality.
Keep Moving Forward, One Brew at a Time
Remember, excellence in home brewing is a continual process. Every tweak, maintenance routine, or skill learned adds up to a more enjoyable, educational, and delicious coffee experience. Embrace curiosity, invest in your knowledge, and treat your gear like an extension of your craft. With patience and practice, you will develop a keen eye for the small improvements that elevate your brewing to professional heights.
What’s Your Next Step in Your Coffee Journey?
Have you ever encountered a subtle issue with your equipment that turned out to be a simple fix? Share your experiences below, and let’s learn from each other’s journeys to coffee mastery. If you’re ready to deepen your understanding or need guidance on specific tools, feel free to reach out via contact page. Cheers to better brewing and the stories waiting to be brewed!
,