Why Your Steam Wand Sputters and How to Clear the Blockage
Ever had a perfect shot of espresso suddenly disrupted by that annoying sputtering of your steam wand? I know the feeling all too well—you’re coaxing silky microfoam from your milk, only to be met with sputters, spits, and a frustrating lack of pressure. It’s like your espresso routine is being sabotaged by a stubborn little gremlin hiding inside your machine.
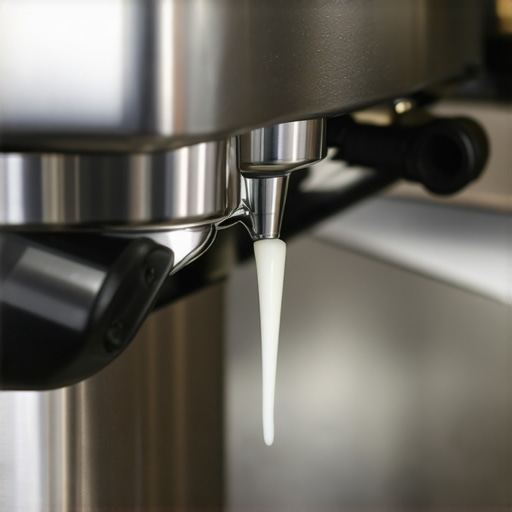
That lightbulb moment hit me when I watched my once-reliable steam wand sputter and shoot water instead of the steady, dry steam I craved. Turns out, it was a simple blockage caused by accumulated milk crust and mineral build-up—issues I never paid enough attention to. If you’ve been there, wondering why your steam pressure drops or why the wand spits water, you’re not alone. Many home baristas and baristas alike face this silent foe.
Today, we’re going to clear the mystery around your sputtering steam wand. I’ll share proven techniques to banish blockages, restore pressure, and get your machine back to working like new. Whether you’re a beginner or a seasoned enthusiast, understanding why this happens and fixing it can save your shot and keep the steam flowing.
Common Culprits Behind a Sputtering Steam Wand
Many times, the cause stems from overlooked maintenance. Dried milk residues, mineral deposits, or even a clogged nozzle can turn your glorious frothing experience into a sputtering mess. Interestingly, a study found that mineral build-up can reduce heat transfer efficiency, making it harder for your machine to generate enough steam pressure (source: EspressoTechGuide). That’s why regular cleaning isn’t just about hygiene; it’s about functionality.
If you’ve ignored cleaning your steam wand or tried to force frothing through stubborn blockages, you might actually be making the problem worse. One common mistake I made early on was soaking the wand in water without removing and cleaning the tip thoroughly—lead me to spent hours troubleshooting instead of effectively clearing the issue. If you’re curious about the correct way to clean your steam wand and avoid such mistakes, check out this helpful guide: Stop soaking your steam wand.
In the sections ahead, I’ll walk you through simple steps to identify and eliminate the blockages—so you can enjoy silky microfoam again without sputters or surprises. Ready to restore your steam power? Let’s get started.
Disconnect and Prepare
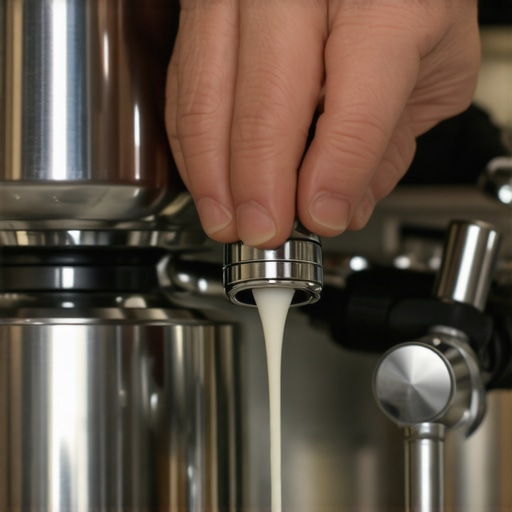
Start by turning off your espresso machine and unplugging it to ensure safety. Remove the steam wand tip or nozzle carefully, as if taking off a watch’s crown—gently but deliberately. Place a clean towel nearby to catch any residual water or milk residue. I once forgot to do this and ended up soaked, but now I always double-check before starting the cleaning process.
Soak and Loosen Crusts
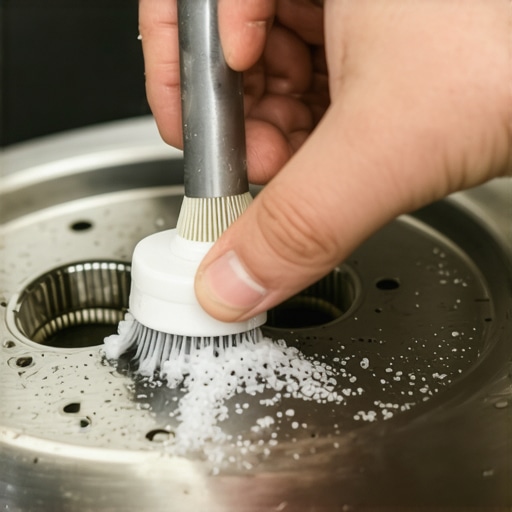
Submerge the wand tip in a mixture of hot water and a small amount of descaling solution or citric acid. Let it soak for 10-15 minutes to loosen dried milk crusts or mineral deposits. Remember, this is like giving your machine a spa treatment—soaking softens stubborn build-up. After soaking, use a small brush or toothbrush to scrub the tip, focusing on the tiny holes. I once neglected this step and only used a needle, which didn’t do much—so soaking is worth the extra effort.
Use a Pipe Cleaner or Vacuum
For internal blockages, insert a flexible pipe cleaner or a narrow brush into the wand’s opening to dislodge any residual milk crusts or debris. If the wand is persistent, gently connect a vacuum cleaner with a narrow attachment to suck out obstructions. Think of it as clearing a clogged garden hose; gentle suction can make a big difference. I had a stubborn clog once that only came out after a quick vacuum, saving me from dismantling the entire wand.
Flush with Hot Water
Reassemble the wand tip and run hot water through it using your machine’s steam function—without turning on the steam boiler. This flush clears remaining debris and ensures unobstructed spray. It’s like rinsing the pipes after cleaning. If you notice water dripping unevenly or spitting, repeat this step until the spray is steady. A quick hot water flush helped me regain perfect steam pressure in minutes.
Test and Fine-Tune
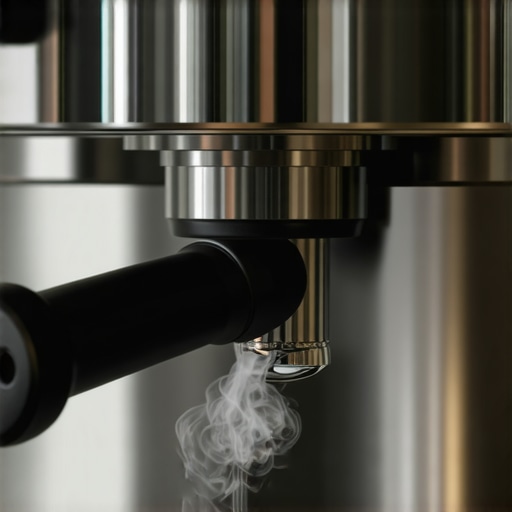
Reattach the wand to your machine and run a steam cycle with no milk or attachment. Observe the flow: it should be steady and dry, not sputtering or spitting. If the problem persists, double-check for residual blockages or mineral deposits. For thoroughness, you might want to visit this guide for additional tips on cleaning your steam wand effectively.
Regular Maintenance Prevents Future Clogs
To keep your steam wand flowing freely, wipe it after each use and perform monthly deep cleans. Use a small pin or needle to clear the tiny holes if they become clogged. Regular cleaning prevents mineral build-up and dried milk crusts from turning into stubborn blockages. A disciplined routine keeps your microfoam smooth and prevents sputtering during milk stretching, much like maintaining a car to prevent breakdowns.
Many home baristas and enthusiasts fall into traps based on popular myths or misunderstandings about espresso machines, grinders, or milk frothers. One widespread misconception is that using the most expensive gear automatically guarantees perfect results. While premium equipment can certainly help, it’s often the technique and understanding of nuances—like grind size consistency or milk temperature control—that truly make the difference. Relying solely on high-end gear without mastering foundational skills can lead to wasted investment and frustration.
Another common mistake involves the belief that cleaning routines should be minimal or quick. In reality, neglecting thorough maintenance—such as regularly soaking steam wand tips or deep-cleaning grinders—can lead to buildup that causes sputtering, uneven extraction, or even machine damage. The trap here is thinking that ‘less is more’, but in machine care, more attentive cleaning pays off significantly.
When it comes to coffee grinders, many assume that coarser settings always produce better shots. But this overlooks the importance of grind uniformity. A grinder that’s misaligned or has dull burrs can produce inconsistent particles, resulting in bitter or weak shots regardless of setting. Regularly checking for issues like dull burrs or uneven particle distribution, as discussed [here](https://espressotechguide.com/why-the-dirty-burrs-cause-bitter-shots), can upgrade your results.
A less obvious but crucial nuance involves milk frothing. Many think that higher milk temperature yields creamier foam. However, excessive heat can cause proteins to break down, leading to collapsed foam or scalded flavors. Precise control of milk temperature—usually around 140°F (60°C)—ensures microfoam stability and sweetness, a detail often overlooked but vital for barista-level quality. For advanced tips, explore [this guide](https://espressotechguide.com/the-reason-your-milk-foam-collapses-before-you-finish-pouring).
Now, consider this: are you inadvertently making some of these mistakes yourself? Recognizing and correcting them can dramatically improve your espresso experience. The key is understanding that mastering the equipment’s nuances and avoiding common pitfalls—like ignoring detailed cleaning routines or misunderstanding grind consistency—is where true progress happens.
Finally, I want to highlight an advanced question that often trips up even dedicated home baristas:
Why does my espresso taste different every day even with the same setup?
An often-overlooked answer is that environmental factors, bean freshness, and subtle machine variations influence flavor more than most realize. Small temperature fluctuations, humidity, or grinder burr wear can alter extraction quality. Staying vigilant with calibration, using fresh beans stored properly, and keeping your gear in optimal condition are essential for consistent results. Remember, a study published in the Journal of Coffee Science emphasizes that environmental stability significantly impacts coffee consistency. So, rather than assuming your setup is at fault, consider these external factors and fine-tune accordingly.Maintaining your espresso setup is crucial to ensuring consistent performance and longevity. Investing in the right tools can make all the difference in routine upkeep and troubleshooting. One game-changer in my maintenance arsenal is a high-quality, precision calibration scale. I personally use the Acaia Lunar Scale because of its exceptional accuracy and fast response time, which are vital when dialing in grinds or timing shots to perfection. Regularly verifying your shot timing with a reliable scale helps catch inconsistencies early and prevents unnecessary wear on your grinder or machine, extending their lifespan.
When it comes to cleaning, I recommend a set of narrow-mouth pipe cleaners specifically designed for espresso machines. Unlike generic cleaning brushes, these can reach into tight or hard-to-access areas, effectively removing residual oils and mineral deposits. I’ve found that using these with a bit of descaling solution drastically reduces buildup, especially in steam wands and group heads—helping avoid sputtering issues and maintaining optimal pressure.
For descaling, never underestimate the power of a full-spectrum espresso machine cleaning kit. I prefer kits that include a descaling solution, brush sets, and silicone gaskets. These allow you to perform a comprehensive clean, preventing scale formation that can choke your boiler or clog internal channels. Regularly performing a descale following the manufacturer’s recommendations (every 1-3 months depending on water hardness) keeps your boiler working efficiently. According to this guide, scale buildup is the silent enemy that can significantly impair your machine’s performance over time.
I also keep a digital manometer handy to monitor your boiler’s pressure accuracy. This helps catch pressure drops before they become a brewing issue. A stable pressure ensures your espresso shots are within the ideal range and prevents unnecessary stress on your machine’s components.
Looking ahead, the trend is leaning toward smart maintenance devices that sync with mobile apps to provide real-time alerts on machine health. As technology advances, I predict more espresso enthusiasts will adopt IoT-enabled sensors for predictive maintenance, minimizing downtime and costly repairs.
A key question I get is: How do I maintain my equipment over time without it becoming overwhelming? The simplest answer is to incorporate routine checks—like measuring shot times with your scale weekly, and performing deep cleaning and descale sessions every few months depending on your water quality. Building these habits into your weekly routine can save you from unexpected breakdowns and ensure your gear performs at its best.
Finally, I highly encourage you to try the advanced tip of calibrating your grinder with a precision scale and a timer. This simple step can dramatically improve shot consistency and highlight small issues before they snowball into major problems. Remember, well-maintained gear not only tastes better but lasts longer, saving you money and headaches in the long run.
Lessons That Changed My Approach to Espresso Equipment
One of the most eye-opening realizations was that consistent maintenance behavior, like regular soaking of steam wand tips, dramatically reduced sputtering issues. It’s a small habit that yields substantial results, reminding me that attentive care often trumps expensive upgrades.
Another lesson I learned the hard way involved mineral deposits—ignoring water quality and descaling could silently choke my boiler, causing pressure drops. Now, I see maintenance as an ongoing conversation with my machine, not just a one-time task.
I also discovered that understanding the subtle signs of internal clogs—like uneven steam flow or faint sputtering—can help catch issues early, saving time and money. It’s about developing a keen eye for your machine’s behavior, turning routine checks into a proactive art.
Tools and Resources That Elevated My Espresso Routine
Using a high-precision calibration scale, like the Acaia Lunar Scale, transformed how I dial in shots and monitor consistency. It’s an investment that’s paid off in flavor clarity and equipment longevity.
For cleaning routines, I rely on narrow-mouth pipe cleaners. They reach into tight spots where brushes can’t, ensuring no residual build-up remains, which is crucial for steady steam pressure.
The full-spectrum descaling kit has been a game-changer, especially in hard water areas. Regular descaling keeps internal channels clear and the boiler functioning optimally, preventing sputtering and pressure dips.
Lastly, a reliable pressure monitor helps me spot early signs of buildup or pressure leaks, so I can act before bigger issues arise. Collectively, these tools empower a more confident, consistent espresso experience.
Keep Your Passion Alive: The Power of Consistent Care
Maintaining your espresso setup isn’t just about fixing problems; it’s about cultivating a deeper connection with your craft. Embracing routine cleaning, understanding how environmental factors influence taste, and investing in the right tools can elevate your daily brew from good to exceptional.
Remember, even the best gear benefits from your attentive touch. Small, regular actions—like quick rinses after steaming or monthly descales—add up over time, ensuring your machine stays reliable and your milk microfoam remains silky.
So, what’s the next step for your home espresso ritual? Perhaps it’s calibrating your grinder with a precise scale, or giving your steam wand a thorough deep clean. Each little act of care paves the way for consistently perfect shots and microfoam that makes every latte special.
Enjoy the journey of exploring and caring for your espresso gear—it’s where mastery begins. What’s the one maintenance habit you found most effective? Share your insights below!