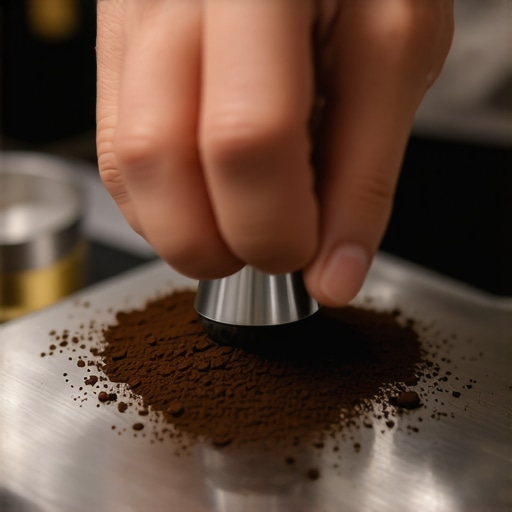
Why your tamping station is making your shots uneven
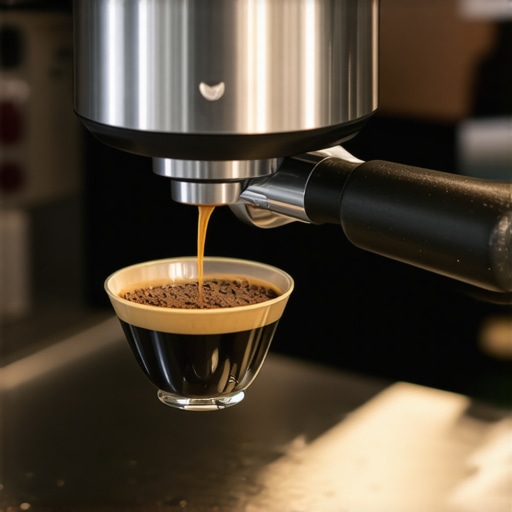
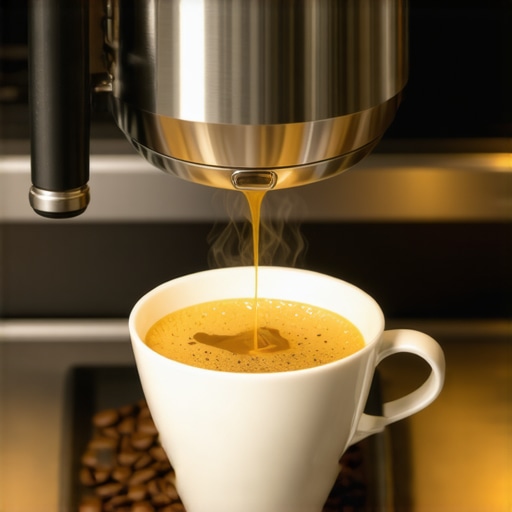
It was a morning just like any other, the smell of fresh coffee filling my small kitchen. I pulled out my espresso machine, confident today would be the day I finally nailed that perfect shot. But as I tamped down the coffee grounds, I noticed something strange—my espresso was brewing unevenly, with channels and splashes ruining the crema. That lightbulb moment hit me hard: my tamping station was secretly working against me.
The Hidden Culprit Behind Uneven Shots: Your Tamping Setup
If you’ve ever struggled with inconsistent espresso pulls, you’re not alone. Many home baristas unknowingly sabotage their efforts by neglecting the fundamentals of their tamping station. The truth is, a messy or poorly organized tamping area can cause uneven pressure, leading to channeling and weak extraction. Trust me, I’ve been there—early on, I made the mistake of rushing the setup without a proper station, which consistently resulted in disappointing shots.
But don’t worry. Today, I’m going to help you transform your tamping station into a reliable ally, ensuring every shot is as smooth and flavorful as it should be. We’ll look at what goes wrong and how to fix it, step by step.
Is Your Tamping Station the Real Problem Behind Uneven Shots?
One common misconception is that tamping pressure or grinder settings alone determine your shot quality. Early in my journey, I thought using a spring-loaded tamper would make my life easier, but I soon realized that without a steady station, all my efforts went to waste. A dedicated, organized station provides consistency—like a stable base that keeps your tamp uniform and your workflow smooth.
Research from coffee experts suggests that even small inconsistencies in tamping can significantly affect extraction, leading to bitter or sour flavors. So, setting up your tamping station properly isn’t just about neatness; it’s about taste and consistency.
If you’ve faced similar frustrations, I encourage you to review your setup—trust me, a few simple adjustments can make a world of difference. Ready to dive into fixing your tamping station? Let’s get started with some practical tips that turned my mornings around and could do the same for you. Curious about more gear tips? Check out our guide on [choosing the best barista gear](https://espressotechguide.com/choosing-the-best-barista-gear-for-coffee-enthusiasts) to elevate your entire coffee game.
Build a Solid Tamping Platform
Begin by selecting a flat, sturdy surface like a dedicated tamper mat or a thick cutting board. Ensure it’s level and doesn’t wobble when pressure is applied. I once replaced my flimsy kitchen towel with a rubber-backed silicone mat, which immediately improved my tamping consistency. This stable base acts like a launchpad for your coffee grounds, preventing any shifting or tilting during tamping.
Organize Your Tools for Efficiency
Keep your tamper, distributor, and spoon within arm’s reach using a small tray or organizer. This reduces unnecessary movement and maintains focus. I found that arranging my tools on a small magnetic tray attached to my espresso station minimized clutter and made my process smoother, leading to better shots. Cluttered stations often lead to rushed tamping, causing uneven extraction. Simplify your setup to focus on quality, not chaos.
Standardize Your Tamping Pressure
While some believe pressure is key, the real goal is consistency. Use a tamper with a firm handle and practice applying even, moderate force—think of it like pressing a stamp evenly onto paper. I used a digital espresso scale to monitor my pressure until I could consistently apply the same force each time. Avoid over-tightening or rushing, and focus on making each tamp uniform so your shots are repeatable.
Level Your Coffee Bed
After tamping, use a leveler or your tamper to ensure the coffee bed is evenly compressed. An uneven puck causes channeling, leading to weak or sour shots. I use a small metal leveler, gently rocking it to smooth out any high spots. In my experience, a level puck means water flows uniformly through the grounds—the secret to brew consistency. Take a moment to check your tamped surface before locking in your portafilter.
Practice Regular Cleaning and Maintenance
Residue buildup on your tamper or tray can affect grip and feel. Clear away old coffee grounds daily and wipe down your tools. I learned this the hard way when a greasy residue caused my tamping pressure to fluctuate; cleaning restored my confidence and shot quality. Keeping your tamping station hygienic ensures each step is performed accurately and comfortably.
Adjust Your Setup for Better Results
If shots still vary, experiment with your station—try different tampers, mats, or leveling tools until you find what works best for you. Remember, consistency is more important than force, so focus on replicable steps. For an in-depth look at selecting optimal gear, visit our gear buying guide. With these practical adjustments, you’ll start noticing marked improvements in your espresso quality, bringing your barista skills closer to professional standards.Many home baristas rush to buy what they think are essential tools—high-end grinders, shiny espresso machines, fancy milk frothers—believing these are the key to perfect coffee. But let’s dig deeper. One of the most common misconceptions is that expensive gear guarantees outstanding results. In reality, even top-tier equipment can fall short if used improperly or without understanding its nuances. For example, choosing a grinder solely based on its price or brand often leads to subpar extraction because of overlooked factors like particle size consistency and burr alignment. Instead, focus on selecting a grinder optimized for your specific brew style, and learn how to maintain it properly, as explained in our guide on how to select the perfect coffee grinder for your brew.
Another widespread myth is that more features on an espresso machine automatically translate into better espresso. Frustrated by overly complex machines, many users overlook the importance of understanding your machine’s specific capabilities and limitations. For instance, a machine with a larger boiler isn’t always better if it exceeds your actual needs and complicates routine cleaning and maintenance. The key is to match your gear with your skill level and workflow, as well as learning the specific quirks of your machine. For recommendations on the top-rated models suitable for home use, check out top-rated espresso machines for 2025.
When it comes to milk frothers, many assume that the latest gadgets automatically produce silky, professional-looking foam. But often, using a high-tech frother without mastering milk texture technique results in disappointing bubbles or dry foam. The nuance many overlook is that temperature control and milk type significantly impact froth quality. A simple yet effective step is calibrating your frother and practicing proper pitcher angles, which can make a surprising difference. For advanced tips on transforming your milk, explore milk frothers that transform your experience.
Now, for the more sophisticated reader, consider this question: How does an understanding of internal component tolerances and maintenance routines elevate your brewing? If you’re aiming for mastery, knowing the ins and outs of your equipment’s mechanical tolerances—such as burr alignment or boiler pressure stability—can refine your extraction and flavor clarity. For example, a small deviation in burr alignment can lead to channeling or uneven grind size, affecting shot consistency despite using premium beans. To master your gear’s maintenance, check the comprehensive guide on how to fix the drift in your grinders.
Beware of the trap where newer models with more features are mistaken for advancements in quality. Instead, focus on understanding your gear’s workings and applying proper technique; this is often more impactful than simply upgrading equipment. Visualize your workflow, learn to troubleshoot, and maintain your tools diligently. Remember, mastering the nuances of your gear beats relying solely on flashy equipment every time.
Have you ever fallen into this trap? Let me know in the comments, and share your experiences with gear myths and how you’ve corrected course.Maintaining your coffee equipment is crucial for achieving the perfect espresso shot every time. Regular cleaning ensures that oils, coffee grounds, and mineral buildup don’t compromise flavor or performance. Invest in high-quality cleaning brushes and descaling agents tailored for your machine—these tools make routine maintenance more effective and less time-consuming. For grinders, periodic burr calibration using precise tools like a digital caliper ensures grind consistency, directly impacting extraction quality. Keep an eye on seals and o-rings, replacing them before they cause leaks or pressure drops, as detailed in our guide on calibrating your grinder’s burrs. Fresh beans are only part of the equation; regular maintenance extends the life of your equipment and preserves the nuanced flavors you seek. Predicting where this trend is heading, I believe we’ll see smarter maintenance routines with IoT-enabled sensors that monitor performance metrics in real-time, alerting you before issues arise. To stay ahead, familiarize yourself with how your gear works internally and adopt proactive care habits. How do I maintain my espresso machine and grinder over time? Establish a routine that includes descaling every 2-3 months, cleaning shower screens weekly, and replacing worn gasket seals annually. Using specialized tools like a digital pressure gauge and burr alignment kits helps fine-tune your equipment, ensuring optimal operation. For personalized advice, contact us through our contact page. Remember, consistent maintenance doesn’t just keep your gear running smoothly; it elevates your entire coffee experience—a small investment of time that pays off with every shot.
What I Learned the Hard Way About Consistent Tamping
One of the most valuable lessons I wish I had known earlier is that even the slightest variation in tamping pressure can drastically alter the flavor and consistency of my espresso shots. I used to think that grinding and dose size were the main factors, but I discovered that a steady, uniform tamp is equally crucial to achieving that perfect extraction. Practicing with a digital scale to monitor my pressure made me realize how small tweaks could lead to big improvements.
Why Investing in a Good Tamping Station Changed Everything
Creating a dedicated, stable tamping setup transformed my brewing routine. I replaced my makeshift station with a sturdy surface and organized my tools, which eliminated distractions and uneven pressure. This simple upgrade allowed me to produce more consistent shots and enjoy the process more. If you’re serious about elevating your home espresso game, I highly recommend refining your tamping station according to the tips shared in our detailed guide.
My Favorite Resources for Perfecting Tamping Technique
Over time, I found that certain tools and sources profoundly impacted my technique. A micro-adjustable tamper has helped me apply consistent force, while the gear selection guide provided insights into choosing the right tools. Watching expert baristas on YouTube opened my eyes to subtle adjustments I hadn’t considered. Lastly, regular practice using my espresso scale kept me accountable and improved my control.
Now It’s Your Turn to Take Control of Tamping
The journey to better espresso starts with mastering your tamping technique and setup. Small, deliberate changes in your station and habits can lead to stunning improvements in your coffee. Remember, consistency over force is key, and your equipment is only as good as the technique you bring to it. Keep experimenting and learning—your perfect shot awaits!