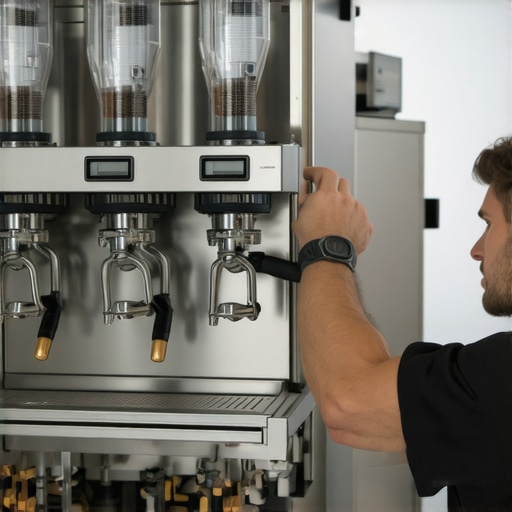
How to Spot a Failing Heating Element in a Three-Group Machine
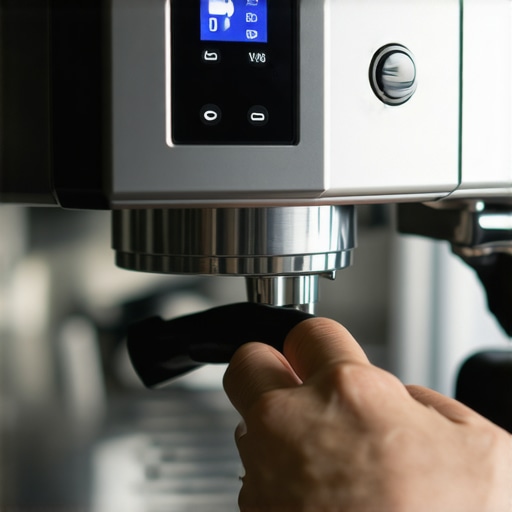
I’ll never forget the morning I faced a telltale sign that sent a cold shiver down my spine — my prized espresso machine refused to heat up properly before a busy weekend. The digital display flickered, and that faint, almost horrifying, hissing sound from the boiler seemed to signal trouble. That moment of panic made me realize just how crucial a fully functioning heating element is for brewing that perfect shot. If you’ve ever been caught off guard by inconsistent temperatures or prolonged heating times, you’re not alone. These problems can sneak up on even seasoned baristas, turning your beloved coffee ritual into a frustrating chore.
Why Knowing When Your Heating Element Is Failing Matters
Understanding the health of your heating element isn’t just about avoiding subpar espresso; it directly impacts your machine’s longevity and safety. A failing element can cause uneven brewing temperatures, bitter shots, or even electrical hazards. Early detection can save you money and downtime, and ensure you keep serving that consistent, high-quality coffee your customers or family expect. My own mistake early on was dismissing sluggish heating as a minor glitch, only to find out later that it was a sign of an impending failure. Trust me, overlooking these signs can lead to more costly repairs down the line. For more detailed insights, you might want to check out this guide on common machine issues.
What Do You Really Know About Your Machine’s Heartbeat?
Many hobbyists and even some professionals mistake normal fluctuations or mild delays as routine maintenance issues. But a sudden or persistent inability to reach optimal temperature often points to a failing heating element. The tricky part is that an element may appear to be working but gradually lose its efficiency, leading to inconsistent brewing. Early intervention can be a game-changer. Now, I kind of wish I had paid closer attention to my machine’s heating patterns from the start — instead of rushing to replace parts blindly, I could have caught the problem sooner. So, if you’ve faced strange temperature inconsistencies or your shots are tasting off, it’s worth learning how to spot the signs of a failing heating element before it’s too late.
Power Down and Prepare Your Workspace
Before beginning, unplug your espresso machine from the power source to prevent electrical hazards. Clear your workspace, gather necessary tools such as screwdrivers, pliers, and a multimeter, and wear gloves for safety. This initial step is crucial to avoid any accidents and to ensure you have all components at hand for a smooth replacement process.
Access the Heating Element
Remove External Panels
Start by unscrewing the outer panels or casing of your machine, usually held in place with Phillips or flat-head screws. Carefully set aside the panels to expose the internal components. For example, in my recent repair, I used a small Phillips screwdriver to remove the side panel, revealing the boiler and heating assembly beneath.
Locate the Heating Element
The heating element is typically a metal coil or ribbon attached to the boiler. It is connected to the power supply via wires or terminals. Refer to your machine’s manual if needed. Identifying the exact part ensures you’re replacing the correct component and prevents unnecessary disassembly.
Disconnect the Faulty Heating Element
Note Wiring Configuration
Before disconnecting, take a photo or sketch the wiring layout. This visual aid will streamline reassembly. If your machine uses screw terminals, loosen and carefully remove the wires. For models with quick connectors, gently release the clips to disconnect.
Test the Element with a Multimeter
Use a multimeter set to measure resistance (ohms). Place the probes on the terminals of the element. A reading close to zero indicates a short, while an infinite reading suggests an open circuit—both signs of failure. Confirming the fault helps determine if the replacement is necessary.
Remove and Install the New Heating Element
Extract the Old Element
Unscrew mounting brackets or supports holding the element in place. Carefully lift it out, avoiding damage to surrounding parts. Handling with care prevents additional repairs later.
Insert the New Element
Position the new heating element in the same orientation as the old one. Secure it with brackets or screws. Connect the wires following your initial notes or photos, ensuring tight and proper contact for efficient operation.
Reassemble and Test Your Machine
Replace the panels and tighten all screws. Plug in the machine and perform a test run, ideally with no water, to check for correct heating. Monitor the temperature display and listen for any irregular sounds. This thorough testing confirms a successful installation and restores your espresso machine to optimal working condition.
Remember, if you encounter persistent issues or suspect electrical problems, consulting a professional or referring to detailed guides like this article can prevent further damage.
When it comes to brewing quality espresso at home, many enthusiasts fall prey to misconceptions that hinder their progress. One widespread myth is that expensive gear automatically guarantees perfect shots. In reality, mastering nuances such as grind size, distribution, and tamping pressure often outweigh hardware costs. For example, a top-tier espresso machine won’t produce stellar results if the grinder’s particle size distribution is inconsistent. Understanding these subtleties is crucial for elevating your home brewing game. Additionally, many assume that milk frothing is solely about the wand’s power, but the true secret lies in proper steam wand maintenance and technique.
Are You Considering the Whole Picture or Just the Equipment?
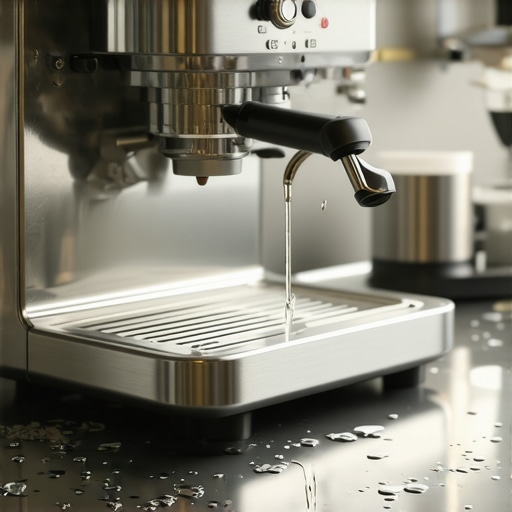
Most seasoned baristas will tell you that equipment only facilitates your craft; it doesn’t replace skill. A common mistake is neglecting routine calibration of grinders or failing to clean brew groups regularly. Overlooking maintenance, such as ignoring a leaky group gasket or inconsistent pressure in the steam wand, can drastically impair performance. For instance, a blocked steam wand causes poor microfoam, regardless of how powerful the machine is. To avoid these pitfalls, I recommend regularly inspecting critical components and understanding how each part influences extraction quality. Curious about more advanced troubleshooting? Check out this guide on steam wand pressure issues.
Investing in Reliable Equipment for Consistent Results
To keep your home espresso setup performing at its best, I personally rely on a high-precision digital scale like the TimeDesigned espresso scale. It ensures consistent dosing and helps fine-tune extraction variables with an accuracy of up to 0.1 grams. For grinder calibration, I use a flat-bander gauge to realign burrs precisely; this prevents bitter shots caused by uneven grind particles, which you can learn more about in our guide on burr alignment. My espresso machine’s longevity depends heavily on a quality PID controller like the Breville BES870XL’s PID upgrade kit, which maintains temperature stability over long sessions, reducing wear on internal components.
Routine Maintenance That Pays Off Over Time
Consistent cleaning is crucial—yet often overlooked. I recommend establishing a routine clean of the brew group with a soft-bristled brush after every few uses, especially before and after your espresso session. This prevents buildup that can cause uneven temperature and pressure issues. Additionally, replacing worn group gaskets proactively prevents leaks and ensures a perfect seal during extraction. When you notice a decline in shot quality, check out this comprehensive gasket inspection guide. Remember, a well-maintained machine can significantly extend its lifespan, making your investment more cost-effective in the long run.
How do I maintain my equipment visually and mechanically over time?
Regularly inspect components like O-rings, seals, and connectors for signs of wear or corrosion. Applying a thin layer of food-safe silicone lubricant to O-rings extends their lifespan and keeps the system airtight. Also, keep the contact surfaces of your grinder and espresso machine free from coffee oils and residue—deep cleaning with descaling solutions every 3-6 months is advisable. For example, descaling a copper boiler requires care to avoid clogging the tiny gicleur orifice; I follow the method detailed in this descaling guide, which recommends using citric acid-based solutions for delicate parts.
Tools I Recommend for Longevity and Performance
Beyond basic maintenance tools, I swear by a digital pressure gauge to monitor boiler and steam pressure constantly. This helps identify early signs of pressure drops that could indicate failing valves or gaskets—preventing sudden breakdowns. For steam wand upkeep, I use a vacuum breaker spray to clear blockages, as outlined in this troubleshooting article. Additionally, having a dedicated cleaning brush set designed for grinders and ports allows me to quickly clear crevices, avoiding coffee residue build-up that compromises flavor.
Looking Ahead: The Future of Home Barista Tools
Technological innovations are leading toward smarter, more self-monitoring espresso machines equipped with IoT sensors and automated calibration features. As these tools become more accessible, maintaining your setup will involve less guesswork and more real-time diagnostics—saving you time and money. I predict that in the next few years, interconnected accessories, like app-controlled tampers and automated grinder calibration devices, will become standard, further elevating home brewing precision. To make the most of these advances, start by testing one of these recommended tools, such as regularly verifying your grinder’s burr alignment with dedicated gauges.
Ultimately, keeping your home espresso gear in top shape requires specific tools and disciplined maintenance routines. Take proactive steps now, and your machine will reward your efforts repeatedly with exceptional coffee. Remember, a well-cared-for machine isn’t just about convenience but about consistently achieving barista-quality results right in your kitchen—so invest in the right tools and stay vigilant.
< >
>
Top Secrets I Wish I Knew Snappier
Early on, I underestimated the importance of a well-calibrated grinder—assuming that my espresso machine alone could produce perfect shots. That misconception led to bitter, uneven brews, making me realize that even the best machine needs a consistent, properly aligned grinder. Also, I used to think that regular descaling was optional—until I faced a sluggish machine that took forever to heat. Now I see routine maintenance isn’t just a chore but a gateway to unlocking the full potential of my equipment. Lastly, I believed that high-pressure shots were always better, but I learned that controlling variables like pre-infusion and tamping pressure dramatically elevates flavor, regardless of machine specs. These lessons transformed my approach and can do the same for you, saving time and frustration in your home barista journey.
Tools and Guides That Steered Me Right
My essential toolkit includes a high-precision espresso scale, like the TimeDesigned espresso scale, which ensures consistent dosing—a game-changer for balancing flavors. For grinder calibration, I rely on a simple paper shim method to get perfect burr alignment, minimizing bitter shots caused by uneven grounds. When it comes to temperature stability, a PID controller upgrade, such as the Breville BES870XL’s PID upgrade kit, keeps my brew temperatures rock-steady, preventing sour or burnt outcomes. These tools, coupled with authoritative guides like this troubleshooting article, have dramatically improved my consistency and confidence in home brewing.
Fuel Your Coffee Passion Today
If you’re committed to elevating your home espresso game, there’s no better time than now. Dive into the process with patience and curiosity—each tweak and upgrade brings you closer to that perfect shot. Remember, your journey isn’t just about the machines; it’s about your evolving skills and appreciation for technique. Embrace the learning curve, stay proactive with maintenance, and explore innovative tools designed to support your craft. With dedication, your kitchen can become a sanctuary where every espresso is a masterpiece worth savoring. How will you start applying these insights today to transform your coffee routine? Share your plans or questions below—I’d love to hear about your next steps.