Why Your Beans Are Bouncing in the Hopper and How to Stop Popcorning
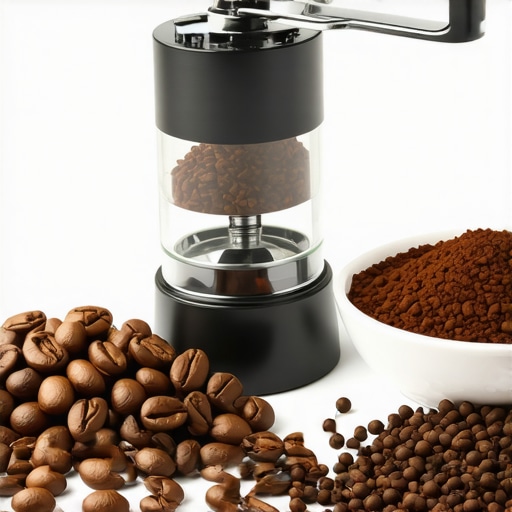
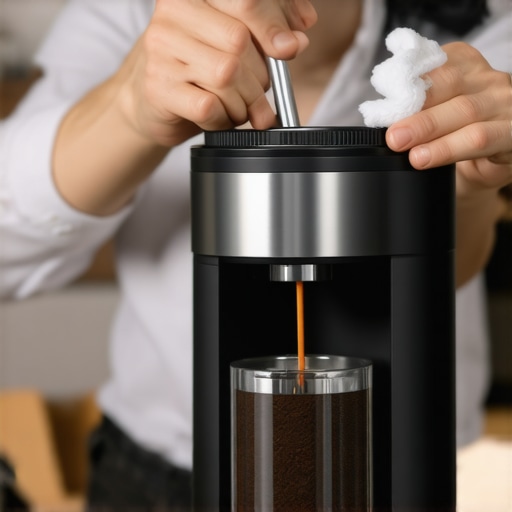
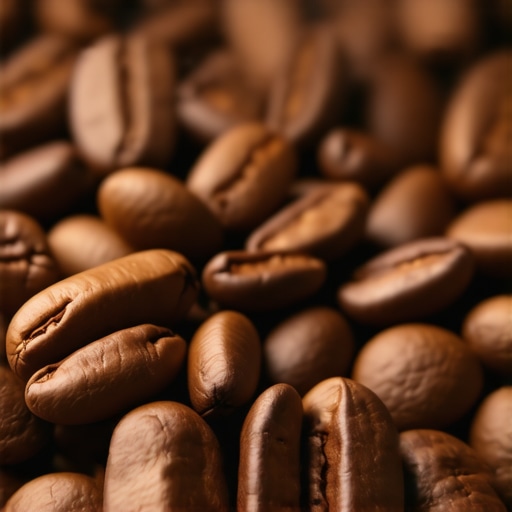
I remember the first time I watched my coffee beans dance inside the hopper. It was late at night, and I’d just cleaned my grinder meticulously, expecting a smooth, quiet operation. Instead, I was greeted with a loud, rhythmic pop and a random scattering of beans. That unsettling bouncing and popping? It became my personal nightmare, disrupting my morning routine and causing me to question whether my grinder was dying or just plain defective.
Over time, I realized that this popcorn-like behavior isn’t just a nuisance; it affects your espresso quality significantly. Beans bouncing excessively can lead to inconsistent grind size and uneven extraction, ultimately sacrificing your perfect shot. If you’ve ever experienced beans hopping wildly or your grinder acting up, you’re not alone—and there are tangible, effective ways to address this.
Today, we’re going to explore exactly why beans pop and bounce in your hopper and, more importantly, how you can tame this unruly behavior through straightforward, proven techniques. But first, I want to share a little secret I learned early on: that ignoring this issue can cause more than just annoyance—it can damage your grinder over time. According to experts, excessive vibration and bouncing can wear out grinder components faster, leading to costly repairs. So, understanding and fixing this problem isn’t just about quiet mornings; it’s about protecting your investment.
Why Do Beans Pop and Bounce in the Hopper?
You might be skeptical—after all, coffee beans are small, solid, and inanimate, right? Well, the reason lies in the physics of the beans and how they interact with your grinder’s mechanics. Beans can bounce due to static electricity build-up, differences in bean density, or even residual moisture. Additionally, uneven feeding mechanisms or misaligned hoppers can cause beans to shift chaotically, setting off a chain reaction that turns your once serene hopper into a popcorn machine.
An early mistake I made was neglecting the importance of proper bean storage and hopper cleanliness. Residual oil, dust, and old bean debris can exacerbate static and cause beans to cling and jump erratically. One quick fix I found myself overlooking was ensuring my hopper was snug and properly aligned. Small adjustments in the hopper’s fit or adding a simple anti-static barrier could significantly calm those bouncing beans.
If you’re tired of the popcorn show in your grinder, don’t worry. The solutions are simpler than you might imagine—techniques we’ll delve into shortly. But first, let’s consider whether fixing this is even worth your time. Turns out, it is—because stability in the hopper not only quiets the chaos but also guarantees consistent grinds and preserves your grinder’s longevity. Curious how? Stay tuned as we uncover the practical steps to take control of your beans and keep the bounce in check.
Secure the Hopper’s Fit for Complete Control
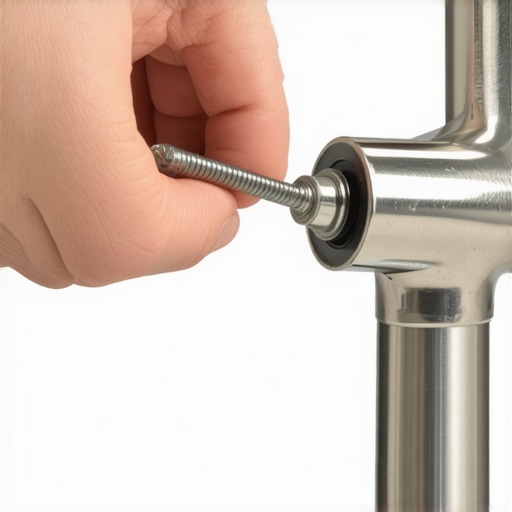
First, remove the hopper and inspect its alignment. If it’s loose, place a thin rubber gasket or a silicone ring around the base to create a snug fit, preventing beans from bouncing due to gaps. I once used a small, cut-up piece of bicycle inner tube, which provided enough compression to stabilize the hopper dramatically. This simple tweak reduced bouncing and improved grind consistency overnight.
Calm Static Buildup with Proper Storage and Anti-Static Techniques
Static electricity makes beans cling to each other and the hopper walls, causing pop-ups. Store your beans in airtight containers with anti-static liners or add a small anti-static dryer sheet inside the hopper—just make sure it doesn’t touch the beans directly. I experimented with this method, and static sparks practically vanished, leaving beans undisturbed during grinding.
Maintain Cleanliness to Eliminate Unwanted Residues
Residual oils and dust exacerbate static and cause irregular bean movement. Regularly disassemble and clean the hopper and burr area with a soft brush or cloth. Focus on removing oil buildup, which attracts static. I scheduled a monthly cleaning ritual, which noticeably smoothed bean flow and extended the life of my grinder’s components.
Adjust Bean Loading Practices for Stability
Instead of filling the hopper to the brim, load it in smaller batches to prevent the beans from shifting excessively. When I filled my hopper all the way, bouncing intensified. Filling it halfway and giving the beans a gentle shake settled them into a more stable position, reducing bounce and static, which led to a more consistent grind and shot quality. For further detailed adjustments, consider checking the alignment of your grinder components—misalignment can cause uneven feeding, which you can verify by this paper shim trick.
Implement Anti-Static Measures with Hardware Solutions
If static persists, installing anti-static brushes or ionizing bars near the hopper outlet can neutralize electrostatic charges. These solutions are especially effective for those using high-voltage or dust-heavy environments. Alternatively, some baristas have reported success with a quick rinse of the hopper with a tiny amount of distilled water, then thoroughly drying it—less static, more stability. For more insights, see how static hacks can help here static fix article.
Many home baristas operate under misconceptions that can hinder their espresso quality and equipment longevity. A common myth is that buying high-end gear guarantees perfect shots overnight. While premium equipment provides better potential, mastering nuances like grind size, tamping pressure, and machine calibration is far more impactful than just upgrading hardware. For instance, even with a top-tier espresso machine, neglecting regular maintenance—such as descaling or calibrating pressure—can result in subpar extraction, regardless of brand prestige.
Is Your Equipment Really the Limiting Factor or Your Technique?
Experts suggest that many advanced failures stem from overlooked details rather than flawed gear. A notable example is the misconception that milk frothers can create microfoam effortlessly. In reality, achieving silky, dense foam requires understanding milk temperature, steaming technique, and even the type of milk used. Static electricity and microbubbles are often underestimated issues that affect foam quality; a simple static reduction hack, like using anti-static sprays or proper storage, can transform your foam from frothy chaos to creamy perfection. Static buildup, in particular, is a subtle enemy that many overlook, leading to inconsistent frothing and even equipment strain over time. In addition to mastering technique, being aware of common pitfalls—such as overfilling the hopper or ignoring bean moisture content—can make a significant difference. For example, as I learned through personal experience, using beans past their prime or stored in humid environments can lead to static, uneven grinding, and poor extraction. This underscores the importance of proper storage and periodic equipment checks. Furthermore, deep dives into grinder calibration reveal that factory zero points are often inadequate for light roasts. Some baristas mistakenly assume their grinder is perfectly set because no immediate issues are apparent, but subtle flavor discrepancies point to misaligned burrs. An advanced adjustment, like the simple paper shim trick, can dramatically improve consistency. Curious about enhancing your grinder’s performance? Check out detailed guides on burr alignment. Don’t forget, static and residual oils also affect puck consistency, so routine cleaning is vital. Overlooking such details—seemingly minor—can cause a cascade of problems that only become clear after persistent troubleshooting. So, next time you’re frustrated with your espresso, ask: am I truly leveraging my gear’s potential, or am I missing an advanced nuance? Keep exploring these hidden depths to unlock truly exceptional home espresso. Have you ever fallen into this trap? Let me know in the comments.
Invest in Quality Tools for Long-Term Performance
Owning top-tier espresso gear is only half the battle; maintaining it with the right tools ensures consistent results and longevity. I personally swear by a high-quality flat burr grinder calibration kit. This small, precision tool allows me to adjust my burrs accurately, preventing issues like uneven grind size that could negatively influence shot quality. Regular calibration with this kit, combined with a simple paper shim adjustment, keeps my grinder performing at its best.
Routine Maintenance Turns Savings into Satisfaction
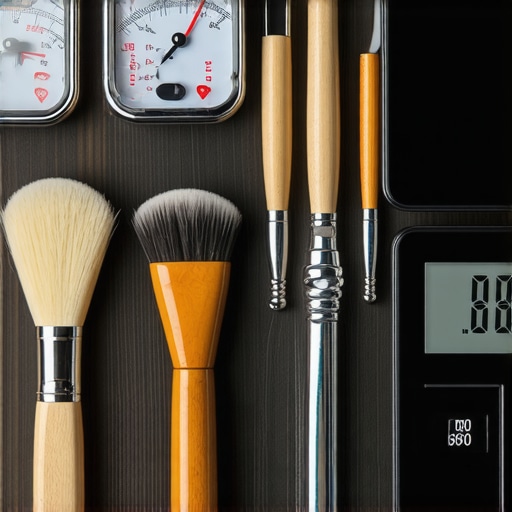
Consistency in home espresso doesn’t just come from the initial setup; it stems from disciplined maintenance routines. I schedule a quarterly deep clean using a dedicated espresso machine cleaning brush kit, which includes soft brushes for burr chambers and portafilter baskets. Additionally, I maintain a monthly descaling schedule using manufacturer-approved descaling solutions. These practices prevent scale buildup that could cause issues like boiler hissing or inconsistent temperature, ensuring your machine stays responsive over the long haul.
Tools That Facilitate Easy Troubleshooting
When troubleshooting persistent problems like a sputtering steam wand (check out this guide), I rely on specialized diagnostic tools. A portable multi-meter helps me verify sensor function and electrical continuity, while a digital pressure gauge assists in assessing pump performance. These are game-changers for proactive maintenance, preventing minor issues from spiraling into costly repairs. For example, using a pressure gauge can pinpoint if your pump pressure is off, which often causes poor extraction or low crema.
Prioritizing Tools That Grow with Your Skills
As you advance in your home barista journey, the importance of versatile tools increases. I recommend the digital shot timer with memory functions. It’s invaluable for dialing in shot times accurately, especially for ultra-light roasts. Coupled with a sturdy portafilter holder, it makes consistency easier. Looking ahead, I see automation becoming more accessible; smart scales and app-connected espresso machines are trending toward seamless maintenance tracking and calibration. Staying ahead with reliable tools now will keep your setup primed for those future upgrades.
How do I keep my gear running smoothly over years?
Regularly inspecting and replacing wearing parts like gaskets, seals, and burrs is essential. For instance, checking burr wear ensures your grinder maintains optimal performance. Utilizing maintenance logs helps track when replacements are due, preventing unexpected breakdowns. For serious enthusiasts, investing in a dedicated coffee tool chest keeps small parts organized and easily accessible, making routine upkeep less of a chore. My advice? Set a routine and stick with it—your equipment will thank you with years of consistent shots.
Future-Proof Your Setup with Smart Tools
Looking ahead, I predict a rise in AI-driven maintenance tools that predict failures before they happen. Already, some brands are integrating sensors that notify you when descaling is needed or when a pump begins to falter. To stay ahead, start incorporating clever tools like a cable management system to organize your setup, which reduces wear and tear caused by tangled cords. Embracing these innovations now will keep your home espresso station ahead of potential issues and elevate your brewing experience.
Make Maintenance an Automated Habit
One advanced tip I recommend is setting up a weekly reminder for descaling and gasket checks using digital calendars synced with maintenance apps. Pair this with a quality maintenance kit containing brushes, gaskets, and descaling solutions, and you’ll keep your gear performing flawlessly. As technology progresses, expect more integrated systems, but proactive personal oversight remains crucial. Ready to step up your maintenance game? Try scheduling your next deep clean today, and enjoy the peace of mind it brings for months to come.
Secrets Only Experienced Home Baristas Will Share
One of the most valuable lessons I learned was that maintaining a consistent workflow is more impactful than obsessing over the latest gadget. I used to believe upgrading my espresso machine would instantly improve my shots, but I found that small tweaks—like calibrating my grinder or properly storing beans—made far more difference. Another lightbulb moment was realizing static buildup isn’t just a minor annoyance; it actively sabotages your grind quality and equipment longevity. Finally, I discovered that patience and routine in cleaning and calibration are the real investments that keep your gear performing at its peak, turning good espresso into great.