How to Fix a Stuck Solenoid Valve Using a Magnet
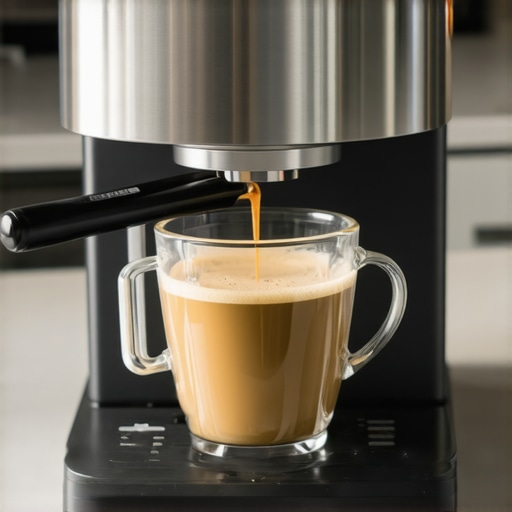
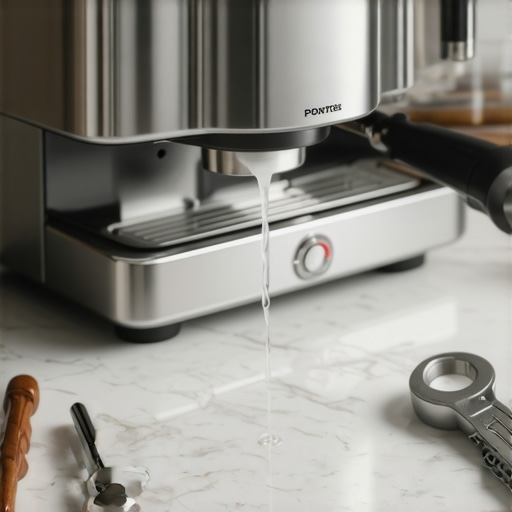
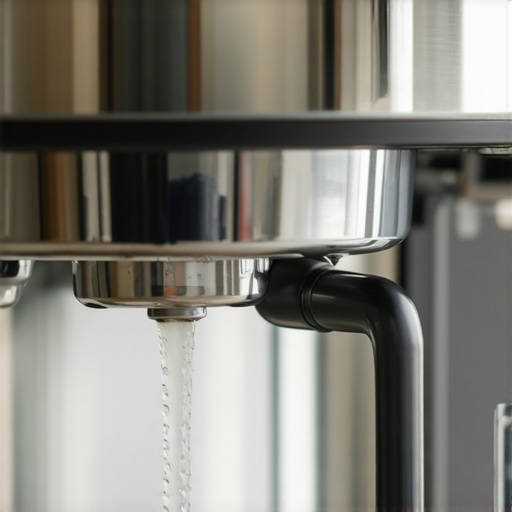
Have you ever stood in front of your espresso machine, eager to brew a fresh shot, only to be hit with that frustrating silence—no water flow, no pressure build-up? I remember the first time I faced this issue. After a long week, I finally had a rare morning to enjoy my favorite brew, only to find my machine stubbornly refusing to cooperate. It was a real wake-up call. That sinking feeling when your beloved coffee gear stalls because of a supposedly minor part malfunction—it’s enough to test anyone’s patience.
My Wake-Up Call: When Your Espresso Machine Won’t Budge
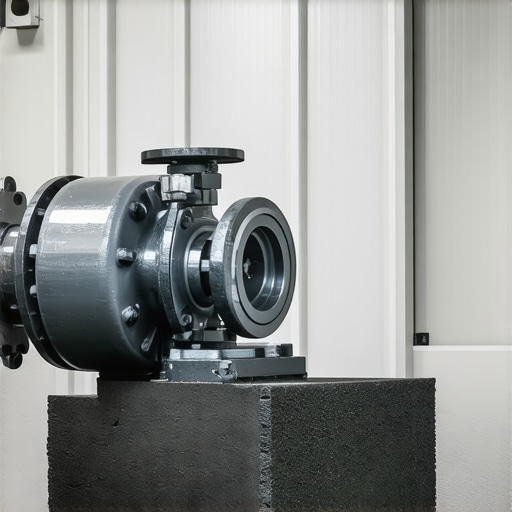
The culprit was elusive. I had tried everything—cleaning, descaling, even fiddling with the programmable settings—nothing worked. Then I discovered the little-known trick of using a magnet to free a stuck solenoid valve. At first, I was skeptical. It sounded too simple. But because I was desperate, I decided to give it a shot. And guess what? It worked like charm. That lightbulb moment changed my approach to troubleshooting and saved me from costly repairs or replacing parts unnecessarily.
Today, I want to share that experience and help you understand how to fix a stuck solenoid valve using something as straightforward as a magnet. I’ll walk you through the process, share tips, and ensure you don’t make the common mistake I once did. If you’ve ever had an espresso machine that refuses to pressurize or deliver water, stick around. This solution might be the hack that gets your machine running again in minutes.
Ever Wondered If a Magnet Can Really Do the Job?
When I first heard about this method, I was wary. My early mistake was underestimating how annoying a stubborn solenoid could be—thinking a gentle tap would suffice, I ended up damaging the delicate coil. That taught me a valuable lesson. Sometimes, unconventional tools like a strong magnet can be the perfect answer, especially when the issue is a tiny, rusted or sticky solenoid stuck in the closed position.
Before diving into the step-by-step guide, remember that safety and patience are key. If you’re facing similar issues, don’t rush or apply excessive force. Instead, consider this simple yet effective technique and see if it revives your beloved espresso machine. Curious to see how a magnet can unlock that stubborn valve? Keep reading!
Access the Solenoid Carefully
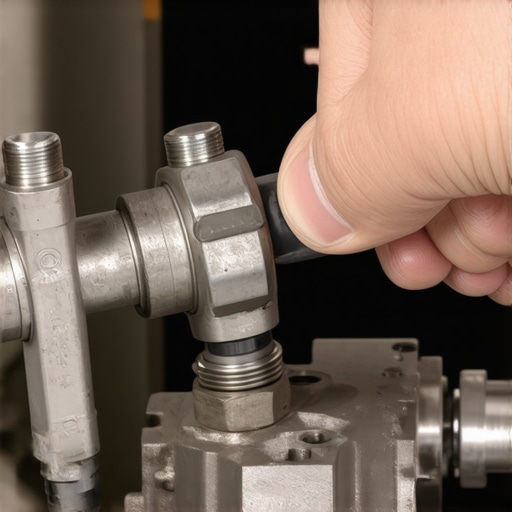
Begin by unplugging your espresso machine and removing the water reservoir to prevent any accidental activation. Open the machine’s panels to locate the solenoid valve, which is usually connected to the water inlet. Use a flashlight to clearly see the valve’s coil; it’s a small, cylindrical component wrapped with copper wire. Remember, take your time to avoid damaging any delicate parts. This step was crucial when I first attempted to troubleshoot my machine; rushing caused a small dent that I later had to fix.
Prepare Your Magnet and Workspace
Choose a strong neodymium magnet—think of the magnet on your fridge but more powerful. Clear a workspace to prevent losing tiny screws or parts. To prevent any scratches, lay down a soft cloth or a non-abrasive mat. When I last did this, I used a ceramic tile and a pair of tweezers to hold the magnet, ensuring precise control. Secure the area so that stray metal parts don’t fall into the machine or onto the floor.
Apply the Magnet to the Stuck Valve
Gently bring the magnet close to the coil’s metal core, maneuvering it slowly. The idea is to use magnetic attraction to pull or free any rusted or sticky parts within the solenoid. In my experience, applying the magnet just enough to feel a gentle pull helps dislodge debris without risking damage. Avoid using excessive force; the coil and internal components are fragile. I once accidentally bent a connector, which extended my repair time, so patience is key here.
Fine-Tune Your Technique
If the valve remains stuck, try moving the magnet around its edges or applying gentle taps with a non-metallic tool. Sometimes, rotating the magnet slightly or pressing repeatedly can help free the internal plunger. Remember that if the solenoid’s coil is burnt out, magnetism alone won’t fix the problem, but it can free a jammed or rusted part. For persistent issues, consider replacing the solenoid valve or consulting a professional.
Test and Reassemble
After freeing the valve, reassemble the panels carefully and refill the water reservoir. Plug in your machine and run a test cycle, observing the pressure build-up and water flow. If the machine now pressesurizes correctly, you succeeded. Otherwise, revisit your steps or explore other causes like descaling build-up, which you can troubleshoot through methods discussed in this guide. Remember, impatience can lead to damage, so proceed calmly and methodically to achieve the best results.
Many coffee enthusiasts and even seasoned baristas fall into common misconceptions about their equipment, which can hinder the pursuit of perfect espresso and milk microfoam. One frequent myth is that investing in high-end gear guarantees quality shots. However, equipment maintenance and understanding nuanced differences often outweigh raw cost. For example, selecting ceramic over steel burrs isn’t just about durability; it can significantly impact flavor clarity, as discussed in this detailed comparison.
Another trap many fall into involves the misconception that bigger, more powerful machines produce better results. Yet, oversized boilers or over-spec’ed pumps can lead to temperature inconsistencies or over-extraction if not carefully calibrated. This highlights the importance of paying attention to the boiler heating elements and ensuring optimal operating temperature, which is crucial for consistent espresso extraction.
Can Your Grinder Be Undermining Your Espresso Quality?
It’s tempting to believe that a premium grinder alone will fix tactile issues like channeling or uneven extraction. In reality, the grinder’s burr alignment, adjustment precision, and noise levels reveal deeper problems. For instance, if your grinder squeaks or the adjustment ring is stuck, it could indicate wear or misalignment, which negatively impacts particle size distribution. Regular maintenance and understanding the grinder’s inner mechanics, like avoiding the common mistake of incorrect calibration, can be game-changers. For more insights on maintaining grinder consistency, see this guide.
Your home espresso setup may also be hindered by overlooked details such as water temperature settings or improper tamping. Many assume their milk frothers are calibrated correctly, but small misalignments or dirty steam wands can cause large bubbles or poor microfoam. Remember, often the devil is in the details, like ensuring your steam wand is free from blockages.
Why Does Proper Equipment Handling Set Experts Apart?
Advanced users know that equipment nuances, such as the proper depth for puck screens or the right storage methods for roasted beans, can prevent common errors. A simple mistake, like stacking too many beans in a plastic hopper, can result in stale beans or inconsistent grind sizes. Small adjustments and knowledge about equipment behavior—like recognizing when a water heater isn’t reaching optimal temperature—are critical for elevating your coffee game. For additional tips, check this article.
Let’s dig deeper: understanding the hidden nuances of barista gear isn’t just about owning the latest equipment but mastering its subtleties. Recognizing how burr materials influence flavor or how improper grinder calibration causes uneven extraction can save you time and money. Don’t settle for surface-level fixes; embrace a meticulous approach that considers all aspects of your setup. Have you ever fallen into this trap? Let me know in the comments.
Tools That Keep My Coffee Setup Running Smoothly
Maintaining your espresso equipment isn’t just about occasional cleaning; it requires precise tools and a disciplined routine to ensure consistent performance over time. I rely heavily on specific items that have proven their worth, particularly when troubleshooting or scaling up my setup. A high-quality grain moisture meter helps me track the freshness of my beans, ensuring I always pull shots with optimal aroma and flavor. For grinder calibration, I use a dial indicator with a magnetic base—it’s invaluable for locking in exact burr alignment, preventing uneven grind distribution that could compromise extraction.
When it comes to cleaning, I swear by a small brush set designed for espresso machine parts. These brushes allow me to reach into narrow crevices and remove residual oils or mineral deposits that can build up over time. Additionally, I keep a digital temperature probe on hand to verify the boiler temperature, especially after descaling or component replacements, ensuring my machine reaches that perfect 200°F mark consistently. Regularly verifying temperature alignment with a probe prevents pulling sour or under-extracted shots, a common mistake among home baristas.
Software and Methodologies for Long-Term Results
Beyond physical tools, I incorporate simple yet effective methods. Logging my routine maintenance with dedicated software—using applications like Google Sheets—helps me track descaling dates, grinder burr replacements, and calibration tweaks, which is crucial for scaling up my operation without surprises. I also schedule routine inspections of pressure gauges and seals, referring to this detailed troubleshooting guide for issues related to pressure stability.
Preparing for the Future of Home Espresso Maintenance
Looking ahead, I believe automation will play a bigger role in maintaining our gear. Smart sensors that monitor temperature, pressure, and water quality could soon be standard, offering real-time alerts via smartphone apps. Until then, pairing reliable traditional tools with disciplined routines remains our best approach. For instance, scheduling monthly water tank disinfection with natural cleaning agents helps prevent buildup and extends the life of internal components. This proactive mindset minimizes downtime and keeps those espresso shots consistently excellent.
How do I keep my equipment working for years without headaches?
The key lies in regular checkups and fostering a habit of tiny, consistent maintenance tasks. Using a quick flush technique after each shift saves residue buildup, while quarterly descaling with gentle, eco-friendly solutions prevents mineral scaling. Invest in quality tools like a calibration dust cover for your grinder and a reliable thermometer; these investments pay off by reducing the frequency of costly repairs. As a bonus, always refer to your equipment’s manufacturer’s maintenance recommendations—they often contain insights tailored to your machine.
Remember, a little diligence now ensures your investment stays productive for years to come. Try calibrating your grinder with a dial indicator and see how much more consistent your shots become—this small step can revolutionize your home setup. Embrace these tools and routines, and you’ll be enjoying barista-quality espresso every day with minimal fuss.
Lessons That Changed My Entire Approach to Home Barista Work
One of the most valuable lessons I learned was that equipment nuance often matters more than the brand or price tag. I used to think I just needed the latest espresso machine, but I quickly realized that understanding how to keep every part moving smoothly—like knowing the right way to clean my copper boiler or calibrate my grinder—supersedes raw investment. Small details, such as the proper storage methods for roasted beans, dramatically influence shot quality. The biggest lightbulb moment came when I realized that routine maintenance routines, like a 30-second flush after each session, can prevent costly repairs and save me time in the long run.
Avoid These Common Pitfalls That Can Ruin Your Coffee Ritual
Many home baristas fall into the trap of neglecting essential calibration—assuming the machine will smooth out over time. This approach risks brewing inconsistency and eventual damage. For instance, not regularly checking your heating element can lead to sour or flat shots. Also, forgetting to examine your flat burrs alignment causes uneven extraction, which ruins flavors. Recognizing when your grinder needs calibration or when filter baskets are clogged before brewing can make micro-adjustments that elevate your espresso game. Remember, proactive care saves you from the frustration of no coffee or worse—damage that’s pricey to repair.