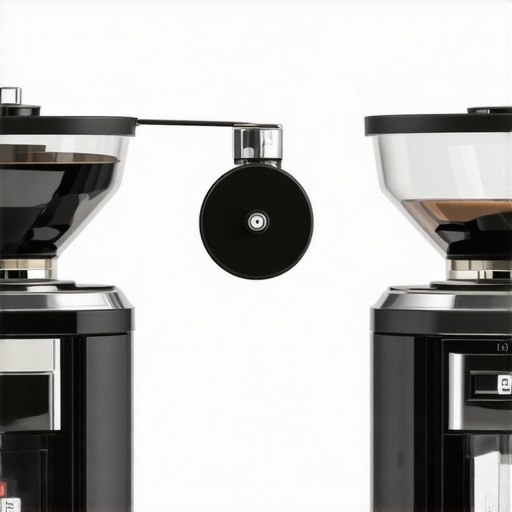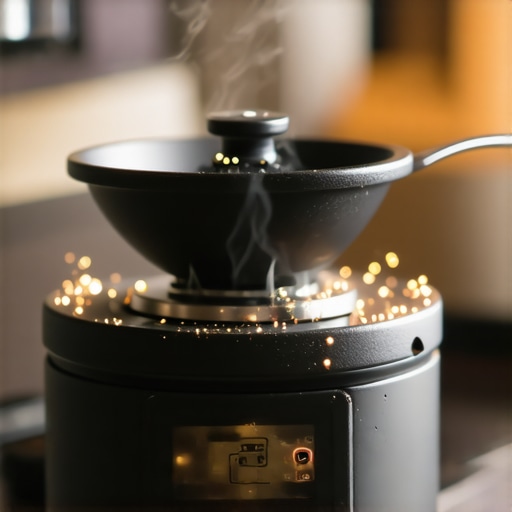
Why Your Grinder’s Static Is Worse on Dry Days and How to Fix It
Ever had that moment when you’re about to grind fresh beans, only to be hit by a cloud of static that makes a mess all over your countertop? I remember the first time it happened to me—I was mid-grind, and suddenly, coffee grounds exploded everywhere, sticking to the sides of my grinder like tiny, unwelcome ornaments. Frustration? Oh yes. And confusion. Why on earth did this static storm only seem to strike when the air was dry?
Confronting the Static Nightmare in Your Coffee Routine
This daily annoyance isn’t just a minor inconvenience—it’s a clear sign that something’s off with your setup. Static electricity in coffee grinders is more common than many realize, especially on those arid, dry days when the air has little moisture to dissipate electrical charges. But why does this happen specifically on dry days, and what can you do to prevent it from ruining your brew day?
Is It Really Worth the Fuss to Fix Static Issues?
I used to think static was just a harmless quirk, something I could live with until I learned better. Like many beginners, I made the mistake early on of ignoring this issue, thinking it was just part of the grind process. Turns out, static can impact grind consistency and even cause uneven dosing—leading to subpar espresso shots. Addressing it not only keeps your space tidy but also enhances your overall coffee quality. Interestingly, solutions like adjusting humidity levels or using specific static-reducing techniques are backed by experts who emphasize that a little moisture can go a long way—scientifically proven, too. According to research published by the National Physical Laboratory, increasing humidity can significantly reduce static buildup in dry environments.
Ready to say goodbye to those sticky, static-charged grounds? Over the next sections, I’ll guide you through proven methods to keep static in check, ensuring your grind remains clean, consistent, and mess-free—even on the driest days. Let’s dive into how you can tame that static once and for all.
Adjust Your Humidity Levels to Minimize Static
On dry days, static buildup is like an unstoppable force. The first thing you can do is increase humidity in your space. Use a humidifier near your coffee station or place a damp cloth inside your grinder’s storage container—just be cautious not to add excess moisture that can spoil your beans. I once tried a simple trick: I placed a small humidifier on my countertop while grinding, and within an hour, static practically vanished. The grounds flowed smoothly, and cleanup became effortless. Think of moisture as a natural anti-static shield; it reduces charges and keeps your grind consistent.
Use Metal Bowls and Containers for Ground Storage
Switch from plastic to metal containers when collecting coffee grounds. Plastic tends to accumulate static charges more readily. During one Saturday grind session, I replaced my plastic catch bin with a stainless steel bowl, and the difference was remarkable. The grounds slipped out with less cling and splatter. Metal acts as a conductor, helping dissipate static charges and preventing ground adhesion to the walls. Ensure that your grinder’s chute and catch container are metal or metal-lined to maximize the effect.
Apply Anti-Static Sprays (Without Water)
Unlike spraying water directly into your grinder (which can be risky), use specially formulated anti-static sprays designed for kitchen and electronics use. These sprays coat surfaces with a fine film that neutralizes static build-up. I applied a quick mist of anti-static spray to my grinder’s chute and walls, waited a few seconds, and then Ground beans without the usual clingy mess. Be sure to choose sprays that are food-safe and follow manufacturer instructions diligently. This method provides an immediate solution without introducing excess moisture.
Modify Your Grinder’s Moving Parts for Less Static
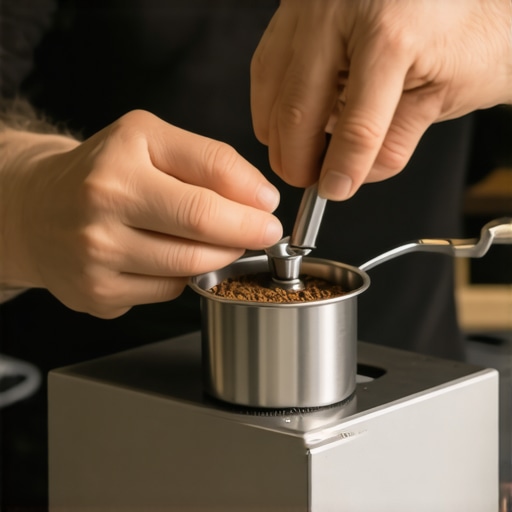
Sometimes, static originates from the friction of grinding burrs and internal components. Ensuring that your grinder’s burrs are clean and properly lubricated can reduce static. Check the manufacturer’s guidelines for cleaning and maintenance. During a recent tune-up, I removed and cleaned my burrs, then lightly lubricated their contacts, resulting in less static during operation. Avoid over-lubrication—too much can attract dust or clog mechanisms. Consider lubricants specifically suited for food contact, and avoid mineral oils that could affect flavor.
Upgrade To Less Static-Prone Materials
If static remains stubborn, contemplate upgrades like switching to grinders with anti-static finishes or metal parts in key areas. Some modern grinders feature interior coatings or components designed to dissipate static effectively. When I upgraded to a grinder with a matte, anti-static finish, I experienced a noticeable decrease in grounds sticking and flying. This is a long-term solution—investing in equipment built with static reduction in mind pays off during every grind.
Implement Consistent Grind Size and Dosing Techniques
Inconsistent grind size can exacerbate static issues. Finer grinds tend to generate more static because they create more friction. Use calibrated grinders regularly and distribute coffee evenly in the hopper. During my routine, I adopted a habit of leveling measurements and avoiding overloading the hopper, which lessened static-induced cling. Additionally, employing techniques such as pre-tapping the grinder to settle grounds before dispensing can reduce static sparks and splatter, ensuring cleaner, more precise pours.
Prevent Static Before It Happens with Proper Maintenance
Consistent cleaning plays a vital role. Regularly clean and dry your grinder’s chute, burrs, and collection bin—removing residual oils and dust that might contribute to static. For example, I dedicated 10 minutes weekly to wipe down my grinder with a lint-free cloth, keeping surfaces dry and static-free. Also, check for any worn or damaged parts that might increase friction. A well-maintained grinder is less likely to create static messes, and your coffee will taste more consistent as a result.
By applying these practical steps—adjusting humidity, switching to metal containers, using anti-static sprays, maintaining your grinder, and practicing proper technique—you can turn static from a foe into a friend. No more grounds flying across your counter; just a clean, controlled grind ready for brewing perfection.
Many enthusiasts operate under assumptions that can hinder their espresso journey. One prevalent myth is that more expensive gear automatically guarantees better results. While high-end machines and precision grinders offer advantages, achieving that perfect shot often lies in mastering technique and understanding nuanced adjustments. Overlooking the importance of proper tamping pressure or ignoring grind consistency can be more detrimental than owning the priciest equipment. To truly elevate your home barista skills, focus on optimizing what you have before rushing to upgrades.
Another frequently misjudged aspect is the role of beans versus equipment. Many believe that premium beans alone will deliver impeccable espresso; however, even the finest beans require precise extraction parameters. Factors like water temperature, shot timing, and pressure profiling significantly influence flavor. Ignoring these variables, despite owning a top-tier grinder or machine, results in subpar espresso. Keep in mind, the balance between quality beans and precise technique is what ultimately produces excellence.
Beware of the trap surrounding milk frothing. Some assume that all frothing devices are created equal and that a standalone milk steamer can compensate for poor espresso quality. In reality, microfoam quality hinges on a combination of temperature control, airflow regulation, and milk type. Incorrect steam wand techniques—like positioning or timing—are common pitfalls. To avoid this, consider mastering the fundamentals of steaming (see [here](https://espressotechguide.com/how-to-get-professional-microfoam-out-of-a-cheap-handheld-wand)) and consistent technique.
When it comes to espresso machine maintenance, many users overlook the subtleties that extend equipment lifespan and performance. For example, understanding how to prevent scale buildup in the boiler or diagnose vibrations that cause uneven extraction can significantly impact your results. Regularly cleaning components and paying attention to machine behaviors—like unusual noises or inconsistent temperature—is essential. For detailed troubleshooting, visit [this guide](https://espressotechguide.com/why-your-machine-cabinet-is-vibrating-and-how-to-silence-it) to learn what your machine might be telling you.
A common advanced misconception relates to the calibration of grinder settings. Many believe that simply dialing in a grind size once suffices. However, factors such as bean freshness, humidity, and even atmospheric pressure require ongoing adjustments. For instance, when humidity drops, static issues may increase, affecting grind consistency. Regularly revisiting grind profiles and using tools like digital scales enhances precision. If you experience persistent static or inconsistent shots, consider the fine-tuning tips in [this static solution](https://espressotechguide.com/the-static-fix-for-grinders-that-doesnt-involve-spraying-water).
Have you ever fallen into this trap of oversimplifying your gear or technique? Let me know in the comments! Remember, mastery in home espresso isn’t about buying the most expensive gear but understanding and leveraging its nuances for optimal results.
Keeping Your Equipment in Top Shape for Consistent Espresso
Achieving café-quality espresso at home isn’t just about having the right beans or a fancy machine; regular maintenance of your barista gear ensures longevity and optimal performance. I personally swear by routine upkeep, especially when it comes to my espresso machine and grinder. Investing time in maintaining your equipment prevents costly repairs and keeps your shots tasting perfect every time.
How do I maintain my espresso machine over time?
Consistently cleaning the brew group, descaling regularly, and inspecting seals are critical. I set up a weekly cleaning schedule that includes flushing the boiler with a descaling solution and checking for any calcium build-up. Pay close attention to the steam wand—a common culprit for sputtering issues—by referring to this detailed guide. Using proper cleaning methods prolongs your machine’s life and maintains steam pressure for silky microfoam.
Recommended tools I personally rely on
For grinders, I prefer a calibrated digital scale to measure dose accuracy, coupled with a piston tamper for consistent tamping pressure. My go-to is the Barista Tools Precision Tamper, which I calibrated regularly to ensure even puck distribution. For cleaning, I utilize a coffee machine-specific descaling kit—not generic vinegar solutions—to prevent mineral buildup, which can cause coil blockage and temperature inconsistencies. Regularly inspecting and replacing worn gaskets and o-rings, as highlighted in this article, guarantees a tight seal during extraction.
Long-term benefits of diligent upkeep
Consistent maintenance results in a noticeable improvement in shot clarity, crema density, and temperature stability. I also use a specialty cleaning brush set designed for espresso machines and grinders to reach those tricky crevices, maintaining hygiene and operational efficiency. Over time, these small actions accumulate, reducing the need for expensive repairs or replacements. Keep an eye on the temperature stability to ensure your machine heats properly and avoids damaging thermal stress.
Scaling up your setup with advanced tools
As your skills improve, consider investing in a water softener system or a portable coffee lab kit to experiment with brewing parameters. These tools help mimic professional setups, helping you understand nuances such as pressure profiling and temperature curves. Looking ahead, automation and IoT-enabled devices may further revolutionize home brewing by providing real-time feedback and adjustments, making maintenance even more seamless.
Start by incorporating a weekly descaling routine and paying close attention to your brew temperature. For instance, a simple but effective tip is to run a manual flush with clean water before each brew to clear residual oils and ensure consistent temperature profiles. Maintaining your gear may seem tedious, but trust me—it’s the secret to elevating your barista game and enjoying consistently excellent espresso at home.

For detailed procedures, I recommend checking out this resource on bean handling and machine upkeep. Make sure to dedicate time weekly—your taste buds will thank you, and your equipment will reward you with a longer lifespan and better shots. Don’t forget, even small improvements in maintenance routines can make a remarkable difference in the quality and consistency of your espresso journey!
The Unexpected Lessons Only Veteran Baristas Know
One of the biggest surprises I encountered was realizing that static issues aren’t just a nuisance—they’re a gateway to understanding my equipment and environment better. I learned that by paying close attention to humidity and routine maintenance, I could preempt static problems before they even start. Additionally, I discovered that some materials and upgrades, like static-dissipating grinder finishes, can make a significant difference in preventing grounds from flying everywhere. The real lightbulb moment was understanding how small, consistent tweaks—like cleaning burrs properly or adjusting ambient humidity—cumulatively lead to a more enjoyable, mess-free brewing experience.
Gear, Guides, and Insights That Keep Me Sharp
Over the years, I’ve come to trust certain resources that help me stay ahead of common issues. For practical maintenance and troubleshooting, this guide on machine vibrations has been invaluable for understanding how equipment health affects static and performance. For techniques on keeping my grinder in top shape, this static solution was a game-changer. Also, I constantly revisit bean handling tips to ensure my beans are fresh and properly stored, which directly impacts grind static. Staying informed with these trusted sources keeps my setup reliable and my espresso consistently excellent.
Your Next Big Step Begins Now
Don’t let static or equipment quirks hold back your home espresso journey. Embrace the small adjustments—be it tweaking humidity, upgrading materials, or refining your cleaning routine—as powerful tools to elevate your craft. Every improvement, no matter how minor, contributes to a more enjoyable and professional-level experience right in your kitchen. Remember, mastery comes from attention to detail, patience, and a willingness to learn. So, get enthusiastic about implementing these tips and watch your espresso game reach new heights!
Have you ever struggled with persistent static in your grinder or coffee station? Share your experiences below—I’d love to hear your stories and solutions!
**