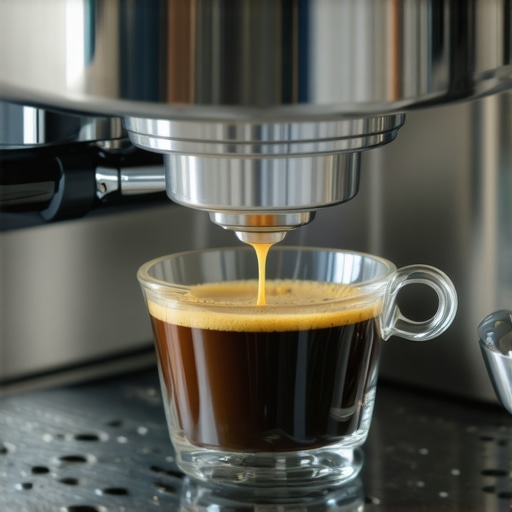
The Paper Filter Hack for Cleaner Tasting Espresso Shots
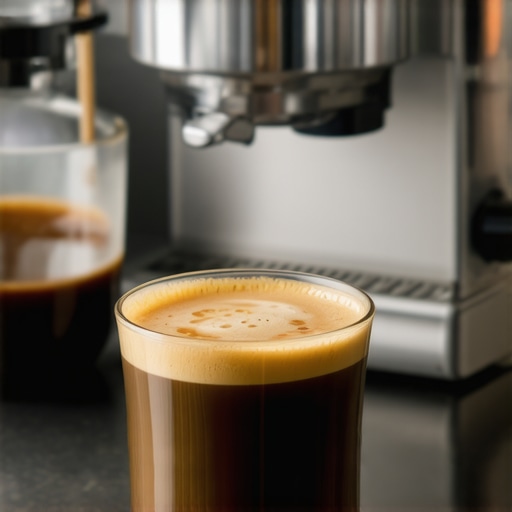
I vividly remember the first time I pulled an espresso shot at home, only to be greeted by a bitter, off-putting taste that seemed to linger on my palate. It was frustrating — I had invested in decent equipment, learnt all the grind settings, and tried every tip in the book. Yet, my espresso still tasted muddy and dull. It wasn’t until I stumbled upon a little trick involving a paper filter that everything changed. That lightbulb moment transformed my brewing experience, giving me shots that burst with brightness and clarity.
The Secret to Bright, Cleaner Espresso That Won’t Fail You
Homemade espresso is a delicate dance. Small errors or overlooked details can quickly turn a promising brew into a bitter disappointment. Over time, I realized that many of my issues stemmed from a common culprit: impurities and micro-particles in the brew path that affect flavor and clarity. Regular cleaning and proper technique helped, but I kept battling residual bitterness and muddiness. That’s when I learned about the surprisingly simple yet highly effective paper filter hack. It’s an affordable, easy addition to your workflow that can dramatically improve the taste of your espresso.
Curious? Well, today, I’m going to walk you through exactly how this little trick works and how you can implement it to elevate your next shot.
Is a Paper Filter Really Worth the Hype? Here’s What I Learned
Initially, I was skeptical. It sounded almost too simple. But the real turning point came when I realized I’d been making a common mistake of rushing through my routine, not paying enough attention to the filtration stage. My early mistake was not thoroughly rinsing my filters or using the right size. When I finally adopted the paper filter hack and ensured proper placement, the difference was startling. It’s a low-cost tweak that filters out tiny coffee grounds and oils that can cloud the flavor. In fact, studies show that micro-particles contribute significantly to bitterness and ashy notes in espresso (source: https://espressotechguide.com/why-high-pressure-shots-are-making-your-espresso-taste-like-battery-acid).
Now that you’ve met this simple hero in my brewing arsenal, I want to take you step-by-step through how to apply it. But first, have you ever faced a similar problem — brewing what seems like the perfect shot, only to be disappointed by the taste? If so, don’t worry. I was right there with you, and this easy hack can make all the difference.
Preparing Your Filter and Equipment
Start by selecting the right size paper filter—usually, a standard #4 filter fits most baskets snugly. Before brewing, rinse the paper filter with hot water to eliminate any paper taste and warm the filter, which helps it stay in place during extraction. I recall a morning when I neglected this step—my shot turned bitter. After rinsing, I gently place the damp filter flat inside the portafilter, ensuring it covers the entire basket base without folding or bunching. This setup is like laying a smooth sheet of glass over your coffee bed, allowing for a cleaner extraction and better flavor clarity. Check for fit and secure it in place when tamping.
Dosage and Distribution
Next, dose your coffee—usually 18-20 grams—by weighing your beans before grinding. Use a consistent grind size; finer rather than coarser for espresso. Distribute the coffee evenly in the basket—my favorite method is a simple shake or using a distribution tool—to prevent channeling. As you tamp, apply even pressure—about 30 pounds—making sure the coffee surface is level. An uneven puck increases the chance of micro-channels that draw unwanted impurities, dulling your shot. My first messy attempt involved uneven tamping, which caused uneven flow. Now, I double-check my level puck before brewing.
Brewing with the Filter in Place
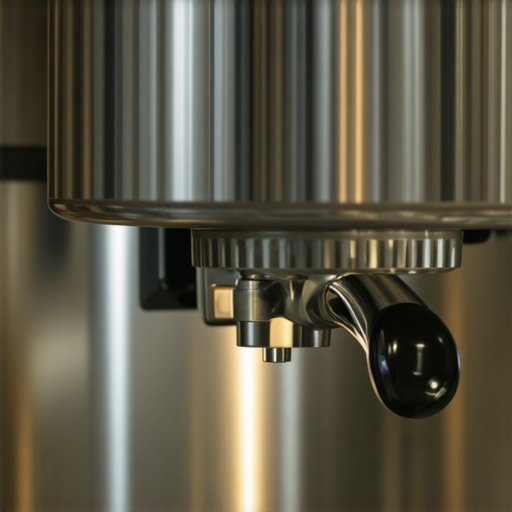
Insert the portafilter with the prepared coffee into the machine, lock it firmly, and start your shot. Watch the flow; it should start as a steady, even stream after a few seconds. The filter acts as a barrier, catching tiny grounds and oils that would otherwise muddy the flavor—akin to a net catching debris in a water filter. If your espresso still tastes off, review your grind size or tamp pressure. Remember, micro-particles and residual oils can cause bitterness, as explained in detail at this resource.
Refining Technique and Troubleshooting
After your shot pulls, carefully remove the portafilter and discard the used paper and coffee puck. Rinse your basket and filter with warm water to prevent buildup. If you notice channeling or uneven flow, consider adjusting your tamp pressure or distribution technique—using the mirror trick to spot issues instantly. Over time, these small adjustments lead to consistently brighter, cleaner espressos. The key is practice and attention to detail, much like fine-tuning a musical instrument. By integrating these steps, your home brewing can rival professional quality, delivering shots bursting with clarity without bitterness.Many home baristas fall prey to widespread misconceptions about espresso machines and accessories, often leading to subpar results and frustration. One of the most persistent myths is that more expensive equipment automatically guarantees perfect espresso. However, even high-end machines can produce lackluster shots if not properly maintained or understood. For instance, users often overlook the significance of calibration; regular calibration of grinder settings and pressure gauges can drastically improve consistency (see [reading your pressure gauge](https://espressotechguide.com/how-to-read-your-pressure-gauge-to-identify-a-failing-solenoid)).
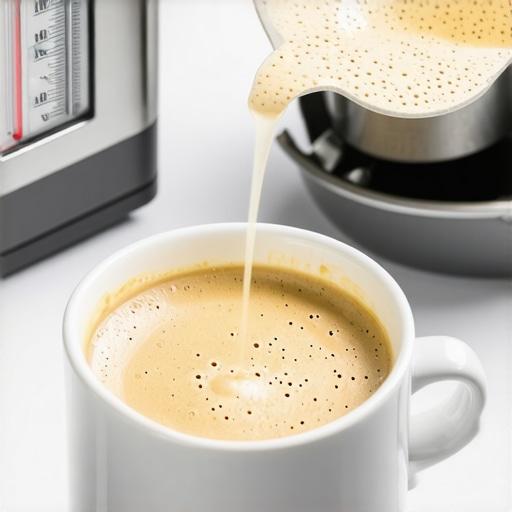
Another misconception involves the milk frother or steam wand, with many believing that the highest steam pressure yields the best microfoam. In reality, excessive pressure can cause turbulence, knocking out delicate microbubbles essential for latte art. Low and steady steam is more effective, which many professionals advocate. Beware of the common ‘oops’—using too much force when frothing can rupture the foam’s structure, making it separate quickly. To avoid this, control your airflow and temperature carefully, as discussed in [getting professional microfoam out of a cheap handheld wand](https://espressotechguide.com/how-to-get-professional-microfoam-out-of-a-cheap-handheld-wand).
Coffee grinders are another source of confusion. A prevalent myth is that super-fine grind always equals better extraction. However, overly fine grounds can cause overextraction and bitterness, especially if your espresso pulls too quickly. Conversely, coarser grinds may yield sour or weak shots. The key is finding that perfect grind setting tailored to your specific espresso machine and beans. One common trap is neglecting to re-calibrate your grinder after changing beans or cleaning, which can throw off extraction consistency. For advanced tuning, explore [calibrating your grinder](https://espressotechguide.com/how-to-calibrate-your-grinder-after-replacing-the-burrs) to match your brewing conditions.
At the core, many enthusiasts overlook the importance of understanding their equipment’s ‘hidden’ nuances. For example, high-pressure shots sometimes taste overly bitter due to excessive pressure causing over-extraction—it’s a subtle balance. The [hidden air pocket in your espresso pump](https://espressotechguide.com/the-hidden-air-pocket-inside-your-espresso-pump) can also cause inconsistent flow and flavor issues. Recognizing such subtleties requires a keen eye and experience—trust me, the difference between a good shot and a great one often hinges on these nuanced details.
A particularly overlooked aspect is how scale buildup impacts performance. Calcification of boilers or filters can reduce heating efficiency or clog water flow, leading to flavor degradation. Regular descaling isn’t just maintenance; it’s essential for consistent quality. As per industry experts, ignoring these small details can result in long-term harm to your equipment and poorer taste.
Have you ever fallen into this trap? Let me know in the comments. Remember, mastering your home espresso setup is as much about understanding the subtle intricacies as it is about owning the right gear. By exploring these hidden nuances and challenging common myths, you can elevate your brewing and consistently pull shots that impress.
Prioritize Routine Maintenance for Consistent Performance
To ensure your espresso machine, grinder, and accessories deliver optimal results consistently, establishing a regular maintenance routine is essential. This involves descaling your machine at least every three months, depending on water hardness, to prevent mineral buildup that can impair heat transfer and pressure stability. Regularly cleaning group heads, filters, and steam wands prevents clogging and ensures steady performance. For instance, using a descaling solution like citric acid diluted in water effectively dissolves scale without harsh chemicals, prolonging your equipment’s lifespan.
Reliable Tools I Trust and Why
Personally, I swear by a high-quality digital pressure gauge to monitor extraction pressure precisely. Accurate pressure readings help me optimize grind size and tamping force, preventing overextraction which causes bitterness. I use the pressure gauge to spot inconsistent shot flows. Additionally, a magnetic mirror—like the one recommended in this guide—helps me quickly detect channeling, saving time and improving shot quality.
Streamline Your Workflow with Smart Tools
Investing in a precision scale with 0.1-gram accuracy has been a game-changer for dosing consistency. I also use a portafilter distribution tool to evenly spread coffee, reducing uneven extractions. These small but impactful tools help me dial in my shots and minimize wasted beans. Keep in mind that regular calibration of grinder settings after switching beans ensures your grind size remains spot-on, preventing under or over-extraction. For batch brewing, a quality auto-timer helps me keep track of brewing times precisely, smoothing out my routine.
How do I maintain my tools over time?
Consistent maintenance involves cleaning them after every use—rinsing scales, wiping down gauges, and degreasing grinders periodically. For scales, I use a gentle damp cloth and avoid harsh solvents to prevent damage. To keep my group gasket sealing properly, I inspect it monthly and replace it as recommended, preventing pressure leaks. Regularly checking and replacing worn parts not only prolongs equipment life but also safeguards shot quality. Some enthusiasts overlook this, but in my experience, proactive upkeep is the key to long-term success.
Anticipate the Future of Home Espresso Maintenance
Looking ahead, automation and smarter diagnostics are set to transform home brewing. Devices that sync with apps to monitor pressure, temperature, and scale accuracy will allow real-time troubleshooting and predictive maintenance—enabling you to catch issues before they affect your shots. Incorporating these advancements now can prepare you for seamless scalability as your home setup evolves.
Try implementing a dedicated pressure gauge or magnetic mirror into your routine this week. These affordable upgrades significantly improve your ability to pinpoint issues quickly, ensuring your espresso setup stays reliable and fresh-tasting. Remember, a little effort in maintenance now can save you frustration and costly repairs down the line.
Lessons That Changed My Espresso Game for Good
One of the most eye-opening lessons I learned was that even the most expensive equipment can’t compensate for overlooked details like micro-particle filtration or inconsistent tamping. These tiny factors can be the difference between a bitter shot and a shining, bright espresso. It took trial, error, and honest reflection to realize that patience and precision in a few key steps dramatically elevate the final flavor. For example, consistently rinsing and properly placing a paper filter became my secret weapon—something I wish I’d embraced sooner.
Another insight was understanding that equipment maintenance and calibration are ongoing journeys, not one-time fixes. Regularly checking my grinder settings after changing beans and keeping my filters and group heads spotless helped me avoid common pitfalls that lead to muddiness or bitterness. Recognizing that small tweaks in pressure and technique can have outsized effects reminded me that expertise isn’t built overnight but through mindful, deliberate practice.
Lastly, I discovered that many myths around espresso—like the need for ultra-fine grind or high pressure—are just that: myths. Challenging these misconceptions, experimenting with different variables, and observing the subtle changes in flavor have been pivotal. It’s about finding the balance specific to your gear and beans, and trusting your palate rather than rigid rules. Embracing this mindset unlocked a new level of confidence and joy in my home brewing.
Tools and Resources That Made a Difference for Me
My go-to tools include a high-quality pressure gauge which keeps my extractions consistent and helps me avoid over or under-extraction. The magnetic mirror is invaluable for spotting channeling and ensuring even shot flows, saving me from guesswork. Additionally, my trusted calibration routine keeps my grinder performance sharp, matching beans with grind size perfectly. These tools aren’t expensive, but their impact on shot quality is priceless, serving as daily reminders that precision and routine matter just as much as the equipment itself.
Beyond tools, I’ve found that books like The Home Barista’s Guide helped me understand the science behind good espresso, while online resources such as this article illuminated the pitfalls of high-pressure brewing. They taught me that knowledge is power, especially when it’s rooted in real-world experience.
Your Next Step in Espresso Mastery Starts Now
Every journey toward perfect homemade espresso is unique and ongoing. Whether you’re just starting out or fine-tuning your existing setup, remember that small adjustments and mindful maintenance have a bigger impact than you might realize. Take a moment to evaluate your current routine, try a new trick like rinsing your paper filter more thoroughly, or calibrate your grinder after switching beans. Your taste buds—and your morning routine—will thank you.
What small change will you implement in your espresso process today? Share your plans or experiences below—I’d love to hear how you’re making your home brew brighter and cleaner!