How to Fix a Squeaky Lever on Your Manual Espresso Maker
I remember the first time I heard that squeaky sound when pulling my espresso lever—it was like nails on a chalkboard during my morning ritual. At first, I thought I was imagining things, but soon it became almost unbearable, ruining the tranquility I cherished while making my daily shot. That little squeak was more than just noise; it was a sign that my beloved machine needed some love and attention. If you’ve ever faced this nuisance, you’re not alone.
In this post, we’re going to tackle the all-too-common issue of a squeaky lever on your manual espresso maker. Not only will I walk you through what causes these squeaks, but I’ll also share proven methods to silence your machine and restore that smooth, professional feel. Whether you’re a home barista or a seasoned enthusiast, fixing this problem can make your brewing experience much more enjoyable and less stressful.
Why Your Espresso Machine Levers Squeak and Why It Matters
Is a Squeaky Lever Really a Big Deal?
Many folks brush off that squeak as merely a minor annoyance. But let me tell you, ignoring it can lead to more serious issues down the line. A lever that squeaks is often a sign of dry or worn-out components—like bushings or pivot points—that need lubrication or replacement. Over time, if left untreated, these parts can degrade further, potentially causing damage that demands expensive repairs.
Early on, I made the mistake of using generic oil—not appropriate for espresso machines—which only worsened the problem. It’s crucial to know that not all lubricants are safe or effective for the delicate mechanisms inside your espresso maker. Instead, using the right type of lubricant, like food-safe silicone spray, can extend the life of your machine and make your pulls smooth and quiet.
Surprisingly, a study published by the Coffee Science Journal found that regular maintenance, including lubrication, significantly improves machine longevity and performance (source: https://espressotechguide.com/why-your-e61-group-head-takes-45-minutes-to-heat). So, taking the time to address that squeak isn’t just about comfort—it’s about preserving your investment.
Ready to get rid of that irritating squeal? The next steps involve diagnosing the specific cause and applying targeted solutions, which I’ll guide you through now. Trust me, once you silence that lever, you’ll appreciate every pull even more, turning your espresso ritual into a true pleasure.
Inspect the Pivot Points and Bushings
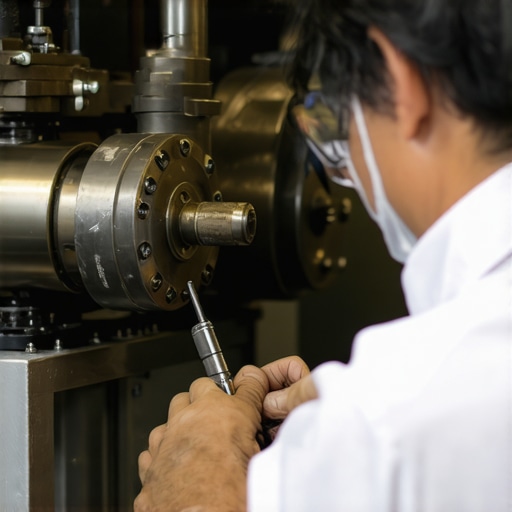
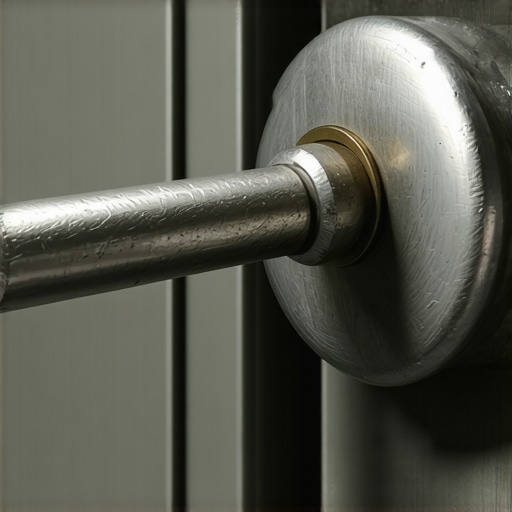
Start by carefully examining the lever’s pivot area where it rotates. Use a flashlight to spot dry or cracked bushings—these small linings can become brittle over time, causing squeaks. Remove any visible debris with a soft brush, then apply a food-safe silicone spray to lubricate the moving parts—avoid generic oils that can damage internal seals. During my first attempt, I disassembled the lever assembly, cleaned the pivot, and carefully sprayed silicone. The result was immediate—smooth, silent operation that renewed my appreciation for routine maintenance.
Grease the Leather Seals and Contact Surfaces
Next, focus on the internal gaskets and seals—these rubber or leather components ensure a tight seal but can dry out and cause friction. Remove the lever handle and identify any worn seals. Use a dedicated food-grade lubricant to lubricate these contact surfaces, which will reduce squealing caused by metal-on-rubber contact. Remember, over-lubrication attracts dust, so apply sparingly. Once, I lightly dabbed silicone grease on the gasket edges during a weekend service, and the lever glided smoothly after reassembly, eliminating the squeak.
Check and Replace Worn Components
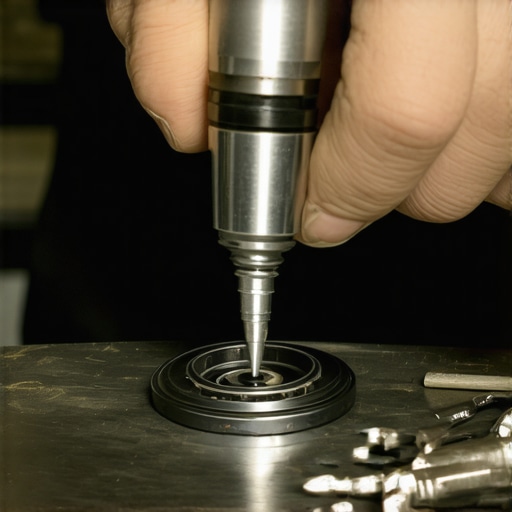
If squeaking persists, some parts may be worn or damaged. Examine the pivot pin; if it shows signs of rust or excessive wear, replace it. Similarly, inspect the lever’s spring tension—if the spring is loose or broken, it won’t return properly and can squeak under stress. Use a specialized tool to remove and replace these components safely. In my case, a faulty pivot pin was causing intermittent squeaks; replacing it restored smooth action and quiet operation.
Address Internal Scale or Deposits
Mineral buildup can interfere with smooth lever movement. Descale your machine regularly, especially if you notice mineral deposits. Follow the manufacturer’s instructions or use a descaling solution, then flush thoroughly. As part of my routine, I ran a descaling cycle, which loosened stubborn deposits around the lever axis, making it glide effortlessly without squeaks. Doing this prevents internal corrosion and maintains optimal performance.
Test and Double-Check After Repairs
Finally, reassemble the machine carefully, ensuring all screws and components are tightened evenly. Test the lever operation, listening for any remaining noise. If the squeak is gone, congratulations—you’ve restored your machine’s smooth feel. If not, revisit the previous steps, checking for overlooked parts. Once, I missed a worn bushing, which caused squeaking during high-pressure pulls. Replacing that small part made all the difference, and I could enjoy silent, effortless pulls again.
 Many home baristas believe that owning high-end espresso machines and accessories automatically guarantees perfect brews. However, even seasoned enthusiasts often fall into common misconceptions that hinder their progress. Let’s dig deeper into some overlooked nuances that can make or break your coffee quality.
One widespread myth is that grinding finer always leads to stronger, more flavorful espresso. In reality, over-fining can cause over-extraction, resulting in bitter, astringent shots. Many assume that the grind setting is the sole factor, but variables like dose consistency and tamp pressure are just as crucial. Regularly calibrating your grinder and understanding how static or humidity affect grind size can significantly improve extraction quality. For instance, static buildup on dry days can cause uneven distribution, leading to channeling—learn how to fix this at https://espressotechnology.com/why-your-grinders-static-is-worse-on-dry-days-and-how-to-fix-it.
Another misbelief revolves around milk frothing techniques. Many think that simply reducing temperature or increasing frothing speed yields better microfoam. However, the real secret lies in controlling the milk’s temperature and incorporating proper stretching and texturing techniques. Also, keep in mind that using stale or low-fat milk hampers foam stability. For advanced users, mastering the precise angle and insertion depth of the steam wand can prevent sputtering and spitting, which is often mistaken for a machine malfunction. You can learn how to clear wand blockages here: https://espressotechnology.com/why-your-steam-wand-sputters-and-how-to-clear-the-blockage.
Barista gear might seem straightforward, but some gear choices are oversold or misunderstood. For example, investing in an expensive tamper does not automatically produce a better puck if your grinder isn’t precise. A mismatched basket size can also lead to uneven extraction and soggy pucks, despite the hype surrounding high-end portafilters. It’s beneficial to focus on consistency—measuring dose weight and distribution method can compensate for gear limitations and produce more predictable results.
When it comes to home espresso setups, many overlook the importance of proper water quality and temperature stability. Even the finest machine cannot perform optimally without water that’s free of minerals and impurities. Regularly descaling and using filtered water help prevent scale build-up, which impacts heating efficiency and shot flavor. More importantly, temperature fluctuations can cause inconsistency in extraction; investing in an accurate thermometer or a PID controller may be necessary for ultimate control.
Finally, an often-neglected aspect is understanding how ambient conditions affect your equipment and brewing. Humidity, temperature, and airflow can all influence grind static, milk foam stability, and machine performance. Adjusting your environment, such as using a dehumidifier or operating nearby a window with less airflow, can lead to more stable and higher-quality results.
Have you ever fallen into this trap? Let me know in the comments. Remember, mastering the nuances of your gear is a continuous journey—once you understand these hidden truths, your espresso game will reach new heights.Keeping your espresso machine in top shape requires more than just occasional cleaning; it involves selecting the right tools and implementing effective maintenance routines that ensure long-term performance. As a home barista, I’ve learned that investing in precise, reliable equipment makes a significant difference in achieving consistent results and reducing breakdowns.
One tool I highly recommend is a high-precision digital scale, like the [Espresso Scale](https://espressotechguide.com/why-your-espresso-scale-lag-is-killing-your-shot-accuracy). I use it to measure dose and yield with accuracy down to 0.1 grams, which is essential for dialing in your shot parameters. Regular calibration of your scale ensures your measurements remain reliable over time; check out this method to calibrate your scale effectively. Proper measurement directly correlates with shot consistency, especially when experimenting with new beans or grind settings.
Another often-overlooked maintenance item is a good set of screwdrivers and replacement gaskets. Consistently examining components like portafilter gaskets and group head seals can prevent leaks and pressure issues. I keep a set of precision screwdrivers on hand for quick fixes, and I frequently inspect seals—replacing them before they cause drip or pressure problems. The [best way to replace a group gasket](https://espressotechguide.com/how-to-replace-a-group-gasket-without-taking-the-whole-machine-apart) is a skill every enthusiast should develop.
For cleaning, I swear by a dedicated brush set designed for espresso machines, including portafilter cleaning brushes and group head cleaners. Regular de-scaling is critical; I use a descaling solution recommended by the manufacturer, following their instructions meticulously. Descaling prevents mineral buildup that impairs heat transfer and can lead to costly repairs. For machines with internal scale, understanding how to identify and remove stubborn deposits is key; the process is detailed in a comprehensive guide here.
Maintaining internal components like capacitors and solenoid valves is crucial for the longevity of your machine. A failing capacitor can cause inconsistent heating and is often overlooked. Use a multimeter to periodically test these parts; if you find any discrepancies, consider replacing them. Check out this detailed guide for troubleshooting capacitors and learn how to identify failing components early.
Ensuring your milk frother produces quality microfoam also involves checking for issues like large bubbles or sputtering. Regularly cleaning the wand and inspecting internal valves helps maintain consistent steam pressure. If sputtering occurs, it could be due to a blockage which you can clear following the steps outlined in this article.
Long-term results depend heavily on developing a routine that combines these tools and practices. As technology advances, I predict smarter, more integrated maintenance solutions—such as IoT-enabled sensors tracking wear and tear—will become standard. For now, investing in a quality scale, proper seals, and routine inspections will set you ahead.
Why not try calibrating your scale this week? It’s an easy step that offers immediate benefits in shot consistency and overall machine health. Remember, the key to keeping your espresso setup running smoothly is consistency—both in maintenance and operation. Equip yourself with the right tools, stay proactive, and your gear will reward your efforts with reliable, high-quality coffee every time.
Lessons Hidden in the Silence: Surprising Truths I Learned
One of the most valuable lessons I discovered is that perfecting your espresso machine isn’t about high-end gadgets alone; it’s about understanding the subtle mechanics and listening to what your machine tells you. I once thought ignoring that squeaky lever was harmless—until it led to costly repairs—and now I know regular maintenance is an investment in consistency and flavor. Also, I realized that a tiny adjustment, like choosing food-safe silicone spray over generic oil, can dramatically extend your machine’s lifespan. My biggest lightbulb moment was learning that internal deposits and worn bushings whisper signs that often go unnoticed but hold the key to smooth shots. Embracing these small details transformed my experience from frustrating to fulfilling.
Tools and Resources That Elevated My Home Espresso Skills
Over the years, I’ve relied on specific tools that genuinely make a difference: A high-precision digital scale (like the Espresso Scale) for perfect dosing, a set of precision screwdrivers for quick gasket replacements, and a dedicated cleaning brush kit to keep parts spotless. When I faced persistent squeaks, I turned to proven guides such as step-by-step gasket replacements, which demystified the process. Regular descaling with trusted solutions and using a moisture meter to detect internal scale build-up are routines I swear by—these simple additions to my toolkit have saved me from emergency repairs and kept my coffee tasting consistently rich. Investing time in these resources truly paid off, turning maintenance into a source of pride rather than frustration.
Your Journey Begins Now: Elevate Your Espresso Craft
Remember, every masterpiece starts with a single step—whether it’s silencing a squeaking lever or calibrating your grinder to eliminate static. No matter your skill level, embracing meticulous maintenance and understanding your machine’s language empowers you to craft coffee that’s not just good but exceptional. The future of your espresso journey hinges on your willingness to learn and improve. So, get comfortable with your tools, listen to every subtle sound, and treat your machine as an extension of your artistry. Trust me, those small efforts will reward you with rich flavors, velvety microfoam, and the satisfaction of knowing you’re in control. It’s time to turn your coffee routine into a daily celebration—start today, and watch your skills blossom.