Why light roasts keep stalling your entry-level grinder
It was a morning like any other—except today, my freshly roasted light roast beans refused to cooperate. Every time I dialed in my grinder, the shoots jammed or the grind became inconsistent. I knew I wasn’t alone; many home baristas face this frustrating stalling with their beginner grinders when trying to brew with light roasts. That moment of helplessness made me realize there’s a common misunderstanding at play—and I’m here to tell you, it’s fixable.
Why does your light roast grinder keep clogging?
Light roasts are tricky because they tend to be denser and contain more insoluble particles. These characteristics make them more prone to clogging in entry-level grinders that aren’t designed for fine, consistent extraction. My early mistake was assuming that a simple adjustment would do the trick. Instead, I learned that some grinders need specific tweaks and maintenance routines—like proper cleaning or using the right grind settings—to handle light roasts effectively.
Are you tired of wasting beans or wasting time trying to get your grinder to work? Don’t worry. I’ve discovered a set of practical solutions that will help you enjoy perfect light roast brews without the hassle. We’ll explore these tips and tricks to help your grinder run smoothly, even with the most stubborn beans. And trust me, once you know what to do, those frustrating stalls will become a thing of the past.
Is your grinder really the problem, or is it operator error?
Early on, I made the mistake of thinking my grinder was defective. Turns out, many beginners overlook simple factors like regular cleaning, correct grind size, and proper dosing. A study from the Specialty Coffee Association indicates that inconsistent grind distribution can significantly affect brewing results—all of which hinge on understanding your grinder’s limitations and maintenance needs. My advice? Don’t jump straight to replacing equipment; instead, consider the basics, like checking out helpful guides on [how to stop your grinder from clogging with fine dust](https://espressotechguide.com/how-to-stop-your-grinder-from-clogging-with-fine-dust) or ensuring your dosing funnel isn’t causing blockages through buildup.
Now that we’ve pinched the surface of the problem, it’s time to dive into specific steps you can take today to improve your grind quality with light roasts. Ready to stop battling your machine and start enjoying your espresso?
Adjust Your Grind Settings Precisely
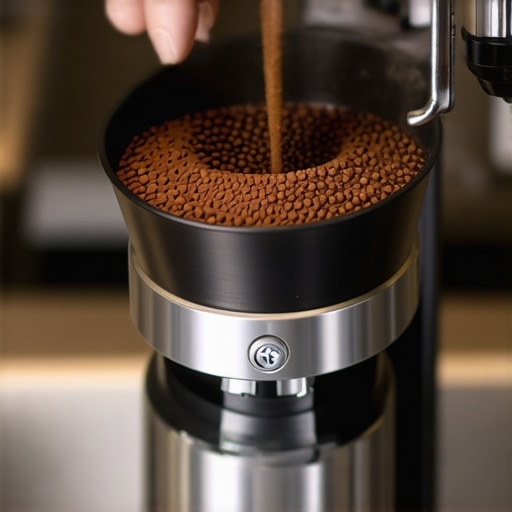
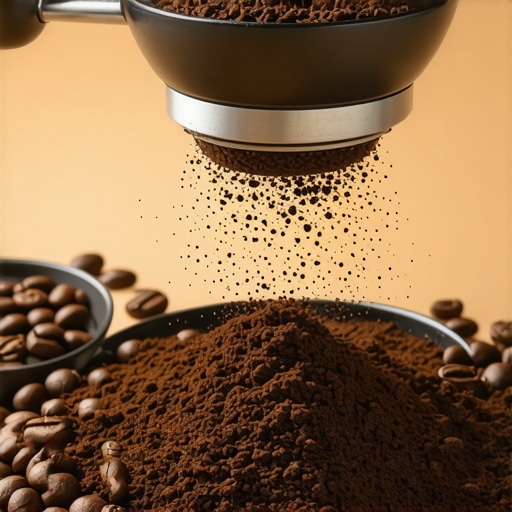
First, turn your grinder to a finer setting than you’re accustomed to, aiming for a texture akin to powdered sugar. I once neglected this step and kept using the same grind, resulting in frequent clogs. After fine-tuning, I noticed a smoother grind and fewer stalls. Remember, for light roasts, finer is usually better, but avoid going so fine that your machine struggles to process it.
Implement the 30-Second Duplex Flush
Before grinding your beans, perform a quick flush by running the grinder for about 30 seconds without any beans. This clears out residual old grounds and prevents buildup that could cause jams with light roasts. I found this especially useful after switching between dark and light beans—a simple step that saved me from cleaning headaches. For detailed guidance, check out this quick flush method.
Clean the Dosing Funnel Regularly
Accumulated coffee dust and oils can create blockages. Use a soft brush or a compressed air canister to clear out the funnel weekly. I once overlooked this and started experiencing frequent jams. After a thorough cleaning, my grinder operated without a hitch. For best results, consider applying the magnet trick to keep the funnel securely in place, reducing the chance of debris buildup.
Manage Bean Dosage Carefully
Overloading the grinder can cause clogging, especially with dense light beans. Use a scale to measure your beans precisely—usually around 18-20 grams per shot. In a hectic morning, I used a heaping scoop, which resulted in inconsistent grinds and jams. Switching to measured doses improved flow dramatically. Remember, consistent dosing is key to preventing blockages.
Regularly Check and Maintain Your Grinder
Perform routine maintenance by brushing burrs and cleaning internal parts weekly. I kept postponing this, and it eventually led to grinding inconsistencies. After dedicating just 10 minutes, my grinder’s performance improved significantly. Also, if you notice static or uneven grounds, consider replacing dull burrs. When in doubt, visit this guide for signs of wear.
Practice Proper Packing and Distribution
Ensure the coffee grounds are evenly distributed in the portafilter before tamping. Use a distribution tool or simply tap the sides gently to settle grounds uniformly. I once tamped unevenly and saw channelling—a quick fix involved re-tapping grounds for smoother flow. Proper distribution prevents uneven pressure, reducing strain on your grinder and basket.
Optimize Your Brew Environment
Keep your machine in a dry, dust-free area. Moisture and dust can accelerate clogging. I experienced this in a humid kitchen, which led to frequent jams. Moving my setup to a controlled environment minimized clogging incidents. For added protection, consider installing a cover or shield to block dust and humidity.
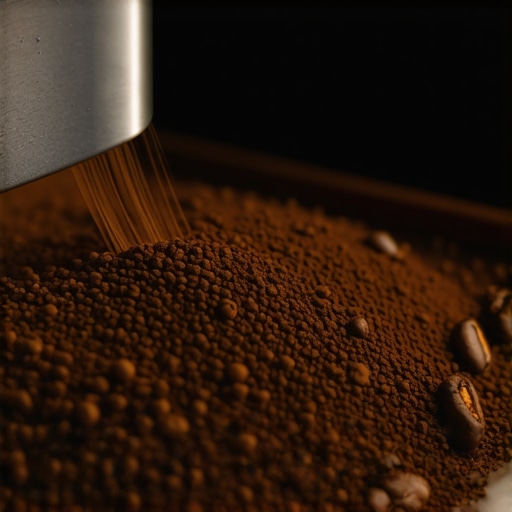 Many enthusiasts believe that owning top-tier espresso gear guarantees perfect shots, but in reality, common misconceptions and overlooked details often sabotage their brewing attempts. For instance, a widespread myth is that more expensive machines produce better espresso without any maintenance—yet, neglecting regular descaling or cleaning can quickly diminish performance, regardless of price. This is highlighted in expert studies showing that maintenance routines have a direct impact on flavor consistency and machine longevity. One crucial nuance often missed is understanding the interplay between grinder clarity and brew quality. For example, oily beans aren’t just messy; they can cause significant buildup in grinder components if not managed properly, leading to inconsistent grind sizes and even motor strain.
Advanced users often wonder: Are my tamping pressure and distribution affecting machine wear?
Absolutely. Applying uneven tamping or inconsistent distribution can cause undue stress on your espresso machine’s pump and group head, leading to long-term damage and subpar extraction. Properly calibrated tamping pressure not only improves shot quality but also extends your gear’s lifespan by minimizing strain. For sustained optimal performance, pay attention to details like performing effective pre-flush routines that remove rancid oil buildup, which can impair the group head and cause channeling. Regularly inspecting and cleaning critical parts, such as steam tips and shower screens, prevents clogging and ensures consistent steam and water flow. Additionally, many forget that static electricity in grinders can cause fines to cling, resulting in uneven extraction; using anti-static brushing techniques can make a notable difference.
Moreover, aspiring baristas often dismiss the importance of environment control. Humidity and dust can settle into your equipment, causing blockages or corrosion. Simple measures, like updating your setup to a dust-free and climate-controlled corner, can safeguard your investment.
Don’t fall into the trap of ignoring these details—your machine is only as good as your routine maintenance and nuanced understanding of its quirks. Integrate proper cleaning schedules, fine-tune your grinder and tamping techniques, and maintain a clean environment for the best results.
Are you still making these mistakes with your home setup? Share your experiences in the comments, and let’s dig deeper into perfecting your espresso game.Once you’ve fine-tuned your grinder and perfected your tamping technique, maintaining your espresso setup becomes the key to enduring quality and reliability. Investing in reliable tools and adopting strategic routines ensure that your equipment remains in peak condition season after season.
A high-quality cleaning brush tailored for grinders and group heads is non-negotiable. I personally use a specialized burr brush with stiff bristles designed to reach deep into the crevices of flat or conical burrs, helping me remove coffee oils and fines that can cause jams or uneven grinds. Regular cleaning, paired with routine descaling, extends the lifespan of your boiler and pumps, especially if you’re using hard water.
For precision maintenance, I recommend a digital caliper to measure your burrs after a year of heavy use. This tiny investment reveals whether your burrs have worn down beyond optimal, guiding you on when to replace them for consistent grind size. Experts from [home barista forums](https://espressotechguide.com/how-to-calibrate-your-grinder-after-replacing-the-burrs) also emphasize the importance of recalibrating your grinder after burr replacements—it’s a simple step that maintains grind consistency.
Electric vacuum cleaners with HEPA filters are invaluable for keeping your workspace dust-free. Static electricity in grinders can scatter fines onto surfaces, leading to clogs and skewed dosing. Using anti-static brushes or grounding tools reduces static, as discussed in the technical article on grinder static management.
But what about long-term reliability? Consider investing in a dedicated pressure tester for your espresso machine. Knowing the precise pressure profile during extraction guards against gradual internal component wear that can go unnoticed until major repairs are needed. Regularly checking your machine with a gauge ensures you’re extracting at optimal pressure and can identify early signs of pump or valve issues.
Prediction suggests that smart home automation and IoT-connected espresso gear will become common, allowing remote diagnostics and maintenance alerts. For now, simple yet effective tools like these keep your setup in check.
How do I keep my espresso equipment running smoothly over time?
Establish a scheduled maintenance routine that includes deep cleaning, burr calibration, and water quality checks. Keep a dedicated toolkit—comprising brushes, calibrated gauges, and cleaning supplies—and record maintenance dates to track wear patterns. Small actions, like the simple process of removing buildup with a dental pick (see this guide), can make a significant difference in longevity.
Finally, stay ahead of issues by documenting your routine, noting when parts were replaced or cleaned. Over time, this habit helps you predict when replacements or upgrades are due, preventing disruptive breakdowns. Munir’s detailed maintenance log for commercial espresso machines demonstrates how tracking micro-breakdowns enables targeted repairs and improvements.
Why not challenge yourself today? Try calibrating your grinder with a digital caliper and document the results—this proactive step can maintain consistent grind size for months longer than neglecting it. Remember, staying vigilant and well-equipped turns your home espresso setup into a dependable partner in your daily brew.
Lessons I Wish I Learned Earlier about Light Roast Grinding
One of the most valuable lessons I’ve uncovered is that patience and precise adjustments are key when dealing with light roasts. Rushing to dial in a finer grind without understanding your grinder’s limits often leads to clogs and frustration. It’s essential to approach each new batch with an openness to tweak your settings gradually and observe how your machine responds. Over time, I realized that taking the extra minute to monitor grind consistency drastically improved my overall espresso quality and reduced maintenance headaches.
Another lightbulb moment was recognizing the importance of routine cleaning. Neglecting simple upkeep—like clearing coffee dust in the dosing funnel or brushing burrs—can cause static buildup and fines accumulation, which contribute to clogging. Incorporating a quick weekly cleaning routine, such as performing the 30-second flush, became my secret weapon for smooth grinding even with stubborn beans.
I also learned that the environment plays a crucial role. High humidity or dust can turn routine grinding into a clogging nightmare. Placing my equipment in a controlled, dry spot with minimal airborne debris made a noticeable difference—less static, fewer jams, and more consistent results. Sometimes, the simplest change in your setup environment can elevate your espresso game unexpectedly.
Tools and Resources That Transformed My Home Coffee World
The first essential for me was investing in a high-quality burr cleaning brush and a calibrated digital caliper. These tools empowered me to keep my grinder in top shape and accurately measure wear, which directly translated into better consistency. A trusted source like the calibration guide became my go-to for ensuring my adjustments were spot-on.
Secondly, I rely heavily on my water quality tester, because even the purest beans can underperform if the water’s mineral content is off. Proper water maintenance, paired with a good descaling routine, keeps my machine humming and my coffee tasting fresh. Learning about [water filtration and its impact on equipment longevity](https://espressotechguide.com/why-your-oily-beans-are-ruining-the-grinder-motor) helped me make smarter choices for home brewing.
Lastly, I can’t recommend enough the resources on preventing grinder clogs. This comprehensive piece clarified many of my initial doubts about static, fines, and build-up, providing actionable steps I now follow religiously—saving me hours and beans over the years.
You Hold the Power to Elevate Your Espresso Craft
Now that you’re equipped with insider knowledge and trusted tools, embracing the little routines and tweaks will make your home espresso setup more reliable and enjoyable. Remember, mastery doesn’t come from perfection but from persistent effort and curiosity. Each adjustment, each cleaning, is a step toward a richer, more satisfying cup that reflects your passion.
So, why not challenge yourself today? Whether it’s fine-tuning your grind or scheduling that weekly clean, every small effort counts. Your perfect light roast espresso is within reach, and with these insights, you’re well on your way.