How to Purge Your Grinder Without Wasting Expensive Beans
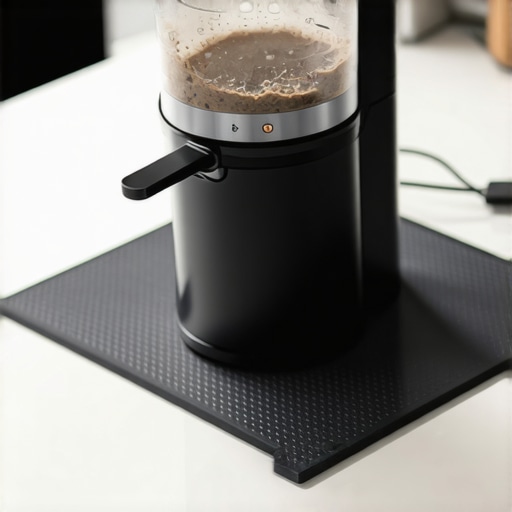
It was a typical Saturday morning—my favorite coffee ritual, steaming milk, perfect espresso shot—and suddenly, my grinder sputtered. A tiny clunk, then silence. I looked at the mess of grounds around it and realized I’d just wasted my most expensive beans on a clog I didn’t know how to fix without tossing a handful. That lightbulb moment hit hard: why is it so frustrating to keep my grinder clean without throwing away good coffee?
The Hidden Challenge of Grinder Cleaning
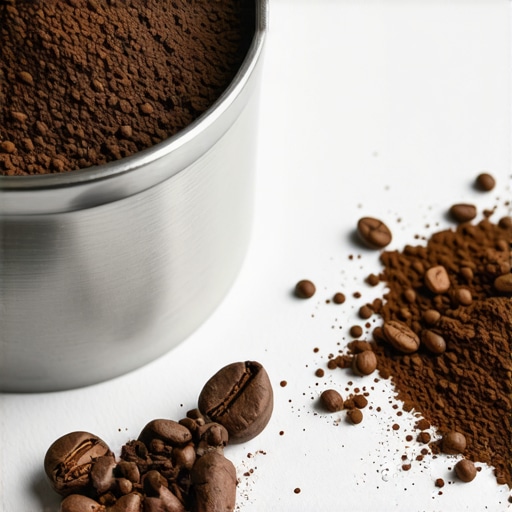
See, I used to think that making my machine spotless meant sacrificing my beans. I’d dump out half a shot’s worth of grounds or grind fresh beans just to clear out those stubborn residues—wasting both coffee and time. But here’s the truth: with the right techniques, you can maintain your grinder perfectly in shape without blowing through your stash of premium beans. Today, I’ll share my tried-and-true methods that keep my setup clean and my wallet happy.
Is Cleaning Your Grinder Really Worth the Effort?
At first, I was skeptical. I mean, isn’t it just about brushing out the grind chamber? Turns out, if you don’t do it right, you’re letting old coffee oils and dust build up, which can ruin your flavor and even damage your grinder over time. Early on, I made the mistake of using harsh cleaners that left residues—more harm than good. Trust me, I’ve been there, and I know how easy it is to underestimate how much a little maintenance can improve your brew. To see some common pitfalls, check out this guide.
So, if you’ve faced that embarrassing moment when your grinder stalls or your shot tastes off, don’t worry. You’re not alone. We’ll walk through step-by-step how to purge your grinder efficiently—saving those high-quality beans for the perfect extraction, every single time. Ready to become your own barista hero? Let’s get started.
Disassemble and Clear the Grounds Path
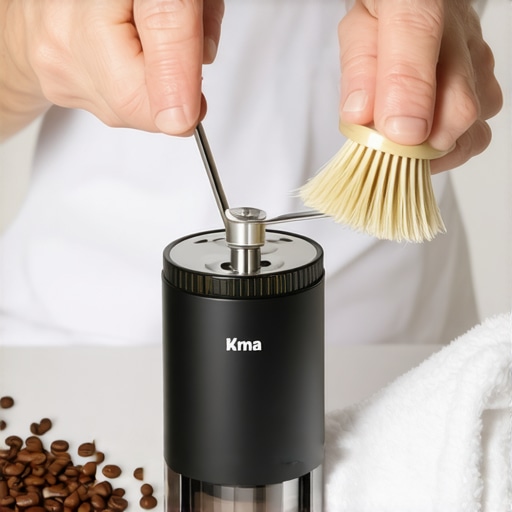
Begin by unplugging your grinder to ensure safety. Remove the hopper and dust or pour out remaining beans. Use a soft brush to sweep out loose grounds from the grind chamber and burrs. If your grinder has a chute, carefully clear any stuck grounds with a brush or compressed air. I recall a morning when a tiny bean fragment jammed my conical burrs, causing inconsistent grind sizes; a quick disassembly and cleaning resolved the issue immediately.
Deep Clean the Burrs and Chamber
After the initial clearing, take out the burrs if possible—most grinders have a quick-release mechanism. Use a dedicated grinder cleaning brush to scrub the burrs gently, removing coffee oils and residue. For stubborn build-up, grind a small amount of grinder cleaning tablets or rice (if compatible) to absorb oils and loosen debris. In one session, I soaked the burrs in a dash of hot, soapy water for 10 minutes, then rinsed thoroughly, restoring flavor clarity in my espresso. Take care to dry all parts completely before reassembling to prevent rust.
Reassemble and Calibrate Your Grinder
Once clean, reassemble the burrs and chamber securely. Adjust the grind setting to your desired coarseness or fineness. If you recently replaced your burrs, calibrate your grinder to your typical grind size, referencing this calibration guide. When I changed my burrs, I used a consistent dosing routine and a scale to ensure repeatability, preventing over- or under-extraction in my shots.
Test and Fine-Tune
Before brewing, run a small batch of coffee grounds and observe the grind size and consistency. Fine-tune the setting if needed, ensuring the grounds flow smoothly without clogging. Pay attention to the audible difference—an even, gentle grind sound indicates proper alignment. I once aimed for espresso fineness but noticed a strange buzzing; a quick readjustment of the grind dial and cleaning fixed the issue. Regular maintenance like this keeps your grinder performing optimally, preserving the delicate flavors of high-quality beans.
Maintain and Prevent Future Clogs
Implement a routine schedule: clean your grinder every 2-4 weeks depending on usage. Store beans in airtight containers away from light and moisture to reduce oil build-up. Consider using proper storage habits to prevent oils from transferring onto the grinder components. A well-maintained grinder not only enhances flavor but also extends your equipment’s lifespan, saving you money and frustration in the long run.
Many coffee lovers believe that mastering espresso comes down to buying the right machine or grinder, but there’s a deeper layer that often escapes even seasoned enthusiasts. One common myth is that higher-end equipment automatically guarantees perfect shots; however, without understanding nuances like brew temperature stability or grinder calibration, even premium gear can underperform. For instance, many assume that cleaning methods are universally effective, yet using aggressive cleaners can damage seals and affect flavor extraction, as highlighted in this guide.
Investing in the Right Tools Makes All the Difference
Keeping your espresso setup in top shape requires more than just regular cleaning—it’s about using specialized tools that streamline maintenance and enhance performance. For instance, I personally swear by a high-quality
brush set designed for coffee grinders. These brushes have finely tipped bristles that reach into the burrs and grind chamber without scratching surfaces, making deep cleanings more efficient and less risky. When I started using them, I noticed an immediate reduction in residual oils and stuck grind particles, which translated to more consistent shots.
Another game-changer is a anti-static coffee grinder brush. Static electricity often causes fine grounds to cling to the burrs and chamber, making regular cleaning a chore. The anti-static brush helps dispel these forces, ensuring a cleaner grind chamber and reducing cleanup time. I’ve found this tool invaluable during weekly maintenance routines, especially when switching beans or after grinding very oily roasts.
Using Calibration Aids to Fine-Tune Your Setup
Precision is vital for extracting optimal flavors. I recommend a digital calibration tool for grinder settings. This small device attaches directly to your grinder and allows for micro-adjustments, ensuring your grind size remains consistent over time. This is particularly useful after replacing burrs or making mechanical adjustments. I use mine to record settings for different beans, which saves me time experimenting with grind fineness during busy mornings. As coffee enthusiasts like Scott Rao emphasize, precise calibration directly impacts shot quality and can reduce the need for re-tamping or over-extraction.
Step Up Your Routine with Automation and Software
Modern barista gear now offers digital integration, allowing you to monitor temperature stability, shot times, and pump pressure via dedicated apps. A prime example is the Profiler SmartScale, which tracks your extraction parameters in real-time and recommends adjustments, ensuring long-term consistency. I’ve integrated mine into my workflow, which helps me spot issues before they affect the final brew. Though some see automation as a luxury, I believe it’s a worthwhile investment for those serious about maintaining impeccable quality over the years.
How do I maintain my espresso machine’s performance over time?
Regularly inspecting and cleaning components like the heat exchanger and group head is essential. Schedule monthly descaling and deep cleaning of internal parts, especially if you notice temperature fluctuations or pressure drops. I prioritize using a scale detection kit to identify mineral buildup early. Additionally, replacing worn seals and gaskets proactively prevents leaks and maintains optimal water flow, preserving shot quality for years. Incorporate these routines into your maintenance calendar, and over several months, you’ll find your espresso taste and machine longevity significantly improved.
Scaling Up Your Coffee Workflow
As you invest in tools and refine your routine, consider upgrading your grinder to a dual-purpose model that handles both espresso and brewing techniques more efficiently. Additionally, setting up dedicated cleaning stations equipped with ultrasonic cleaners for parts like portafilters and group gaskets can reduce downtime during major overhauls. The trend towards integrated, automated maintenance systems is growing, and embracing these advancements now positions you ahead in the craft.
For instance, I use an ultrasonic cleaner with a gentle, coffee-safe cleaning solution to keep my portafilter baskets pristine without risking scratches, as detailed in this guide. Try incorporating an ultrasonic cleaner into your setup — it’s a high-reward step for consistent performance.
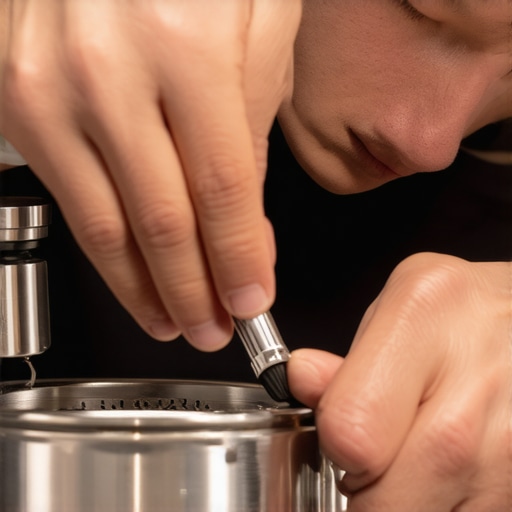
Image description: Close-up of a professional barista using specialized brushes and calibration tools on an espresso grinder, illustrating precise maintenance techniques for long-term performance.
Over the years, I’ve learned that maintaining your espresso equipment isn’t just about cleanliness—it’s about mastering the nuances that define true barista craft. From personal experience, I’ve come to realize that the key to consistently great coffee lies in the small, often overlooked details of maintenance and calibration, which can make or break your brew every time.
Lessons No One Tells You About Sustaining Top-Tier Coffee Gear
- The real challenge isn’t just cleaning: Regularly disassembling and deep-cleaning your grinder and espresso machine prevents oils and coffee residue from subtly sabotaging flavor and performance, even if it feels time-consuming initially. The moment I started doing thorough cleaning with dedicated tools, I noticed a remarkable improvement in shot clarity and machine longevity.
- Calibration is your secret weapon: Fine-tuning your grinder and brew temperature with precision tools ensures that each shot reaches its full potential. I once ignored calibration after replacing my burrs, and my espresso suffered until I took the time to recalibrate, which paid off with vibrant flavors and consistent extraction.
- Invest in purpose-built tools: Using specialized brushes and anti-static cleaners accelerates maintenance routines and reduces wear. These tools have transformed my cleaning approach, making maintenance less of a chore and more of a straightforward, effective process. For example, the static brush significantly reduces grounds cling, cutting cleanup time nearly in half.
Tools and Resources That Elevated My Routine
- Ultrasonic cleaners: They effortlessly remove stubborn grime from portafilters and gaskets, preserving surface finish and ensuring pristine extraction quality.
- Calibration tools: Precise adjustments of grind size and temperature are now faster and more accurate, leading to consistent, high-quality shots.
- Anti-static brushes: They help keep fine grounds where they belong, simplifying cleanup processes and maintaining grind consistency.
Embracing the Journey of Espresso Care
The adventure of maintaining top-tier espresso gear is ongoing, but each step forward deepens your appreciation for the craft. As you refine your routine, you’ll find that the small details—cleaning, calibration, and thoughtful upgrades—compound into a remarkable difference in your daily coffee. Remember, investing time into your setup isn’t just about working smarter; it’s about brewing better, every day.
What small maintenance routine has made the biggest impact on your espresso quality? Share your experiences below—I’d love to hear what works for you!
.