The Best Way to Clean Dried Milk Crust Without Scratching the Wand
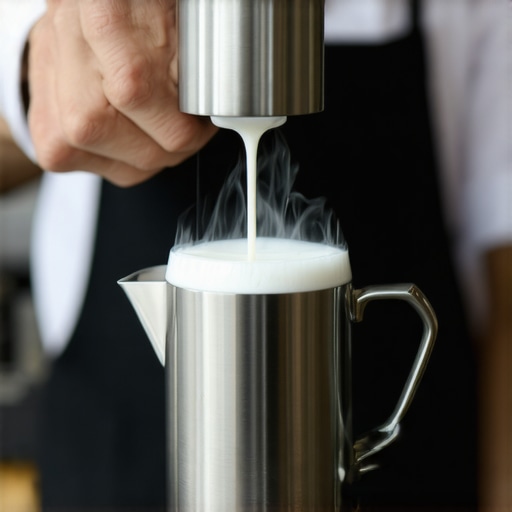
There I was, standing in front of my beloved espresso machine, frustration bubbling hot as I tried to clean a stubborn dried milk crust from my milk frother wand. No matter how much I scrubbed, I risked scratching the delicate surface, and the crust seemed almost welded on—like a stubborn badge I couldn’t shake. That moment was a real eye-opener—I realized I had been approaching cleaning all wrong, and I bet you’ve faced something similar.
Why It Feels Impossible to Clean Without Damage
Let’s be honest: trying to remove dried milk crusts can feel like playing a game of delicate surgery. You want to get rid of the residue but fear gouging or scratching your wand, which can lead to leaks or bacterial buildup. Plus, using harsh tools or abrasive cleaners only worsens the problem. I made the mistake early on of scraping with metal utensils, which left ugly scratches and compromised the wand’s finish. That taught me a hard lesson: patience and proper technique are key.
Is Your Cleaning Method Actually Damaging Your Equipment?
Many of us underestimate the damage caused by aggressive scrubbing or chemical cleaners. Often, the real culprit is not the crust but our misguided approaches. Did you know that improper cleaning can also affect the taste of your coffee? According to a report from the Specialty Coffee Association, cleanliness directly impacts flavor extraction and overall espresso quality. So, ensuring you’re cleaning properly isn’t just about aesthetics—it’s about maintaining the essence of your brew.
If you’ve been battling dried milk crusts with brushes that are too harsh or soaking your wand endlessly, you’re not alone. But good news: there’s a better way. Throughout this post, I’ll share my tried-and-true methods to remove stubborn residue safely and effectively. Ready to preserve your equipment’s condition without sacrificing cleanliness? Let’s dive in!
How to Safely and Effectively Remove Milk Crusts: The Step-by-Step Guide
.
Prepare Your Workspace and Gather the Right Tools
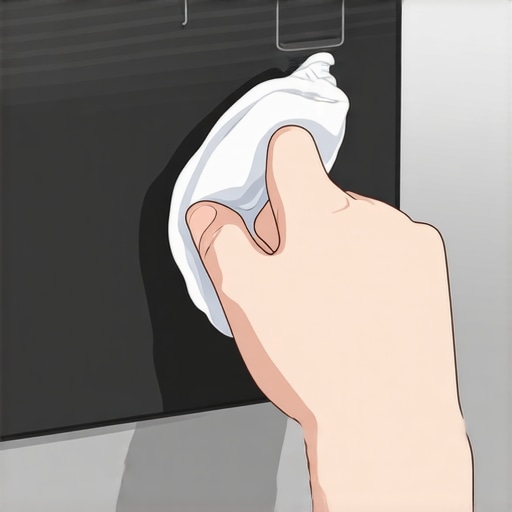
Start by clearing your workspace to avoid accidental knocks. Gather soft microfiber cloths, non-abrasive cleaning brushes, and a mild dish soap or specialized machine cleaner. Think of your cleaning process as a surgical operation—precision and gentle handling are essential. I recall the messy morning when I used a stiff brush on my milk wand, causing scratches that took weeks to mend. Having the right tools saves you from such mishaps.
Disassemble the Components Carefully
Remove the Milk Frother Wand or Steam Tip
Detach the wand gently at the connection point, avoiding force that might strip threads. Identifying the connection type—whether screw-on or push-fit—helps determine the correct removal technique. During my last clean, I loosened a stubborn wand with a rubber grip, preventing damage. Once removed, set components aside on a clean cloth.
Separate the Removable Parts
Take apart all removable parts like the portafilter, basket, and screens. Use your fingers or a plastic tool to avoid scratching finishes. As I disassembled my group head, I noticed residue buildup that regular rinsing missed. Regularly dismantling these parts prevents clogging and ensures optimal extraction.
Soak Components to Loosen Dried Residue
Place the disassembled parts in warm water mixed with a few drops of a gentle cleaner or citric acid solution. Soaking gently dissolves stubborn milk crusts and coffee oils—not with brute force but patience. I remember soaking my portafilter screens, which loosened dried coffee particles, making subsequent cleaning effortless. Avoid using hot water directly on sensitive plastic or rubber parts to prevent warping.
Use Soft Brushes and Microfiber for Final Cleaning
After soaking, brush the components with soft brushes or toothbrushes designed for delicate work. Focus on crevices and threads where residue collects. For example, cleaning the inside of my steam tip with a pipe cleaner improved steam quality significantly—learned from this guide. Keep in mind: abrasiveness destroys seals and surfaces, so avoid scouring pads.
Dry Components Thoroughly and Reassemble
After cleaning, pat components dry with a microfiber cloth and let them air dry completely. Moisture trapped in seals can cause rust or mold over time. When reassembling, check for any worn gaskets or O-rings—replacing worn parts prevents leaks and maintains pressure. I once ignored a cracked gasket, leading to steam loss—lesson learned the hard way. Proper reassembly ensures your equipment functions like new.
Maintenance Tips to Prevent Future Build-Up
Routine cleaning after each use and weekly deep cleaning keep equipment in top shape. Running a cleaning cycle with a descaling solution prevents mineral build-up, analogous to flushing your system of toxins. Remember, prevention is better than repair—regular maintenance preserves flavor integrity, akin to pre-infusion techniques that safeguard your shots’ quality.
When it comes to brewing the perfect cup, many home baristas and enthusiasts rely on standard advice or popular myths. But as an experienced coffee hobbyist, I’ve seen firsthand how some widely accepted beliefs can actually hinder your progress and even damage your equipment. Let’s dig deeper into these misconceptions, the common pitfalls, and hidden nuances that can elevate your brewing game.
First, a frequent myth is that grinding coffee finer always results in better extraction. In reality, over-fine grinding can block flow in your espresso machine, leading to bitter, over-extracted shots. The key is understanding that grind size should compensate for your specific machine’s pressure profile and the coffee’s roast level. For instance, darker roasts require slightly coarser grounds to prevent over-extraction and bitterness. Take control by regularly calibrating your grinder and experimenting with small adjustments, rather than blindly following the ‘finer is better’ rule.
Another overlooked nuance involves milk frothing. Many believe that immediate steaming yields better microfoam. However, in my experience, allowing milk to acclimate to the right temperature—around 45°C—before steaming leads to more stable foam and better texture. Over-aggressive steaming at high temperatures can cause large, unstable bubbles and scalding, which ruins latte art and mouthfeel. Remember, patience during the pre-heat phase can dramatically improve your milk’s consistency.
Now, let’s examine the misconceptions around espresso machine maintenance. A common mistake is rinsing components with just water after each use. While this might seem sufficient, residues of coffee oils and mineral deposits accumulate over time, affecting both flavor and machine longevity. Using a dedicated cleaning cycle with a descaling solution or espresso machine cleaner, like the one detailed in this guide, ensures thorough cleaning without damaging seals or electronics. Regular maintenance not only preserves taste but also prevents costly repairs.
Consider also the belief that upgrading your grinder or espresso machine will instantly improve your brew. While high-quality gear certainly helps, neglecting proper technique and calibration can negate any advancements. For example, if your grinder’s burrs are dull or misaligned, your shots will be inconsistent regardless of the machine’s specs. Regularly checking and adjusting your grinder, as explained in this article, is crucial.
What Advanced Baristas Know About Temperature Stability That You Might Miss
Temperature fluctuations are often underestimated by home brewers. Maintaining a stable temperature during extraction is essential for balancing flavor compounds. Even slight deviations can lead to sourness or dullness. Upgrading to a PID temperature controller or pre-heating your portafilter can significantly improve shot consistency. Studies from espresso experts like Scott Rao emphasize how precise temperature control correlates directly with shot quality. Invest time in measuring and adjusting your setup to master this subtle but impactful factor.
In summary, mastering coffee equipment involves more than following basic tips. It requires understanding subtle interactions, maintaining your gear meticulously, and continuously calibrating your process. By exploring these nuanced aspects, you’ll avoid common traps and unlock the full potential of your equipment.
Have you ever fallen into this trap? Let me know in the comments below!
Keep Your Equipment Running Smoothly with Targeted Tools
Ensuring your espresso machine and accessories continue performing at their best requires the right tools and consistent maintenance routines. One of my personal staples is a precision calibration scale like the Antimo Cuono espresso scale. I use it not just for measuring dose but for fine-tuning extraction times, directly impacting flavor and efficiency. Regularly checking your shot weight ensures consistency, especially when experimenting with darker roasts that can change pour profiles unexpectedly.
Another must-have is a set of high-quality pipe cleaners, which I use to clear stubborn clogs in steam wands and milk frothers. Not all brushes are created equal, and as emphasized in this guide, specialized pipe cleaners can save you hours and prevent damage.
Implement Routine Upkeep to Maximize Long-Term Results
Efficient maintenance begins with understanding your equipment’s needs. For example, descaling is vital for preventing mineral build-up, which can impair heating elements and pressure stability. I schedule a descaling every 1-2 months using a descaling solution designed for espresso machines. This proactive step keeps my machine heating evenly, reducing energy consumption and prolonging its lifespan.
Additionally, cleaning the inside of the boiler and the group head thoroughly helps maintain optimal extraction. Using a soft brush or a dedicated portafilter cleaning tool regularly prevents channeling and ensures each shot remains consistent in flavor and body.
Anticipate Future Needs with Smart Investments
As your skills grow, so does your equipment’s role. Upgrading to a PID temperature controller can dramatically improve shot stability by maintaining precise temperature, especially in variable kitchen settings. I predict that smart, app-controlled brewing systems will become the norm, allowing for remote diagnostics and automation, streamlining home baristas’ routines.
How do I maintain my espresso tools over time?
Deep cleaning, regular calibration, and choosing the right accessories are essential for longevity. For instance, replacing worn gaskets before leaks develop prevents pressure loss and uneven extraction. Also, investing in a warm water bath for soaking removable parts like portafilters prevents stubborn coffee oil build-up, which can impart off-flavors if neglected.
To optimize your setup, I recommend trying the 30-second hack for reducing static and clumping. This simple step reduces mess and ensures consistent dosing, resulting in better extraction control. Incorporate this tip into your routine next time you grind beans, and notice the difference it makes in your shots.
Remember, the key to sustainable espresso brewing lies in persistent, precise maintenance combined with understanding your gear’s specific needs. As the industry evolves, staying informed and equipped with the right tools will set your home setup apart from the rest.
Over time, I’ve learned that the most overlooked aspect of espresso excellence isn’t just the beans or the grind size—it’s the art of maintaining your equipment with finesse. The real game-changer was discovering that patience, coupled with tiny tweaks, transforms a good shot into a stellar one. By paying close attention to subtle signs like changing pressure or minor color shifts, I’ve caught potential issues before they limited my brewing. These small insights—like noticing a slight increase in steam wand sputtering—became valuable clues, guiding me to clean or calibrate more proactively. Remember, meticulous maintenance isn’t just about longevity; it’s about unlocking flavor nuances that even the most expensive machines can’t produce without care. With a commitment to routine upkeep—think beyond just rinsing and embrace deep cleaning and precision calibration—you elevate your home espresso game, turning routine into ritual and good into extraordinary.