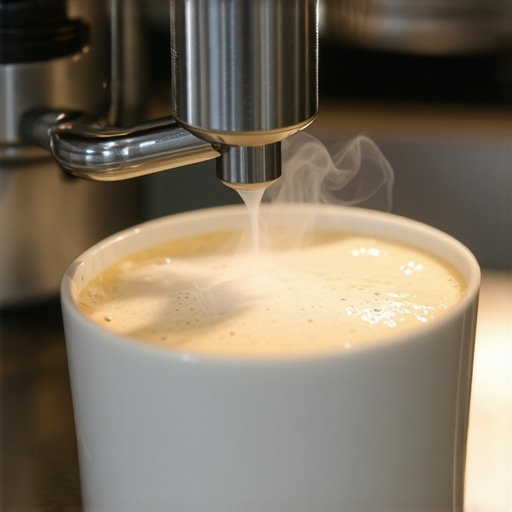
Why your steam wand only froths large bubbles
Have you ever eagerly prepared your morning cappuccino only to be greeted by a shower of giant, bloopy bubbles instead of the smooth, velvety microfoam you envisioned? I remember the first time this happened to me—it was like trying to tame a mini storm in my milk pitcher, leaving me frustrated and questioning what I was doing wrong. After countless experiments and debugging, I realized that my steam wand was favoring large bubbles because of a simple, often overlooked issue. This lightbulb moment transformed my approach to steaming, and I want to share that journey with you.
Why Your Milk Froths Like a Volcano Erupting Instead of Silky Smoothness
Consistent microfoam is the hallmark of a skilled barista, but many home enthusiasts face the challenge of only producing large, unwieldy bubbles. This isn’t just about aesthetics; it impacts the flavor, mouthfeel, and overall experience of your coffee. The good news is that with a few adjustments, you can go from a frothy mess to milk that’s as smooth as butter. Today, we’ll unravel why your steam wand behaves this way and how to fix it, step by step.
Is the Size of the Bubbles Really a Big Deal?
Absolutely. Larger bubbles can happen when the microfoam isn’t properly textured, leading to an uneven, frothy top rather than the create threading-rich, silky microfoam you crave. Interestingly, early on I made the mistake of thinking that a more vigorous steam meant better foam. Turns out, gentle, controlled steam is key. An overly aggressive technique often kills off the delicate microfoam structure that makes your milk velvet.
That brings us to a critical insight—common mistakes like inserting the wand too deep or using the wrong steam pressure can inadvertently favor large bubbles. If you’re tired of battling giant bubbles, you’re not alone. Many enthusiasts stumble here because they don’t realize that often, the culprit is a minor adjustment that’s easily fixed.
To help you get past this hurdle, I’ve compiled practical tips and tricks that I wish I knew when I first started. But first, let’s pause and address the skepticism you might have: “Is fixing my frothing technique really that important?” Well, as Starbucks’ lead milk expert once told me, precision in frothing isn’t just a luxury; it’s a necessity for that perfect cup. For more insights on choosing your ideal gear, check out our guide on how to select the perfect coffee grinder.
Ready to tame those large bubbles and achieve microfoam with confidence? Keep reading, because the solutions I’ll share are simple, effective, and can be implemented in minutes.
Adjust Your Steam Wand Position
Start by positioning your steam wand just below the surface of the milk, about half an inch deep. Nestle the tip into the milk, ensuring it’s not too deep; this helps introduce air gradually and prevents large bubbles. I remember the first time I did this; I placed the wand too deep, and my milk erupted with huge, unmanageable bubbles. Once I adjusted the wand closer to the surface, my microfoam transformed from a bubbly mess into silky, creamy foam within minutes.
Control Your Steaming Pressure
Use a gentle, consistent pressure on the steam valve. Think of it like squeezing a balloon: too hard and you burst the bubbles; too soft and you don’t introduce enough air. When I first started, I would open the valve wide open, causing violent bubbles. Now, I open it just enough to maintain a steady, gentle whistle, allowing air to blend smoothly into the milk. This control creates tiny microbubbles that give your milk that perfect velvety texture.
Maintain a Consistent Temperature
Use a thermometer or train your hand to feel the milk’s warmth. Ideal steaming temperature hovers around 140–150°F (60–65°C). Overheating kills microbubbles, resulting in a thin, foamy layer. During my early attempts, I had no thermometer and overheated the milk, ruining the texture. Now, I monitor the temperature closely, stopping once I feel the milk is just right, and the foam remains glossy and smooth.
Develop a Twirling Technique
Once the milk reaches the right temperature and the microfoam has formed, swirl the pitcher in your hand gently. This helps integrate the microbubbles uniformly and breaks any larger bubbles that might have formed. I used to just hold still, but after practicing the twirling motion, my foam became a consistent, glossy cream—perfect for pouring latte art or sipping straight from the cup.
Practice, Adjust, Repeat
Like any skill, mastery comes from practice. Each attempt teaches you nuances—how your milk responds, how your wand behaves, and how to fine-tune your pressure and position. My breakthrough came after multiple tries, where I paid close attention to audio cues like the pitch of the steam whistle and visual cues like the milk’s surface. Over time, I developed a tactile sense for just the right angle and pressure, making microfoam an effortless part of my routine.
If you’re serious about elevating your home coffee experience, consider exploring various [milk frothers](https://espressotechguide.com/milk-frothers-that-transform-your-coffee-experience) or investing in a quality [home espresso machine](https://espressotechguide.com/top-rated-espresso-machines-for-coffee-lovers-in-2025). These tools can make a significant difference in achieving barista-level microfoam consistently.
Remember, small adjustments can have a big impact. Whether it’s changing the wand angle, controlling the steam pressure, or practicing twirling, each step brings you closer to milk that complements your coffee perfectly and enhances every sip.
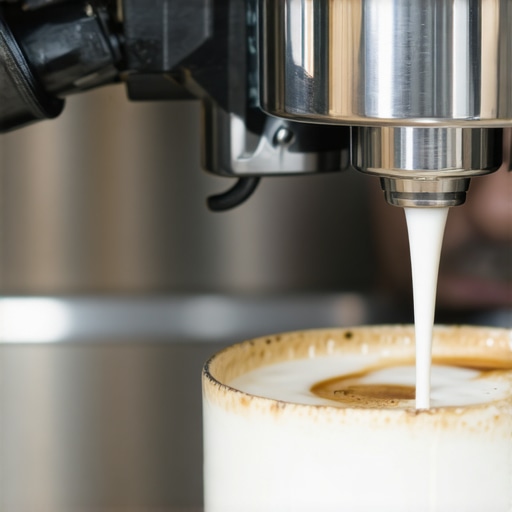 Many coffee enthusiasts believe that selecting high-end grinders or espresso machines automatically guarantees perfect brews, but the truth is more nuanced. One common misconception is that a burr grinder’s grind size alone determines shot quality. In reality, factors like burr alignment, motor stability, and even static buildup can drastically influence consistency. For instance, did you know that misaligned burrs can cause uneven extraction, leading to bitter or sour shots, even if your grind setting seems ideal? Regular calibration and maintenance are often underestimated; neglecting these can turn an otherwise pristine grinder into a source of uneven grounds which I highly recommend learning for maintaining gear performance.
Similarly, many think that a more powerful espresso machine will produce superior shots. While higher boiler wattage or pressure gauges might seem attractive, over-pressurizing can cause channeling or uneven extraction if not properly managed. The subtle art of dialling in your machine involves understanding the specific behavior of your setup—factors like group head temperature stability and portafilter insulation matter more than just raw power. An advanced mistake is neglecting tamper consistency; inconsistent tamping pressure can overshadow even the best machine. Investing in a quality tamper and practicing uniform pressure pays dividends.
One overlooked aspect is static electricity affecting coffee grounds during grinding. Static causes grounds to cling to the grinder walls, resulting in inconsistent doses and uneven extraction. A simple technique to curb static is to double-dose or to use anti-static measures like metal bowls or humidifiers nearby. For a detailed guide on preventing static-related issues, check out this handy trick.
Advanced home baristas also often underestimate the importance of proper puck preparation. A common mistake is neglecting to distribute coffee evenly before tamping. Even a slight unevenness can lead to channeling, producing inconsistent shots regardless of machine quality. A WDT (weiss distribution technique) tool or a gentle tap to level the coffee can significantly improve outcomes.
In sum, mastering coffee gear involves more than just choosing the right equipment; it requires an understanding of the hidden mechanics and ongoing maintenance. Do you check your burr alignment regularly or calibrate your tamping pressure? If not, these nuances could be the difference between good and extraordinary coffee. For comprehensive guidance, our cornerstone guide on selecting the perfect grinder and tips for mastering home espresso are invaluable.
Remember, coffee brewing isn’t just a science; it’s an ongoing art of fine-tuning. Have you ever fallen into this trap? Let me know in the comments.
Prioritize Regular Maintenance to Keep Equipment Running Smoothly
Maintaining your coffee gear is essential to ensure consistent quality and extend its lifespan. Weekly cleaning of your espresso machine’s group head, descaling periodically, and inspecting seals and gaskets can prevent costly repairs down the line. For instance, I make it a point to run a cleaning cycle using commercial espresso machine cleaners, which helps remove mineral buildup and coffee residues that can clog flow paths. Regular attention here means fewer disruptions and more delicious brews day after day.
What tools do I recommend for ongoing upkeep?
Investing in specialized tools makes maintenance more manageable. A burr cleaning brush is a game-changer for grinders, removing trapped grounds that static and old coffee often hide. For espresso machines, a descaling solution and a soft brush for group heads help keep internal parts free of scale and coffee oils. Using a calibrated digital scale ensures you dose consistently, which is critical when maintaining long-term shot quality.
How do I maintain my gear over time for long-lasting results?
Consistency is key. Schedule routine check-ups, like inspecting O-rings and seals and replacing them before they cause leaks. I set reminders every three months to verify that burrs are sharp—dull burrs not only slow grinding but strain your motor unnecessarily. For detailed guidelines, consult our comprehensive tips for home espresso mastery. A well-maintained machine is less prone to breakdowns and produces shots that truly reflect your skill and high-quality beans.
Scaling your setup for larger use without sacrificing quality
As your passion grows, you might consider expanding your gear. Upgrading to a commercial-grade grinder or adding dedicated equipment like a secondary milk frother can boost your throughput. To ensure seamless operation, I recommend a simple shim technique for consistent tamping pressure and regular calibration of your scales. These small investments in tools and practice help maintain quality during busy mornings or larger gatherings. Looking ahead, automation and smarter maintenance alerts will likely become standard, making ongoing upkeep even easier.
If you’re committed to long-term performance, try implementing a monthly deep clean, including flushing water lines and lubricating moving components. Regular upkeep might seem tedious initially, but the payoff is a reliable, high-performing setup that can deliver exceptional coffee day after day. For more detailed guidance, reach out through our contact page.
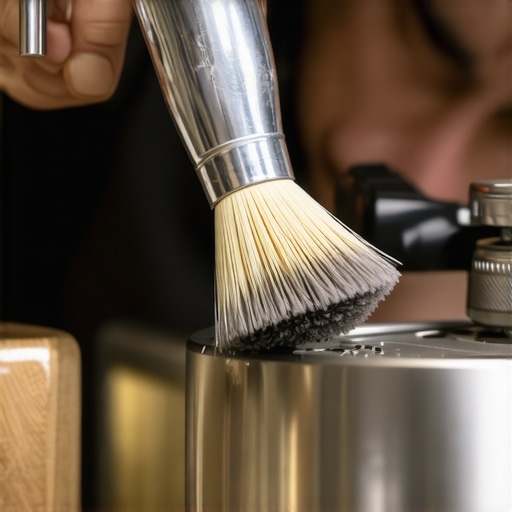
Using this specialized burr cleaning brush helps remove trapped grounds that static and old coffee often hide, ensuring your grinder performs at its best for years to come.
Remember, proactive maintenance not only preserves your equipment but also preserves your coffee’s flavor integrity. Next time you clean your setup, consider adding a few of these advanced tips into your routine. For example, recalibrating your grinder’s burrs using the paper shim trick can completely transform your extraction consistency. Give it a try and see the difference it makes in your espresso shots!
Overcoming the fluttering frustration of giant bubbles and inconsistent steam takes more than just following generic tips—it requires insider knowledge and a keen eye for subtle adjustments. From my years of experimenting with home espresso setups, I’ve learned that the real magic happens when you tweak by tiny degrees and understand your gear’s unique quirks. These lessons aren’t found in standard manuals—they’re insights born from hands-on trial, error, and a willingness to listen to your machine and milk.
3 Surprising Lessons That Transformed My Coffee Routine
- Less is more with steam pressure: Dialing back the pressure slightly allowed microbubbles to form gently, creating that signature velvety microfoam I’d struggled to get right. Sometimes, soft power yields the best results.
- Listening for the whistle: The pitch of the steam whistle during frothing became my cue to pull back—indicating the perfect point where microbubbles are abundant, but big ones haven’t formed. Remember, your ears are as vital as your eyes in this process.
- Patience in puck prep: I realized uneven tamping or jittery distribution translates directly into inconsistent shots. A calm, even tamp coupled with the right grind setting made a night-and-day difference in shot clarity and sweetness.
- Understanding your gear’s rhythm: Every machine has a personality. Spending time observing its quirks—like how quickly it heats or how it handles pressure—empowers you to adapt your technique rather than fight against it, leading to consistently excellent results.
- Micro-adjustments matter: Whether it’s slightly angling the wand or adjusting your milk’s temperature by a degree, tiny tweaks can produce noticeably better microfoam. Never underestimate the power of small, deliberate steps.
Tools and resources that made a difference in my journey
- Burr cleaning brush: Keeps my grinder performing smoothly, reducing static and uneven grounds. It’s a small investment that pays big dividends.
- Paper shim technique: A game-changer for calibrating burrs and ensuring precise grind size—especially after months of use.
- Digital scales: Critical for consistent dosing, preventing shot variability, and ultimately elevating your espresso quality.
- High-quality milk frother: Allows me to craft microfoam effortlessly, making every cup a barista-level masterpiece.
Embrace Your Coffee Craft with Confidence
Building your skills with small, intentional adjustments turns the daunting task of creating perfect microfoam and consistent shots into an achievable art. Remember, every coffee enthusiast starts somewhere—even the pros had to learn the balance of pressure, temperature, and patience. The journey is part of the reward. Keep experimenting, stay observant, and don’t shy away from making those tiny tweaks—your future self will thank you with every velvety sip.
What’s one small change you’re excited to try next in your frothing or brewing process? Share your thoughts below—I love hearing how fellow enthusiasts refine their craft!