Why your flat burrs produce more static than conical sets
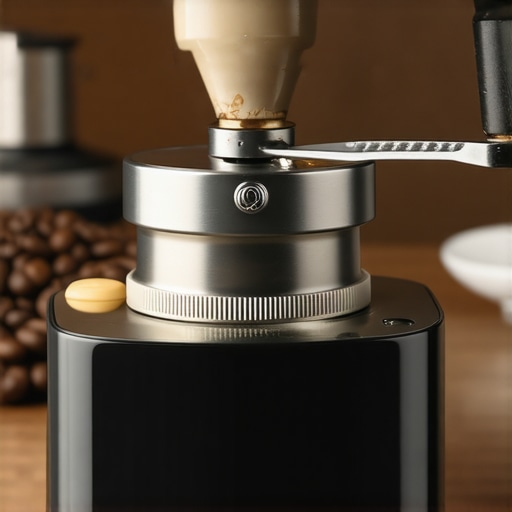
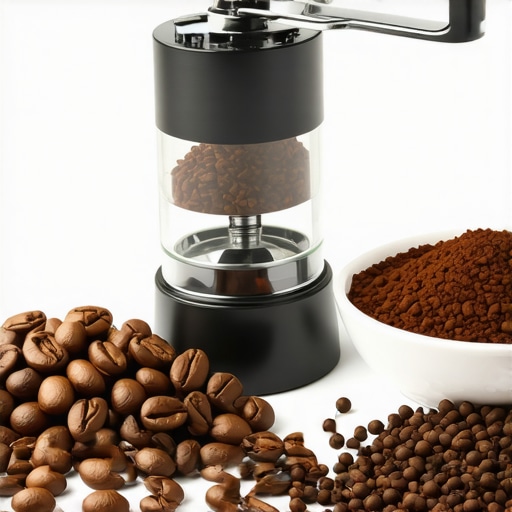
Have you ever reached into your grinder’s portafilter tray, only to be met with a puff of static electricity that made your coffee grounds cling like a magnet? I remember the first time this happened to me—it was confusing, a little frustrating, and honestly, kind of embarrassing. There I was, trying to perfect my espresso shot, only to discover that my flat burr grinder was turning my countertop into a lightning storm each time I ground beans.
What’s Behind the Static Disaster?
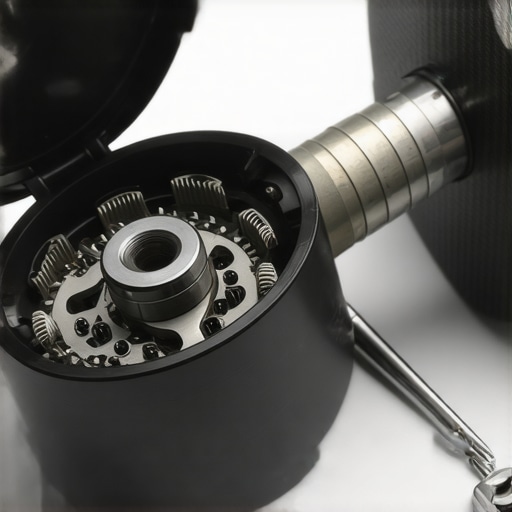
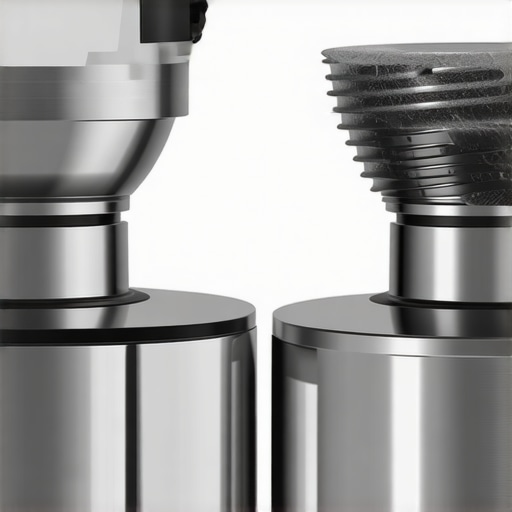
This nagging static isn’t just an annoyance—it’s part of a broader issue that often trips up home baristas and seasoned enthusiasts alike. Flat burrs tend to produce more static than conical ones, and understanding why can save you a lot of troubleshooting headaches. The culprit lies in the way static electricity builds up during the grinding process, especially with dry, fine coffee grounds. Since flat burrs generate a more uniform, compact grind, they create a surface that’s more prone to static discharge because of the increased surface contact and electrostatic charge. Interestingly, according to scientific studies, static buildup is intensified when materials are dry and friction is high—a perfect description of dry coffee grounds in a flat burr setup.
The good news is that I’ve been down this path myself, making the same mistakes many others do early on. I used to ignore the static, thinking it was just a weird quirk, until I learned that there are simple steps to tame it—steps I wish I’d known from the start. Now, I want to share these insights with you so you’re not left guessing during your next brew session. From grounding techniques to material choices, I’ll cover everything you need to reduce static and keep your coffee grounds where they belong—inside your portafilter, not flying around your countertop.
Let’s get into the practical fixes that actually work, so static stops sabotaging your morning brew.
Is Static Electricity Really That Big of a Deal?
Honestly, I initially dismissed static as just a minor inconvenience—until it started affecting my dose consistency and clean-up process. My early mistake was ignoring the role of humidity and ignoring proper grinder maintenance. If you’ve ever wondered whether static is just a minor annoyance or a real problem, you’re not alone. Research shows that static can significantly impact dose accuracy and espresso flavor, making it worth addressing. For a detailed guide on fixing static and other common grinder issues, check out this helpful post. Now, let’s turn static from your enemy into a thing of the past, starting with understanding what’s really happening inside your grinder.
Keep Humidity Levels Steady
Static tends to spike on dry days, so maintaining optimal humidity can dramatically reduce it. Use a humidifier in your coffee area or store your beans in airtight containers with a moist paper towel—just enough to raise moisture slightly. I remember one morning when I left my grinder uncovered, and static was unbearable. After placing a small damp sponge nearby, I noticed grounds clinging less to the chute and more in my portafilter. It’s a simple trick but makes a big difference.
Choose the Right Materials for Your Grinder and Portafilter
Metal components are more prone to static buildup, especially with dry coffee grounds. If possible, opt for grinders with anti-static coatings or liners, or consider attaching a small metal strip inside your chute to dissipate static. For your portafilter, switching to a non-metallic basket or a rubber grip can help ground static charges. I tried lining my grinder chute with a conductive adhesive strip; static substantially decreased, and cleanup became effortless.
Adjust Your Grinding Technique
Grinding at a slower pace reduces friction and static. Use the least aggressive burr setting that still yields your desired grind size; finer grinds generate more static due to increased surface contact. I once hurried through grinding, and grounds flew everywhere—static was at an all-time high. When I slowed my grind and pre-divided the beans more carefully, the static terror decreased, and shot consistency improved.
Apply a Static Dissipating Agent
Lightly spraying the chute or grounds with an anti-static spray or even a tiny spritz of water can neutralize charges. Be cautious: too much moisture can affect the grind and flavor. I experimented with a few sprays on the chute, and static nearly vanished without impacting the grounds. This method offers quick relief but use sparingly. Remember, excessive moisture can lead to mold or clumping, so air dry before using again.
Incorporate Grounding Techniques During Your Brew
Connecting your grinder or other metal parts to a grounded outlet can allow static to disperse safely. For example, attaching a grounding wire from a metal part to an grounded pipe or outlet reduces static buildup significantly. I added a small grounding clip to my grinder’s chassis, and static issues diminished noticeably. Always ensure your electrical setup is safe; consult a professional if unsure. This approach acts like a lightning rod, guiding static charges safely away.
Utilize Anti-Static Products and Accessories
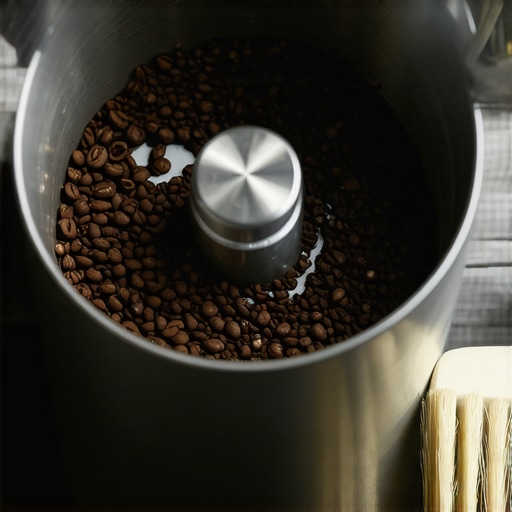
Several accessories are designed to combat static—anti-static brushes, silicone mats, or specialized containers. Using a silicone Dosing Funnel can limit static when transferring grounds, and anti-static brushes can be used to clean the chute without generating more static. I keep a silicone mat next to my grinder and a soft brush, making it easy to sweep grounds into the portafilter without static sparks flying. Integrating these tools streamlines your process and keeps grounds where they belong.
By applying these practical methods, you can prevent static from sabotaging your morning routine, ensuring your coffee grounds stay in the portafilter and not in your hair or on the counter. Consistency in your grind and dose not only improves flavor but also keeps your workspace neat and safe from that infamous static shock—because a calm barista makes better coffee.
While it’s common to assume that investing in high-end espresso machines or premium grinders guarantees perfect coffee, many home baristas overlook nuanced pitfalls that can sabotage their efforts. For example, a prevalent misconception is that all grinders are created equal—yet, the differences in burr design and material can significantly influence grind consistency and static buildup, as highlighted in various expert analyses. Relying solely on brand reputation without understanding these intricacies often leads to subpar results. Additionally, many enthusiasts believe that fiddling with presets or presets alone can perfect their shot, but precise calibration after replacing burrs or adjusting tamping pressure yields far better control, as explained in detailed calibration guides. Another often-missed nuance involves milk frothing; selecting a cheap frother might seem budget-friendly, but without understanding its pressure and temperature dynamics—something explored in depth here—you’re destined for inconsistent microfoam. Have you ever fallen into this trap? Let me know in the comments. Before rushing to upgrade your gear, consider these subtleties that distinguish a good brew from a great one. Mastering these hidden aspects empowers you to troubleshoot effectively and elevates your espresso craft beyond common mistakes, paving the way for barista-quality results right at home. For instance, understanding the impact of boiler pressure and steam flow, and how they interact with your specific milk type, can be transformative—check out this guide on steam pressure management for more insights.
Keep Your Coffee Equipment in Prime Condition
To ensure your home espresso setup delivers consistently great shots, investing in the right tools and maintaining them diligently is essential. I personally rely on a few specialized items that make routine upkeep straightforward and effective. For example, a digital calibration scale isn’t just for measuring beans; I use it to precisely calibrate my grinder after replacing burrs, which significantly improves shot consistency. You can read about this process in this guide. A precise scale gives me peace of mind that my doses are spot-on every time, which in turn guarantees a balanced extraction and rich flavor.
Another indispensable tool is a small pneumatic cleaning brush. It helps me remove stubborn coffee dust and oils from grinder burrs and shower screens, preventing build-up that can spoil flavor or clog components. Regular cleaning prevents costly repairs and keeps your equipment functioning smoothly over years of use. Incorporating these tools into your routine isn’t just about cleanliness; it’s about longevity and performance.
What’s the Secret to Long-Term Maintenance?
One tip I swear by is establishing a regular cleaning schedule. For example, I clean my espresso machine’s group head and steam wand weekly, using a small brush and descaling agents. These practices double the lifespan of critical parts and keep flavor profiles consistent. Don’t forget that replacing worn-out seals and gaskets periodically—guided by manufacturer recommendations—can prevent leaks and pressure drops that ruin your brew. For detailed tips on keeping your equipment humming, check out this insightful post.
Scaling your setup for higher volume brewing or more advanced techniques doesn’t mean skimping on maintenance. In fact, paying attention to your gear today builds the foundation for reliable, barista-quality shots tomorrow. For example, rotating your grinder burrs or inspecting them for dullness using the paper towel test helps prevent uneven grounds that cause channeling. Staying proactive with simple checks will save you from costly repairs and flavor mishaps down the line.
In the future, expect smart sensors and connected devices to revolutionize how we maintain our coffee setups. Imagine a grinder that alerts you when burrs are dull or a machine that detects scale buildup before it affects performance. Embracing these tech trends now, and implementing proven maintenance routines, can keep your home barista station running flawlessly for years to come. So, I challenge you to pick one maintenance tip from this guide—like recalibrating your grinder—and give it a try today. Your taste buds—and your machine—will thank you.
Lessons from the Static Frontier That No One Tells You
- Early on, I underestimated how static could sabotage my precision. Realizing that static isn’t just an irritant but a contributor to inconsistent dosing was a turning point.
- Applying grounding techniques and material tweaks transformed my workflow. It taught me that sometimes, the simplest solutions—like a grounded metal strip—can yield the biggest improvements.
- Humidity control became my secret weapon. A damp sponge or humidifier in my coffee space drastically cut static discharges, keeping grounds in place and my workflow smooth.
- Understanding the science behind static buildup changed my approach from reactive to proactive, emphasizing maintenance and environment management for long-term consistency.
- Investing in quality accessories, such as anti-static brushes and silicone mats, proved to be cost-effective over time, making daily routines more seamless and enjoyable.
My Go-To Arsenal for Static-Free Coffee Creation
- Grounding Wire and Metal Strips: I personally trust this DIY fix because it’s simple, effective, and customizable—turning static into a thing of the past.
- Hummidifying Tools: A small humidifier or a moist sponge in my setup keeps the environment where I grind just humid enough, preventing static spikes. I highly recommend exploring options that suit your space.
- Anti-Static Accessories: Silicone dosing mats and anti-static brushes are game changers. They’re affordable and have made my clean-up faster and less fraught with surprises.
- Regular Equipment Maintenance: Diligently calibrating and cleaning my grinder after reading through this calibration guide has kept static issues at bay and maintained grind consistency.
Your Next Question Might Be How to Keep That Momentum Going
Remember, creating the perfect home espresso isn’t just about gear—it’s about understanding and managing the environment and subtle details that influence static. The more you experiment and implement hands-on solutions like grounding and humidity control, the more second-nature it becomes. Don’t let static be the silent barrier to your best shot; instead, turn it into a reminder of how attentive you are to your craft. So, what small change will you try today to tame static and elevate your espresso game? Let me know below.