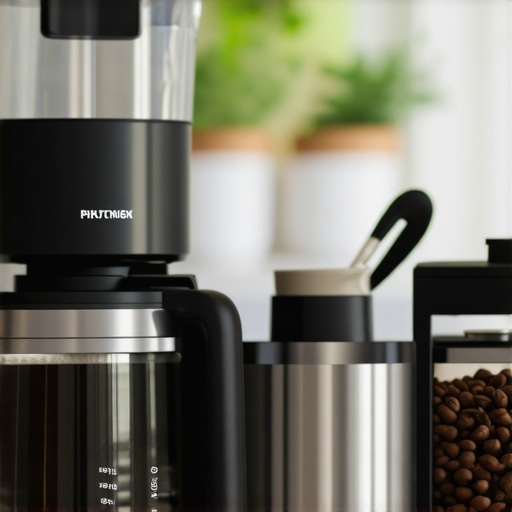
How to fix the static mess on your coffee counter for good
Ever since I first started experimenting with my home espresso setup, I couldn’t understand why my coffee counter turned into a mini electrical storm. Every morning, it was like a static charge had taken over—papers, tiny tools, and even the milk frother would cling to each other as if magnetized. It was maddening! The worst part? I knew I wasn’t alone in this frustrating mess. Coffee gear clutter and static buildup seem to go hand in hand for many enthusiasts.
Why Your Coffee Counter Turns into a Static Playground and Why It Matters
Imagine spending ages fine-tuning your espresso shot, only to have a stray spark or a tiny shock distract you or spoil your setup. Static buildup isn’t just an annoying inconvenience; it can cause real damage and productivity hiccups. Over time, static can lead to dirt and dust accumulating where you don’t want it—like inside your grinder or on sensitive electronic parts—potentially affecting flavor and machine longevity.
Early on, I made the mistake of ignoring these tiny shocks, thinking they were just a harmless nuisance. But as I continued, the static caused my grinder adjustment rings to stick (check out how to unstuck a frozen grinder adjustment ring [here](https://espressotechguide.com/how-to-unstick-a-frozen-grinder-adjustment-ring-safely)), and dust settled into crevices, making cleaning more cumbersome. Experts confirm that static charges are more prevalent in dry environments—something I experienced firsthand during winter months when the air turns crisp and dry. This understanding helped me realize that a little environmental control could go a long way.
The good news? There are practical, easy-to-implement solutions that will not only reduce static but make your entire setup safer and more efficient. But first, let’s address the biggest concern in your mind – is static control really worth investing time and effort for a better coffee experience? Spoiler alert: It totally is. Static can sabotage your brewing process, impact flavor, and even cause damage over time. Ready to put an end to this chaos once and for all?
Now, let’s explore the reasons behind static buildup and then dive into the most effective methods to keep your coffee station calm, organized, and static-free. By the end, you’ll wonder why you didn’t tackle this issue sooner.
Arm Yourself with Anti-Static Measures
Begin by ensuring your environment isn’t too dry; use a humidifier or place a damp cloth nearby to add moisture to the air, especially during winter months when static is more prevalent. This simple step can significantly decrease static buildup on your equipment and workspace.
Use Anti-Static Sprays with Caution
Apply a specialized anti-static spray sparingly to surfaces like your countertop, grinder, and espresso machine exterior. Test on a small area first to avoid damage. These sprays neutralize static charges, preventing shocking surprises when handling your gear.
Ground Your Equipment Effectively
Ensure all your equipment, particularly metal parts like grinder adjustment rings and the espresso machine’s frame, are properly grounded. Use a grounding wire connected to a grounded outlet to disperse static charges safely. For instance, I once secured a grounding wire to my grinder’s metal casing, which visibly reduced static shocks when adjusting the grind size.
Incorporate Conductive Materials
Place conductive mats or strips beneath your work area to serve as a grounding point. These materials act as a drain for static electricity. When I set my grinder on a conductive silicone mat, I noticed fewer static sparks during grinding sessions.
Optimize Your Grinder for Smooth Operation
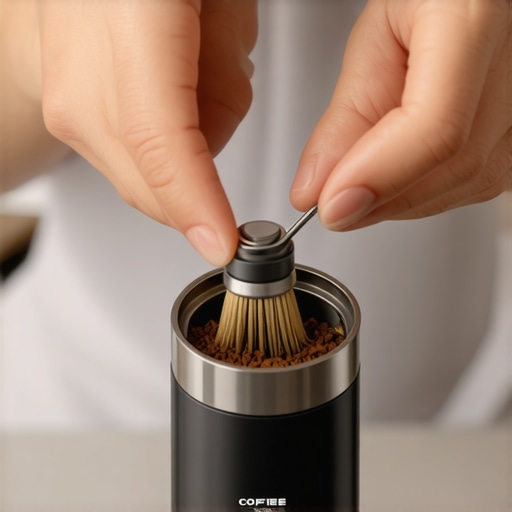
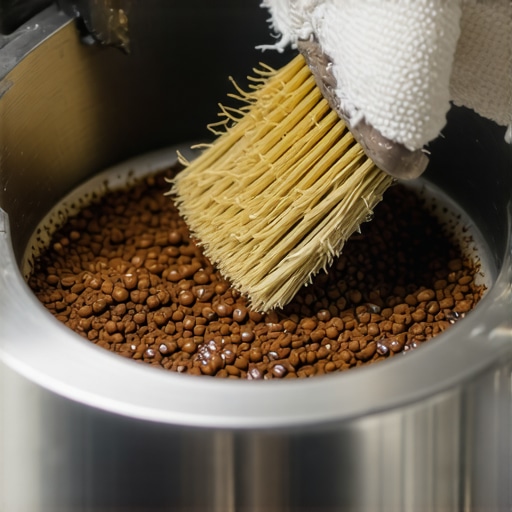
Static often builds up due to friction inside the grinder. To minimize this, regularly clean the burrs and interior chambers using a soft brush or vacuum. Avoid using oily beans, which can increase static with their natural oils—learn more about this at why oily beans are the enemy of your grinder motor.
Implement Ground Distributors
Use a coffee grounds distribution tool that creates even particle spread, reducing static friction. Applying the technique from the move for effortless grounds distribution helps maintain uniformity and lowers static buildup during puck preparation.
Reduce Dust and Residue
Dust accumulation is a magnet for static electricity. Clean your grinder, espresso machine, and surrounding area regularly. Pay special attention to nooks and crannies where dust and residual coffee oils settle. For water-related maintenance, check out how to rid your water reservoir of moldy smells.
Properly Maintain Your Water System
Dealing with hard water deposits can contribute to static. Use filtered water and descale your system periodically. This prevents mineral buildup that can affect both your machine’s performance and static levels.
Implement Static-Free Grounding Accessories
There are commercial grounding wristbands designed for electronics and sensitive equipment. Wearing one while working with your coffee setup can provide an additional layer of protection. I found that slipping on a wrist strap when adjusting my grinder kept shocks at bay.
Conclude with Consistent Maintenance
Schedule weekly checks of your setup to ensure grounding wires are secure, surfaces remain clean, and environmental factors stay stable. Consistency keeps static from creeping back into your brewing routine.
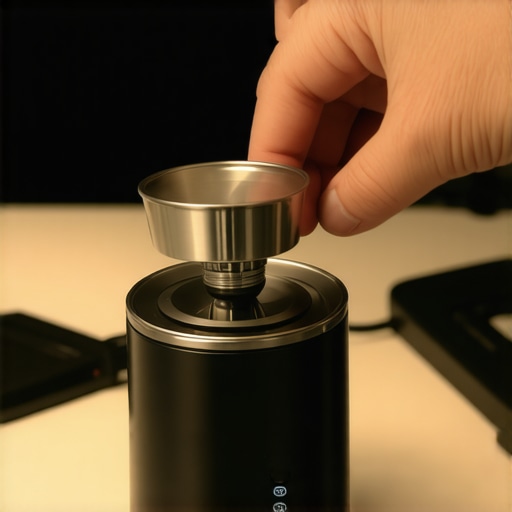
Image showing a person grounding their coffee grinder with a grounding wire attached to an outlet, illustrating effective static reduction.
When diving into the world of home espresso, many enthusiasts rely heavily on popular gear choices and basic techniques. However, seasoned baristas and professionals know there are nuanced details that can make or break the quality of your brew. One common misconception is that investing in high-end equipment guarantees perfect espresso every time. In reality, understanding the subtleties—such as grind consistency, tamping pressure, and water chemistry—is crucial. For instance, even the most expensive coffee grinders won’t deliver optimal results if the burrs are dull or misaligned; learn how to identify dull burrs here.
Moreover, a frequent myth is that milk frothing techniques are solely about temperature and milk type. While important, the real art lies in controlling the microfoam texture and avoiding large bubbles, which often arises from improper steaming angles or inconsistent pressure. Advanced baristas know that even minor adjustments can significantly improve latte art and flavor profiles.
A sneaky trap many fall into involves overlooking the importance of water quality. Home espresso machines are sensitive to mineral content and pH levels, which can lead to build-up or off-flavors over time. Regularly checking and maintaining your water system with filtered water and periodic descaling can save you from unexpected flavor deterioration and equipment failure. Interested in optimal water management? Explore how to get rid of moldy smells in your water reservoir here.
Have you ever fallen into this trap? Let me know in the comments.
Why do some espresso shots taste sour despite following all the Maintaining your espresso gear isn’t just about fixing issues as they arise—it’s about proactive care that keeps your setup running smoothly and consistently delivering exceptional coffee. One of my favorite tools is a high-quality digital scale with a timer. I personally rely on the Etekcity digital scale, which offers precise measurement down to the gram and a fast response time—crucial when dialing in grind and extraction times. Regular calibration of your grinder using a burr calibration routine ensures consistent particle size distribution, preventing over- or under-extraction.
Long-term performance of your espresso machine depends heavily on consistent descaling and water quality management. I recommend setting a monthly schedule for descaling, especially if you use hard water, as mineral buildup can impair temperature stability and lead to costly repairs. For this, I use a commercial descaler that is compatible with my machine, following the manufacturer’s instructions meticulously. Additionally, periodically checking your water reservoir for mold or residue is vital. Follow the steps outlined here to prevent off-flavors and maintain a safe brewing environment.
Keeping your grinder free of oily beans and static is essential for smooth operation. I utilize a blower brush to clear dust and a silicone spray recommended for coffee equipment to reduce static. For stubborn burrs that feel stuck, applying the paperclip trick can free up frozen adjustment rings without damaging your grinder.
Investing in the right tools is crucial for scalability as well. If you’re considering expanding your setup or simplifying your workflow, a grounds distributor helps achieve uniform extraction and reduces static buildup during puck prep. Also, a sturdy knock box that’s easy to clean will make daily cleanup less of a chore and prevent lingering odors—learn more about my deep cleaning routine here.
Looking ahead, smart sensors and IoT-enabled devices are becoming more affordable and reliable, promising even better maintenance alerts and predictive diagnostics for your gear. Staying updated with advancements in equipment tech can help you preempt issues before they affect your brew. For now, I challenge you to implement a scheduled scale calibration and see how it sharpens your shot consistency. This simple step truly bridges the gap between hobbyist and professional quality.
How do you manage long-term maintenance of your espresso setup? Drop your tips and experiences in the comments below, and let’s elevate our home barista game together!
Lessons Only the Best Baristas Know About Tackling Static
One of the most surprising insights I gained was how environmental factors like dry air can amplify static on my coffee gear. It’s not just about cleaning or grounding—paying attention to humidity levels truly transforms your setup. I learned this the hard way during winter when static shocks became routine. Additionally, experimenting with conductive materials under my grinder revealed how simple accessories can dramatically reduce sparks. Lastly, I realized that consistency in maintenance routines—like weekly cleaning and calibration—is the secret sauce for keeping static at bay and ensuring your espresso always hits the mark.
My Essential Arsenal for a Static-Free Coffee Routine
For anyone serious about mastering home espresso, my toolkit includes a quality digital scale like the Etekcity digital scale for precise measurements, a reliable grounding wire for your grinder, and a conductive silicone mat for grounding your workspace. I also swear by regular descaling products to keep mineral buildup—another static culprit—under control. Keep in mind, integrating environmental adjustments like a small humidifier can be a game-changer, especially in dry months. These tools and habits are proven to create a more stable and enjoyable brewing environment.
Your Turn to Elevate the Home Barista Experience
Getting rid of static isn’t just about avoiding shocks—it’s about elevating every shot, every grind, every pour. When your gear stays calm and static-free, your focus sharpens, and your brew’s flavor naturally improves. Remember, perfecting your home espresso isn’t a sprint—it’s a journey of continuous tweaks and improvements. I encourage you to start implementing these static-reducing strategies today and see how your setup responds. Eventually, you’ll enjoy not only better-tasting coffee but a more confident, stress-free routine. How will you adjust your environment to keep static out of your coffee station? Drop your thoughts below and let’s share the journey toward static-free perfection.