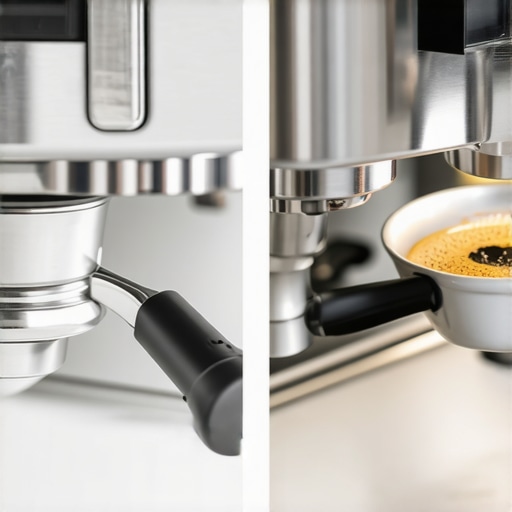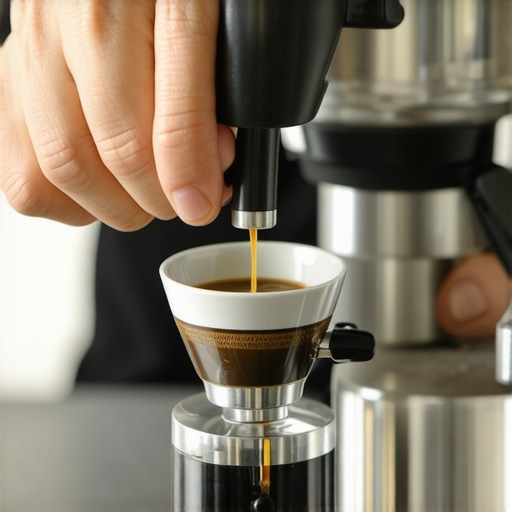
How a simple paper filter in the basket stops channeling
Ever had that sinking feeling when your perfect espresso shot turns into a weak, uneven stream that tastes more bitter than balanced? I’ve been there—frustrated, questioning my technique, and wondering why even after years of tinkering, I still couldn’t crack the code. The lightbulb moment came unexpectedly: it wasn’t about tamping pressure or grind size alone. The real culprit was often the humble paper filter in my espresso basket.
Many home baristas overlook this tiny component, assuming it’s just a sanitary step or an optional accessory. But in my experience, a simple paper filter can fundamentally change how water interacts with your coffee grounds, directly impacting channeling and extraction consistency. When I first started using a paper filter in my basket, I noticed a marked reduction in channeling—those pesky uneven flows that ruin a shot—and an overall boost in flavor clarity.
Today, I want to share with you exactly how this small addition can make a big difference. We’ll delve into why integrating a paper filter stops channeling dead in its tracks, and how it can elevate your espresso game without needing a pricey upgrade or complex technique. If you’ve ever been fed up with inconsistent shots or felt like your machine is fighting against you, stick around—this simple tweak might just be your game-changer.
How a Paper Filter Works to Stop Channeling in Your Basket
Channeling occurs when water finds the path of least resistance through uneven or poorly distributed coffee grounds, leading to under-extracted, bitter, or sour shots. A paper filter creates a barrier that helps distribute water evenly across the puck, sealing the coffee and preventing the water from finding shortcuts. Think of it as a traffic controller—guiding everyone smoothly through the process.
In my own journey, I initially dismissed the idea, dismissing it as unnecessary, much like many enthusiasts who believe that detailed grind adjustments or tamping techniques are the only ways to improve. However, after making this small change, I was stunned at how much more stable my shots became. The water pressure was more uniform, and the resulting espresso tasted clearer and more balanced.
For those skeptical about the effectiveness, I get it. Early on, I also mishandled this simple fix, perhaps using the wrong type of paper or neglecting to change it regularly. A common mistake is using cheap, overly thin pages that tear or don’t offer enough barrier, or forgetting to warm the basket afterward, which can cause some issues. If you are curious about how minor details make a big difference, I recommend checking out this deep dive into common extraction pitfalls, including channeling, and how simple accessories like filters can help.
Ready to troubleshoot your shots and reduce channeling? The next sections will guide you through selecting the right paper filter, proper installation, and routine maintenance to keep your espresso tasting its best. Have you faced persistent channeling even after dialing in your grind? Let’s see if this simple step can turn your mornings around.
Select the Right Paper Filter
Choose a high-quality, unbleached, lint-free paper filter designed explicitly for espresso baskets or small coffee filters. Avoid using standard kitchen paper or tea filters, as they may tear or impart unwanted flavors. The correct filter creates a reliable barrier that distributes water evenly. I recommend experimenting with filters made for pour-over coffee—these are thin enough to allow water flow but sturdy enough to prevent channeling. Tip: Always keep a few extra filters on hand to avoid interruptions during your brewing sessions.
Prepare and Install the Filter Properly
Before inserting the filter, lightly dampen it with hot water. This step eliminates any paper taste and helps it adhere smoothly to the basket, preventing wrinkles or folds that could disrupt water flow. When placing the filter, ensure it sits flat at the bottom of your espresso basket, covering the entire base evenly.Press down gently to secure it, then add your coffee grounds. This method ensures the filter and grounds form an even puck, reducing the risk of channeling caused by uneven distribution or gaps. Check this guide for tips on achieving a consistently dry puck that complements the filter setup.
Refine Your Distribution Technique
With the filter in place, focus on evenly distributing your coffee grounds before tamping. Use a distribution tool or the cork trick—gently tapping the sides of the portafilter to settle the grounds uniformly. This step is critical because even the best filter can’t compensate for uneven grounds distribution. When tamping, apply steady, level pressure—ideally around 30 pounds—to create a compact, even surface. This prevents the water from finding weak spots and minimizes channeling. For the easiest, most effective tamping, ensure your tamping mat is on a stable surface—learn how to keep it in place. Consistency here is key; over-tamping can cause excessive pressure, while under-tamping invites uneven extraction.
Routine Maintenance and Replacing the Filter
After each shot, remove the filter and discard the used paper. Rinse the basket and gently clean to remove any residual coffee oils that might clog the filter or cause flavor carryover. Regularly inspect your filters for tears or buildup—replace them if they show signs of wear. Using cheap filters can cause tearing and eventual channeling; investing in quality filters saves time and improves shot consistency. Also, consider the water quality because impurities can compromise both the filter and overall extraction. For optimal results, use distilled or filtered water to keep your machine and filter in top shape. Continuous testing and adjustment ensure your new technique translates into consistently excellent espresso shots.Many coffee enthusiasts believe that selecting premium espresso machines or fancy milk frothers guarantees perfect results. However, what most overlook are the subtle nuances that can make or break your brewing experience. For instance, there’s a widespread misconception that grinders only need to be calibrated annually; in reality, regular fine-tuning and awareness of burr wear are crucial to maintaining grind consistency, which directly affects extraction and flavor. According to expert baristas, neglecting grinder maintenance can lead to uneven grounds and channeling, even in high-end equipment. A common trap is assuming that larger, commercial-grade machines are necessary for stellar results at home—this is false; understanding the nuances of your current gear often yields better outcomes than an expensive upgrade. For example, many users fail to consider that oil buildup from oily beans can clog grinders, reducing their efficiency and imparting unwanted flavors. Routine cleaning and proper bean storage are simple actions that preserve your gear’s performance, as detailed in this guide on grinder maintenance. Have you ever fallen into this trap? Let me know in the comments. When it comes to coffee grinders, a prevalent myth is that conical burrs are always superior to flat ones. While conical burrs are less prone to heat buildup, flat burrs generally produce a more uniform grind, vital for espresso extraction. Recognizing these nuances helps prevent common mistakes like over-pressing tampers or using inappropriate basket sizes, which can cause under-extraction or overflows. Additionally, many home baristas ignore water quality’s impact on extraction. Using distilled or filtered water, as recommended by brewing experts, minimizes scale buildup and flavor interference, ensuring consistent results and prolonging your equipment’s lifespan. Lastly, familiarity with advanced troubleshooting—such as inspecting for cavitation in pumps—can save you costly repairs down the line. Each of these insights underscores the importance of in-depth knowledge beyond basic operation. Want to make your home brewing truly exceptional? Focus on mastering the fine details and avoid the pitfalls many overlook. For further advanced tips, explore our comprehensive guides on [%link to maintenance tips%] and [%link to equipment calibration%].Maintaining your coffee gear is essential for achieving consistent, high-quality espresso shots at home. From grinders to espresso machines, every component benefits from regular care and the right tools. I personally rely on a few key items that have stood the test of time, ensuring my setup remains reliable and efficient. For instance, a high-quality cleaning brush tailored for burr grinders helps me remove stubborn coffee oils and fine dust that can clog mechanisms and affect grind consistency. I use a dedicated brush with sturdy nylon bristles and a long handle, which allows me to reach deep into the burr chamber without disassembly, saving time and reducing wear.
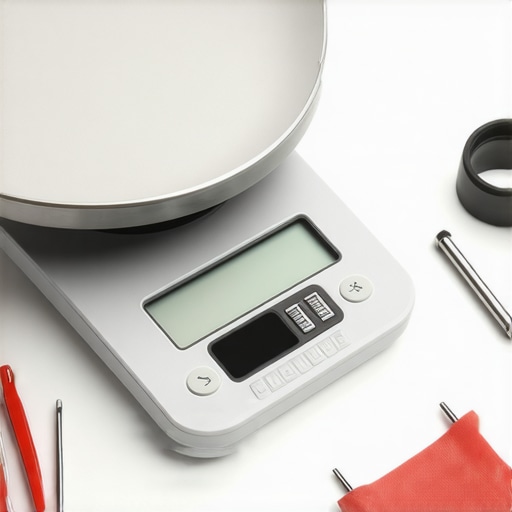
Additionally, a calibrated digital scale is indispensable for precise dosing, which directly influences extraction quality. I prefer a scale with a built-in timer and a thermometer probe, so I can monitor both dose weight and water temperature seamlessly. This ensures I maintain optimal parameters, especially when dialing in new beans or adjusting to different roast levels.
For regular water quality management, I swear by using distilled water, as recommended in this detailed guide on water’s role in espresso flavor https://espressotechguide.com/the-truth-about-using-distilled-water-in-your-espresso-machine. This simple step prevents scale buildup and preserves machine longevity, saving you costly repairs over time.
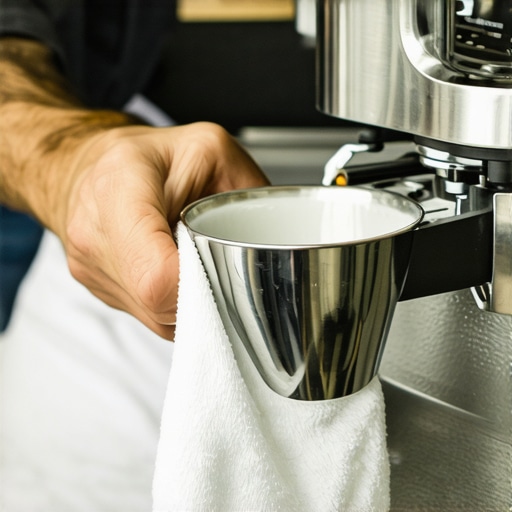
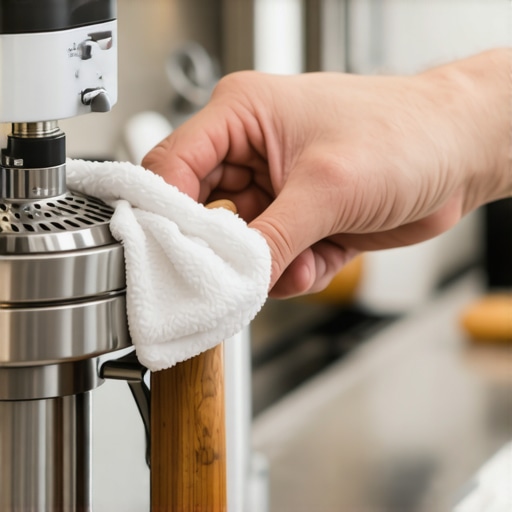
Long-term results hinge on routine maintenance. A soft, lint-free microfiber cloth is perfect for wiping down surfaces and eliminating dust or fingerprints. I keep a small bottle of espresso-specific cleaning solution, which I apply with a microfiber cloth, to keep the machine’s steam wand, portafilter, and drip tray spotless. Regular descaling, following manufacturer guidelines, is crucial—many underestimate how quickly mineral deposits can reduce pressure and steam performance.
Tools I recommend going beyond the basics include a calibrated torque wrench for tamping—perfect for achieving consistent pressure— and a porta-filter cleaning brush to keep seals tight and free from coffee buildup. These might seem meticulous, but they enhance every shot and extend your gear’s lifespan.
So, how do I maintain my equipment over time? The key is to establish a routine — daily, weekly, and monthly tasks — tailored to each component’s needs. For grinders, I clean the burrs weekly using an internal cleaning cycle or by running grinder-specific cleaning tablets to remove residual oils. For espresso machines, I perform a backflush every few days if your model permits, and descale quarterly or more frequently if you have hard water. Keeping detailed logs helps track when parts need replacing or deep cleaning.
Looking ahead, the trend toward smart home coffee gear will make maintenance even smarter. Future innovations like automated descaling alerts or self-cleaning components could simplify this process further, ensuring your coffee setup stays in top shape with minimal effort.
Ready to take your maintenance routine to the next level? Try integrating a dedicated burr cleaning brush and schedule a weekly deep clean with cleaning tablets. Small investments in proper tools and habits will pay off with better shots and longer equipment life. Want to explore how to optimize your grinder’s performance? Check out this guide on cleaning your grinder without disassembly for expert tips.
The Hardest Lesson I Learned About Home Espresso Setup
One of the most surprising insights I discovered was how small details like water quality and proper filter placement can make or break your shot. Initially, I believed that technical upgrades would solve all my issues, but it turned out that mastering routine maintenance and understanding your gear were more valuable. The journey taught me that patience and attentiveness often outperform expensive equipment in achieving a balanced, delicious espresso.
Gadget Picks from Someone Who’s Been There
Over the years, I’ve come to rely on a few trusted tools that elevate my espresso routine. A calibrated digital scale ensures precise dosing, while a dedicated burr cleaning brush keeps my grinder in top shape—avoiding static and clogging issues. For water quality, distilled water has been a game-changer, preventing mineral buildup that hampers performance—find out more about this in the water guide. Lastly, a sturdy tamping mat helps maintain consistent pressure, reducing shot variability. These investments are small but impactful, making every espresso more enjoyable.
Your Next Step: Embrace the Art of Fine-Tuning
If you’re eager to improve your home barista skills, remember that perfection doesn’t come overnight—it’s built through attention to detail and continuous learning. Small tweaks like adding a paper filter for better extraction, regularly cleaning your grinder, and monitoring water quality can transform your coffee experience. The more you understand your equipment and process, the more confident and creative you’ll become behind the machine. So, why not start today? Your perfect espresso awaits, and each step brings you closer to barista-level results. What’s one routine change you’re excited to try first? Share below—I love hearing how fellow enthusiasts are leveling up their coffee game.