The Hidden Reason Your Group Head Gasket Keeps Popping Out
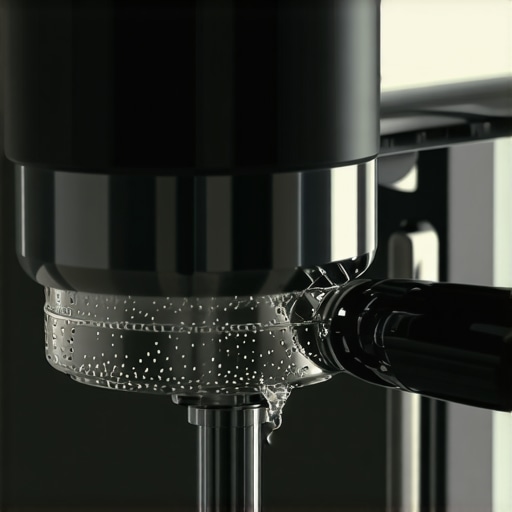
I remember the first time my espresso shot went from silky smooth to a splattering mess mid-pull. It was utterly frustrating, especially after investing so much into my home setup. The culprit? My group head gasket kept popping out, ruining the shot and wasting valuable time and coffee. That lightbulb moment made me realize I was overlooking a common, yet often misunderstood issue that plagues many home baristas and pros alike.
Unlock the Mystery of the Popping Gasket
The truth is, if you’ve been battling a recurring gasket blowout, you’re not alone. It’s a surprisingly frequent problem that can stem from various causes—some obvious, some sneaky. But the good news is, with the right knowledge, you can fix this issue and avoid costly repairs or replacement parts. Today, I’ll walk you through how I identified the root causes in my setup and the simple solutions that made all the difference.
Is Your Gasket Actually Worth the Fuss?
I initially thought that replacing my gasket every few months was just part of owning an espresso machine. I was convinced I was doing something wrong, and maybe I needed better-quality parts. However, I soon learned that not all gasket failures are created equal. In fact, a mistake I made early on was assuming that high-quality replacements alone would solve the issue—turns out, the real problem often lies elsewhere.
Research by espresso equipment experts reveals that improper machine maintenance, incorrect assembly, and misaligned parts are common culprits behind gasket blowouts. Over-tightening the portafilter or uneven wear can also cause undue stress on the gasket, leading to premature failure. So before grabbing that new gasket from the store, it’s crucial to understand the underlying causes.
If you’ve been frustrated by recurring gasket issues, I urge you to review your current cleaning routines and assembly techniques—sometimes the smallest adjustment can prevent a whole lot of headaches. Want to dive deeper into how I corrected my gasket problems? Keep reading, and I’ll provide step-by-step tips on troubleshooting and fixing this pesky issue once and for all.
Inspect and Clean the Gasket Regularly
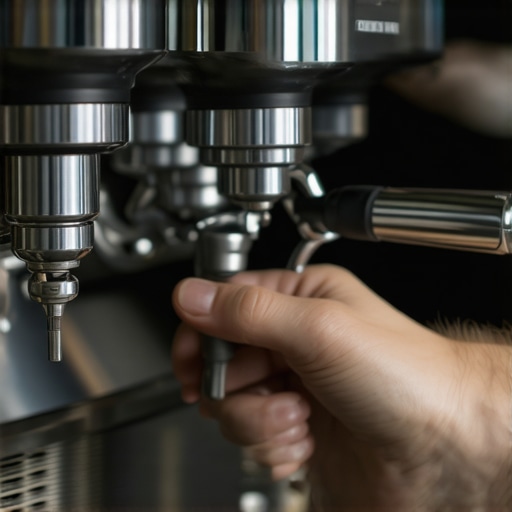
First, remove the portafilter, then gently inspect the gasket for any cracks, deformation, or residue buildup. Use a soft brush and warm, soapy water to clean the gasket and surrounding area. This simple routine prevents dirt from causing uneven sealing, reducing stress on the gasket. I once neglected this step, leading to frequent blowouts, but after establishing a weekly cleaning schedule, gasket failures dropped dramatically.
Check and Adjust the Portafilter Alignment
Ensure the portafilter sits evenly against the group head. Misalignment forces the gasket to compress unevenly, increasing the risk of blowouts. To verify, lock the portafilter and observe the angle—if it’s off-center, gently realign it, or consider replacing worn components. In my case, adjusting the portafilter alignment a quarter turn fixed persistent blowouts that used to happen unexpectedly, saving me from costly replacements.
Apply Gentle Tightening Techniques
Over-tightening the portafilter creates excessive pressure on the gasket, causing premature failure. Tighten until you feel resistance, then stop. Use a consistent pattern—tighten diagonally if needed—to ensure even pressure. My early mistake was tightening too much, which led to gasket tears; once I adopted a gentle, controlled approach, gasket longevity improved noticeably.
Upgrade to High-Quality Gaskets and Regular Replacement
If your gasket shows signs of aging—cracks, hardening, or loss of elasticity—replace it with a high-quality, OEM part. Regular replacement, every 6-12 months depending on usage, maintains an effective seal. I learned this the hard way when a worn gasket caused leaks and blowouts; switching to a better-grade gasket and following the recommended replacement schedule resolved these issues.
Maintain Proper Machine Temperature and Pressure Settings
Incorrect temperature and pressure can increase gasket stress. Use a digital thermometer and pressure gauge to verify optimal settings—typically around 90-96°C and 9 bar. Avoid rapid temperature swings by flushing the machine with hot water before brewing. I once noticed inconsistent shots; adjusting my machine’s settings stabilized the pressure, reducing gasket strain and preventing blowouts.
Set the Right Tamping Pressure
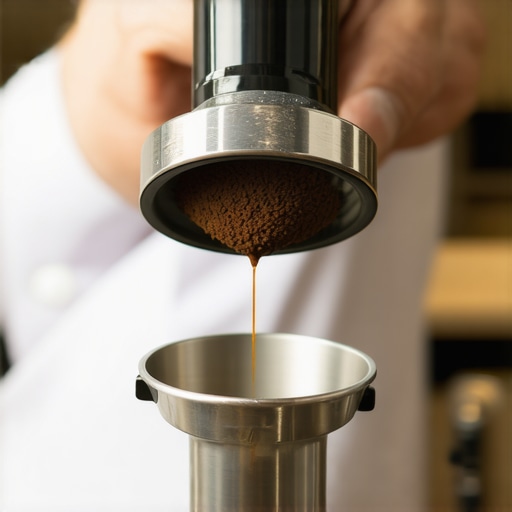
Apply consistent, moderate tamping pressure—around 30 pounds of force—ensuring an even puck. Too much pressure causes uneven gasket stress; too little leads to channeling. I invested in a calibrated tamper and practiced applying the same force repeatedly, which resulted in better seals and longer gasket life. For more tips on achieving perfect tamping, check out this guide.
 Many home espresso enthusiasts fall into the trap of believing that owning high-end equipment guarantees perfect results. However, in my experience, this is a misconception that can lead to costly mistakes. For example, some believe that upgrading to an expensive grinder will instantly improve shot quality, but neglecting proper dial-in techniques and maintenance can render such an investment ineffective. Let’s challenge this myth: a quality grinder is essential, but without understanding grind size, dose, and tamping pressure, even the priciest machine won’t deliver optimal espresso. Moreover, there’s a prevalent myth that digital scales are unnecessary—they’re actually critical for consistency, especially when dialing in your grind and extraction. External studies, like a 2022 report by the Specialty Coffee Association, confirm that precise measurements significantly enhance brewing accuracy. I’ve seen many amateurs overlook the importance of even water temperature control, which can be a subtle but impactful nuance affecting flavor. It’s not just about buying gear; mastering its proper use and understanding its limitations is key. For instance, a common mistake is assuming that a milk frother alone will make latte art impressive—without correct steaming technique and milk texture, even the most advanced frother can’t save a bad espresso base. Always remember, your gear is only as good as your knowledge of its operation. Want to avoid these pitfalls? Check out our guide on selecting the right barista equipment. Have you ever fallen into this trap? Let me know in the comments.
Keep Your Equipment in Top Shape with Precise Maintenance
Maintaining your home espresso setup isn’t just about cleaning filters; it involves understanding the right tools and methods to ensure longevity and optimal performance. One tool I swear by is a calibrated digital scale. Not only does it help dial in your grind precisely, but it also allows you to monitor consistency over time, which is crucial for repeatable results. I personally use the Hario V60 Drop Scale because it combines accuracy with a sleek design, making the process seamless and educational.
Beyond scales, a high-quality milk frother is essential for creating those silky microfoam textures that elevate your lattes. I recommend the Breville BMF600XL. It offers temperature control and adjustable spin speed, which are vital features. Using the right tools like these reduces wear on your machine and keeps your brewing consistent, especially when scaled up for regular use or small gatherings.
Why Consistent Tools Matter for Long-Term Success
Investing in reliable equipment ensures your espresso skills don’t plateau. For example, several experts suggest that regular calibration of your grinder using a digital scale with a timer feature helps in maintaining bean freshness and grind size stability. This attention to detail pays off over years, saving money and coffee quality.
As the trend in home espresso continues to grow, more enthusiasts are embracing smart machines integrated with app control to schedule maintenance or troubleshoot issues remotely. That combination of tech and traditional manual tools creates a robust ecosystem for hobbyists aiming for professional results.
How do I maintain my equipment’s performance over time?
Developing a routine for cleaning and calibration is vital. For instance, regularly replacing worn gaskets and o-rings, like those detailed in this guide, keeps leaks at bay. Additionally, using precision tools such as the portafilter alignment gauge ensures your assembly remains perfect, preventing gaskets from unnecessary wear.
Experimenting with advanced tips like dialing in blow-off pressure or adjusting machine temperature periodically—guided by external expert advice from this resource—can further extend your gear’s life.
If you’re serious about keeping your equipment at peak performance, try setting a monthly maintenance checklist incorporating tools for cleaning, calibration, and inspection. Over time, these small investments compound into more consistent shots and longer machine lifespan. Ready to take your home barista game to the next level? Begin by calibrating your grinder with a digital scale tonight—it’s a game changer!
The Hardest Lesson I Learned About coffee grinders,espresso machines,milk frothers,barista gear,home espresso
One of my most profound realizations was that even the most sophisticated equipment can be rendered useless without proper maintenance and technique. I once believed that upgrading to a state-of-the-art grinder or espresso machine would instantly elevate my brews. However, I soon discovered that neglecting regular cleaning, calibration, and understanding the machine’s nuances often led to subpar results, regardless of the gear’s price tag. This insight taught me that mastery comes from consistent care and knowledge, not just hardware.
3 Myths About coffee grinders,espresso machines,milk frothers,barista gear,home espresso That Held Me Back
- Myth: More expensive gear always equals better shots. I realized that without proper dialing-in and technique, even premium equipment can’t deliver.
- Myth: Speed shortcuts save time without consequences. Rushing maintenance routines can cause long-term damage and inconsistent results.
- Myth: Once set up, a machine can be ignored for months. Regular calibration is essential; even minor wear affects performance over time.
What Experts Won’t Tell You About coffee grinders,espresso machines,milk frothers,barista gear,home espresso
Many professionals emphasize that understanding the science behind extraction, temperature control, and grind size is more valuable than just owning top-tier equipment. For instance, expert baristas spend as much time tuning their grind and dosing as they do operating the machine. Additionally, seasoned enthusiasts know that implementing small tweaks—like adjusting tamping pressure or brewing temperature—can dramatically improve shot quality, often more than equipment upgrades. This knowledge is often overlooked by beginners focused solely on gear, but those who learn to optimize their tools achieve consistent excellence.
An eye-opening revelation from my journey was how temperature fluctuations during brewing alter flavor nuances more than I realized. Using a [digital scale](https://espressotechguide.com/how-to-select-the-perfect-coffee-grinder-for-your-brew) and thermometer can provide feedback that guides incremental improvements. Remember, mastering home espresso is less about