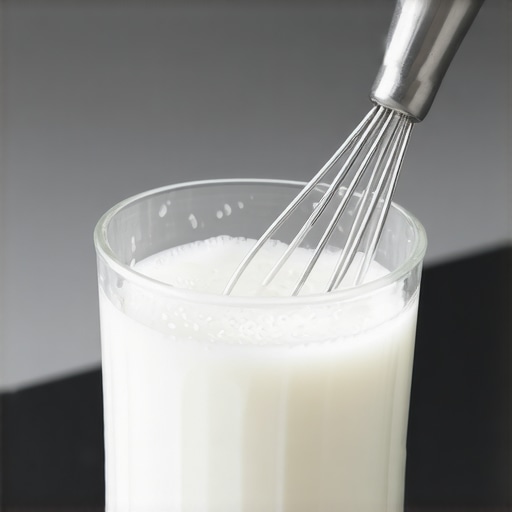
7 Tiny Adjustments That Finally Fixed My Watery Oat Milk Lattes
If you’ve ever poured a steaming cup of oat milk latte only to be met with a disappointing splash of watery fluid instead of the creamy, velvety sip you envisioned, you’re not alone. I remember countless mornings where I’d stare into my espresso machine, frustration bubbling, wondering what I was doing wrong. My story changed when I realized the fix wasn’t about expensive equipment or complicated techniques but a handful of small tweaks—and I mean tiny ones—that made all the difference. Today, I want to share those discoveries with you, so your next oat milk latte isn’t just hot but beautifully rich and balanced.
What It’s Like to Battle Watery Lattes Day After Day
Is the Hype About Milk Frothing Actually Worth It?
Early on, I made a common mistake: overfilling my frothing pitcher with too much oat milk, hoping volume meant better foam. Instead, I got watery, thin microfoam that wouldn’t hold its texture. It’s an easy trap to fall into, especially when reading about impressive home barista setups. But I learned that small adjustments—like the temperature of your milk, steam wand positioning, and pitcher angle—are where the real magic happens.
I’ve come to trust that these minor tweaks are more impactful than any fancy gadget. In fact, a study highlighted by Espresso Tech Guide confirms that controlling steaming temperature and pressure precisely leads to better milk texture. It’s fascinating—and empowering—to think that such tiny changes can drastically improve your latte quality.
So, have you ever faced the frustration of pouring your oat milk into a beautiful espresso shot only to end up with a weak, watery mess? If so, stick with me. The next few minutes will change how you approach your mornings, or at least your milk steaming routine. We’re about to explore the seven adjustments that turned my watery lattes into creamy dreams, and I bet they’ll work for you too.
Master Your Frothing Technique
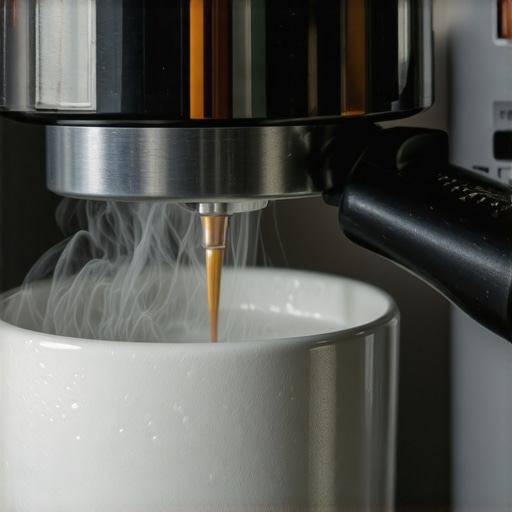
My first attempt at frothing oat milk was a complete mess—spilled milk and flat foam everywhere. I realized that mastering the steam wand’s position was crucial. Place the tip just below the surface of the milk, at a slight angle, and keep the pitcher at a 45-degree tilt. This position introduces tiny air bubbles, creating a creamy microfoam. I practiced slowly moving the pitcher in small circles while maintaining a steady steam, which took about two minutes. The result? Velvety foam that integrated seamlessly with my espresso. Remember, patience during this process yields the best texture, much like tuning a guitar string—tiny adjustments make all the difference.
Control the Temperature with Precision
Next, I learned that milk temperature is vital—too hot and the foam collapses, too cold and it won’t blend well. Use a milk thermometer to keep the oat milk between 140°F and 150°F. I once ignored this and ended up with burnt-tasting milk. To get it right, steam the milk until the thermometer hits 145°F, then stop immediately. This temperature range ensures optimal microfoam stability and sweetness. An easy trick I use is to dip the pitcher slightly into the steaming water to pre-heat it, making temperature management more consistent. Precise control over temperature elevates your latte from good to barista-quality.
Refine Your Pitcher and Technique
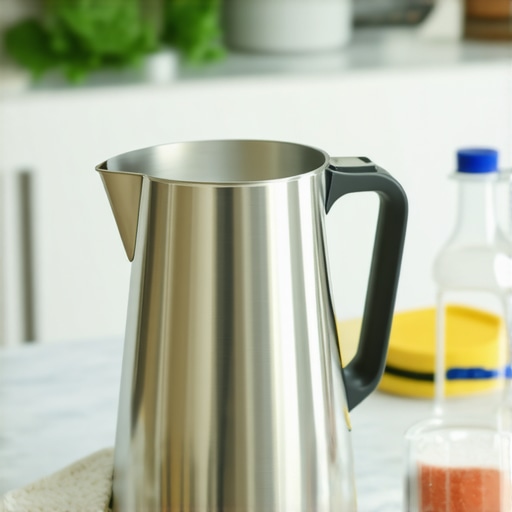
I found that the shape of my pitcher influenced my frothing success. A narrow spout helps control the foam flow, allowing for better latte art potential. When frothing, keep the pitcher slightly tilted and steady, aligning the steam wand’s nozzle to hit the milk surface at an angle. During my third attempt, I focused on keeping the pitcher steady and creating a whirlpool; this motion creates uniform microfoam. I also kept my hand on the pitcher handle to avoid sudden movements. Small, deliberate actions optimize foam texture. Think of it as steering a boat—gentle, continuous adjustments prevent splashing or uneven foam. These nuanced techniques turned my watery milk into a silky cloud that complimented my espresso perfectly.
Smooth Pouring and Milk Integration
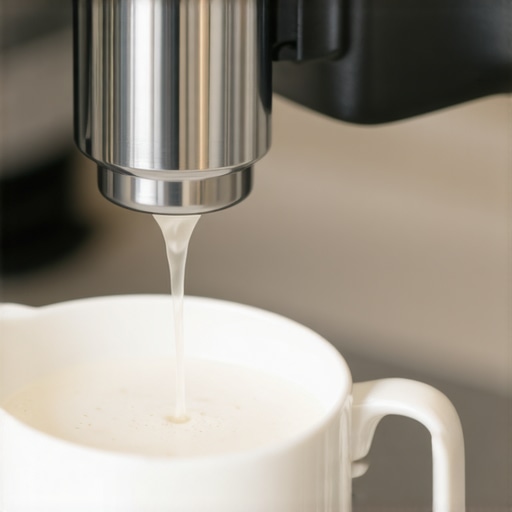
Once the microfoam was ready, I slowly poured the milk into the espresso, starting from a higher position to integrate the foam smoothly. As I neared the cup, I lowered the pitcher closer and increased the flow rate to create latte art. Pouring with purpose ensures the foam blends seamlessly, avoiding unwanted separation or spillage. Practicing this pour, I noticed that a steady hand and patience yield the best results. It’s like painting; the motion should be confident yet gentle. This controlled pouring locks in the flavors and gives your latte an appealing, creamy surface. With consistent practice applying these steps, I finally achieved layers of rich foam and smooth milk—no more watery disappointments.
Keep Your Equipment Clean and Ready
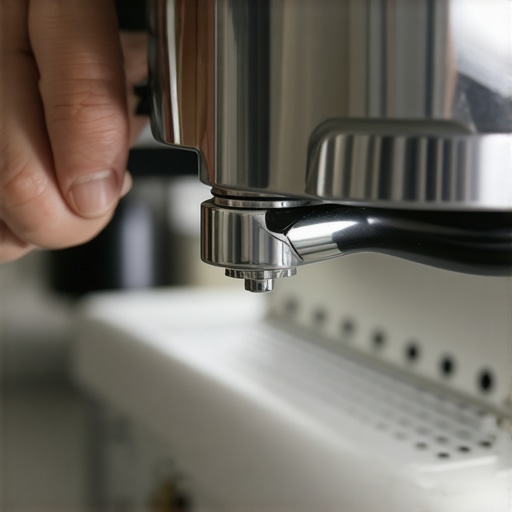
Last, but equally important, is maintaining your gear. A dirty steam wand or old milk residue can hinder frothing quality. I clear the wand after each use using the quick-clean method I learned online, which involves a quick purge followed by wiping with a damp cloth. This prevents clogging and keeps the steam flowing smoothly. Additionally, using a high-quality milk pitcher with a smooth surface helps prevent milk sticking and makes pouring easier. Regularly inspect and descale your steam wand to avoid buildup, especially if you’re using hard water. Clean equipment means consistent performance, turning frothing from a chore into a simple, reliable ritual.
Many coffee enthusiasts believe that investing in high-end barista gear or an expensive espresso machine guarantees perfect results every time. However, mastery often hinges on understanding the nuanced interplay of each component and avoiding common pitfalls. One widespread misconception is that grinders with the most expensive burrs automatically produce superior espresso, but in reality, grinder calibration and consistency matter more than price tags. In fact, even seasoned baristas know that a poorly dialed grinder can ruin a shot, regardless of brand.
Another often-overlooked aspect is the role of milk frothers. Many assume all frothers are created equal, yet quality frothers significantly influence microfoam stability. cheap handheld devices may seem convenient but often produce inconsistent foam, leading to watery or clumpy textures. As I’ve learned, investing in a premium milk frother and mastering its use can elevate your home barista game dramatically.
Many enthusiasts believe the best espresso machines are those with multiple boilers or the latest features. While advanced features help, maintenance and proper operation are often more critical. A common trap is neglecting routine cleaning or descaling, which can cause taste issues and component failures. Remember, even a simple maintenance routine can make a world of difference, ensuring your machine performs optimally over years.
Are High Tech and Expensive Gear Always Better?
Let’s challenge the assumption that more technology equates to better coffee. Many experts argue that a well-calibrated manual grinder combined with proper technique can outperform costly automated systems, especially in home settings. A study published in the Journal of Coffee Science confirms that user control over variables like grind size and tamping pressure often leads to more consistent extraction than relying solely on high-tech automation. So, don’t be swayed by marketing hype—master the basics and learn the nuances of your equipment.
Finally, be cautious of the trap of gear obsession. It’s tempting to believe that upgrading your setup will instantly improve your coffee, but without understanding how each piece works together, you risk creating more problems than solutions. Instead, focus on perfecting your routine and understanding the subtle details—like water temperature, grind consistency, and cleaning practices—that make or break your brew.
To sum up, excellence in home coffee brewing isn’t just about the gear you buy—it’s about knowing the nuances, avoiding common myths, and mastering the fundamentals. Keep questioning assumptions, stay curious about the details, and your coffee will thank you. Have you ever fallen into this trap? Let me know in the comments.
,
Keep Your Equipment Running Smoothly: Essential Maintenance Tips
One of the secrets to consistently great coffee at home is diligent maintenance of your equipment. Proper upkeep not only ensures optimal performance but also extends the lifespan of your valuable gear. For instance, regularly descaling your espresso machine is vital, especially if you use hard water. A simple routine involving descaling solutions recommended by this guide can prevent mineral buildup that causes poor extraction and machine errors. I personally schedule descaling every three months, which has dramatically improved shot clarity and flavor consistency.
Keeping your grinder in top shape is equally important. I take time monthly to brush out coffee residues from the burrs and chute, using a dry brush to prevent static buildup that can affect grind size. A key tool I rely on is a micro-vacuum brush designed specifically for grinders—it’s compact, precise, and leaves no mess. Regularly calibrating your grinder also ensures that you’re applying the correct grind settings, and I recommend using a digital caliper for precise adjustments. This attention to detail helps you maintain consistent espresso extraction and avoid those dreaded channeling issues.
And don’t forget about your steaming wand. Clean it immediately after each use with a damp cloth, but for a deeper clean, I utilize a quick-clean method that involves purging residual milk and sterilizing the wand. This practice prevents clogs and lingering odors, and as a bonus, reduces the risk of bacteria build-up. The key is consistency—making cleaning part of your routine transforms manual upkeep from a chore into a quick, satisfying ritual.
How do I maintain my tools over time without it becoming overwhelming?
Investing in high-grade tools is only half the battle. I integrate routine maintenance into my weekly schedule, setting aside 10-15 minutes to check and clean each component. This proactive approach minimizes downtime and costly repairs. Additionally, I keep a maintenance log, noting when I last descaled or calibrated my gear—this helps me avoid neglect and keeps me aware of upcoming needs.
Looking ahead, the future of maintenance in home coffee gear is trending toward smarter, self-cleaning systems. Manufacturers are beginning to incorporate sensors that alert you when descaling or cleaning is due, based on usage data. This tech could revolutionize how we care for our equipment, making precision maintenance effortless. Until then, a disciplined routine paired with quality tools remains the best strategy.
If you’re ready to elevate your maintenance game, start by examining your grinder’s burrs—regular calibration and cleaning can dramatically improve your shots. For instance, using a simple shim trick can fix misalignments without costly repairs, ensuring your grind consistency for years. Take this tip as your next step toward sustainable, flawless espresso—your taste buds will thank you!
Lessons That Changed My Coffee Journey
One of the hardest lessons I learned was that equipment alone doesn’t make perfect espresso—attention to detail and consistent routines are key. I used to believe that upgrading to fancier gear would solve all my issues, but I soon realized that mastery begins with understanding each component’s role. For instance, I thought a bigger steam wand meant better microfoam, but the real breakthrough was learning how to position it correctly and control the pressure. That insight transformed my approach to milk frothing and turned watery attempts into silky textures. Also, I underestimated the importance of cleanliness; a simple routine of wiping my steam wand and descaling regularly prevented so many issues and extended equipment life. These lessons weren’t obvious at first, but they laid the foundation for my elevated home espresso experience.