Why Your First Espresso Shot of the Day Is Always a Failure
I remember the first morning I decided to brew my own espresso at home. I excitedly loaded up my machine, dimly lit kitchen, and fresh beans I’d been eager to try. The moment I pressed that button, I was met with a sputtering mess—an uneven shot that tasted nothing like my favorite cafe’s perfect pull. It was disheartening, and honestly, I wondered if I’d ever master this art. Have you ever faced a similar disappointment first thing in the morning, feeling like your espresso is fighting back before you even get a sip?
It’s More Common Than You Think
That frustrating start isn’t just about bad luck or a rushed morning. It turns out, many home baristas experience their first shot of the day as a sort of warm-up failure. The good news? It’s usually something fixable, and it doesn’t require fancy equipment or secret techniques—just some understanding and minor adjustments. Today, I’ll walk you through the common pitfalls and simple steps to get that elusive perfect shot right from the first brew.
Is Your Coffee Machine Actually Worth the Hype?
Early on, I fell into the trap of believing that only high-end machines could produce great espresso. But after many experiments, I realized I was making a crucial mistake—focusing on the gear without mastering the basics. In fact, even simple machines can deliver top-tier shots if you know the right techniques. Curious about which espresso machines are truly worth your investment? Check out my guide on top-rated espresso machines for 2025 to see the best options for any budget.
Now, let’s dive into what might be causing your morning brew to disappoint and how you can set up your routine for success from the very first shot. Getting this right will make each morning a little brighter—and your coffee a lot tastier.
Dial in Your Grind Size with Precision
The foundation of a great shot starts with your grinder. I recall the first time I adjusted my grinder from coarse to finer, almost spilling coffee beans in excitement. Set your grinder to a medium-fine setting, aiming for a texture similar to granulated sugar. Pull a test shot—if it flows too quickly, make it finer; if it’s sluggish or chokes, go coarser. This initial calibration is crucial because it affects extraction and flavor balance. Use a proper coffee grinder and regularly clean it to prevent stale oils that can clog the burrs.
Optimize Your Tamping Technique
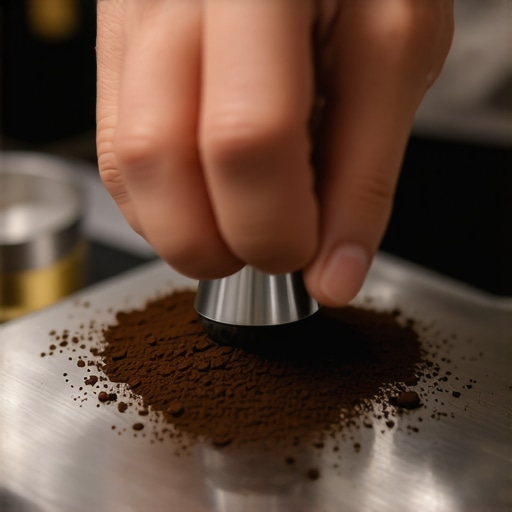
Applying even tamping pressure ensures uniform extraction. I once pressed too hard, causing uneven water flow and a bitter taste. Stand firmly, using your body weight to apply about 30 pounds of pressure—imagine trying to compress a sponge evenly. Ensure the coffee bed is level and the tamp is straight. A consistent tamping rhythm helps replicate successful shots. If your espresso pours unevenly, consider checking dosing funnel alignment or using a tamper with a flat base for better control.
Control Your Brew Time and Volume
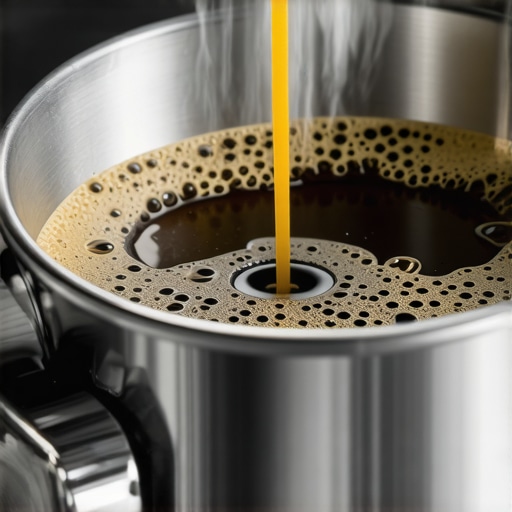
Brew time directly influences flavor. I once recorded my shots and found that a perfect shot takes around 25-30 seconds. Use a timer or scale to measure the extraction; too quick indicates under-extraction, too slow suggests over-extraction. Adjust grind finer or coarser accordingly. Keep your pressure gauge in check to ensure consistent pressure during extraction. Remember, precision in timing makes a big difference—practice regularly to develop a sense of your machine’s behavior.
Perfect Milk Texturing for Creamy Microfoam
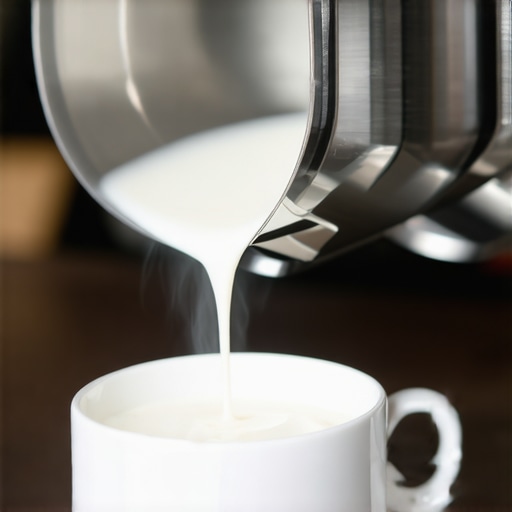
Achieving silky microfoam elevates your espresso experience. I once struggled with lumpy foam until I switched to a different pitcher angle and steamed at the right temperature. Submerge the tip just below the milk surface, and angle your pitcher to create whirlpool action. Use a handheld frother trick or your espresso machine’s wand to introduce microbubbles. Keep the pitcher moving, monitoring the temperature—ideally around 150°F (65°C)—to avoid scorched milk, which ruins flavor. Practice steaming in short bursts and listen for a gentle hissing sound, indicating proper pressure and temperature balance.
Is Your Equipment Clean and Well-Maintained?
Dirty gear impairs flavor. I neglected cleaning my group head once, leading to metallic-tasting shots. Regularly descale your machine following manufacturer instructions, and clean the portafilter and shower screen weekly. Use a soft brush to clear coffee grounds in the brew path. For grinders, remove and clean the burrs to prevent stale oils from tainting new beans. Proper maintenance ensures consistent quality—think of it as tuning your instrument before a performance.
Experiment, Record, and Refine
The key to mastery lies in consistent experimentation. I keep a simple log—a small notebook noting grind settings, tamp pressure, shot timing, and taste notes. By doing this, I identified the perfect grind size for my favorite beans and adjusted my technique accordingly. Don’t be afraid to tweak one variable at a time; even small adjustments can markedly improve flavor. Engage with the vibrant home barista community through forums or local clubs, share your findings, and learn from others’ experiences. Remember, every shot is a step toward espresso perfection, so stay patient and meticulous.
Many home baristas fall into pitfalls based on widespread myths about espresso gear, often leading to frustration and subpar results. One prevalent mistake is believing that expensive equipment guarantees perfect espresso every time. While high-end machines and grinders can offer more control, they are no substitute for mastering proper technique. For example, a study published in the Journal of Food Science emphasizes that operator skill and understanding significantly influence shot quality, sometimes more than gear quality itself. Therefore, investing in learning the nuances of extraction and maintenance often yields better results than simply upgrading your equipment.
Another misconception revolves around the importance of having the latest technology, such as advanced milk frothers or complex brew heads. Many assume that these features automatically produce superior microfoam or extraction. However, a common oops is neglecting foundational skills like proper steaming technique or consistent tamping pressure. For instance, using a high-quality milk frother without mastering the basics of milk temperature and texture will rarely achieve professional-looking microfoam. Check out my guide on how to choose the right grinder to understand their true impact.
Beware of the trap of over-reliance on gadgets designed to improve your workflow without requiring skill—like automated tampers or overly complicated shot timers. They can create a false sense of precision but often mask underlying technique issues. Instead, focus on consistent manual practices and use tools as aids rather than crutches.
For advanced enthusiasts, there’s a nuanced trap around grinder settings: many believe dialing in the grind only involves adjusting coarseness or fineness. However, factors like grinder burr alignment and even distribution of coffee in the hopper can dramatically affect consistency. Misalignment of burrs can lead to uneven grounds, causing channeling or inconsistent extraction. Regularly checking and calibrating your grinder, perhaps with the technique of burr alignment guides, can prevent such issues.
Finally, don’t overlook the importance of maintaining your gear. A common mistake is skipping regular cleaning, which leads to stale oils and clogged pathways, adversely affecting flavor and machine longevity. Research indicates that residues from oils in dirty grinders or brew groups can alter taste profiles, making your coffee taste off despite correct technique. Developing a cleaning routine, like the simple practice of deep cleaning your espresso machine, is essential.
In conclusion, understanding these nuanced aspects and avoiding common pitfalls can transform your coffee routine from trial and error into a mastery experience. Are you guilty of any misconceptions? Share your stories or ask questions in the comments—let’s keep the conversation brewing.
Keep Your Equipment Running Smoothly for Consistent Espresso
Investing in quality gear is just the beginning; regular maintenance ensures that your espresso setup continues delivering stellar shots over years. One tool I swear by is a dedicated brush for cleaning grinder burrs and chambers, like the specialized grinder cleaning brush. It helps remove stubborn oils, preventing clogs and flavor contamination. Additionally, a silicone-based lubricant for moving parts like portafilter hinges can keep your machine operating silently and smoothly, extending its lifespan.
Tools I Use Daily to Maintain Top Performance
For descaling, I prefer a solution with citric acid, such as homemade citric acid descaler. It’s gentler on components while effectively removing mineral buildup. I also keep a set of calibrated tampers—since consistent tamping pressure is crucial—and regularly check their calibration with simple tools like a bathroom scale. For microfoam perfection, I use a handheld frother, which allows me to fine-tune technique and achieve silky milk at home.
How Can I Keep My Gear Performing Year After Year?
Long-term results come from understanding wear points and scheduling routine maintenance. Monitor your espresso machine’s pressure gauge; if it strays from optimal ranges, consult manufacturer guidance—sometimes a simple pressure check and adjustment can restore consistency. Regularly replacing worn seals and gaskets prevents leaks, which can cause over-pressurization and damage. For grinders, periodically checking burr alignment—perhaps using the dry-erase marker trick—ensures uniform grind size and prevents channeling. Staying proactive with maintenance not only prolongs your gear’s life but also maintains your shot quality over time.
Scaling Your Setup Without Sacrificing Quality
If you’re considering expanding your home setup, choose adaptable, modular tools that can grow with your skills. For example, investing in a high-quality, scalable grinder like the top-rated grinder for 2025 pairs well with various espresso machines. Keep in mind that even with larger volumes, regular cleaning and calibration are paramount. Try implementing a maintenance schedule that aligns with your usage—every 200 shots, or monthly, whichever comes first. This discipline helps prevent blockages and flavor deterioration, setting a foundation for long-term success.
By maintaining your gear with specific tools and routines, you’re investing in consistent, high-quality espresso for years to come. Remember, a little effort now saves headache later—and it means more great coffee in your cup. Experiment with routine maintenance like replacing worn seals or calibrating burrs, and notice the improvement in shot stability and flavor clarity. To explore more detailed maintenance strategies, visit this contact page.
Looking to enhance your setup? Consider trying the microfoam technique with your handheld frother—it’s a game-changer for milk quality. Being proactive with your tools ensures that every shot remains as delicious as the first, whether you’re brewing alone or hosting friends. Keep your gear in prime condition, and your coffee will thank you for it.
Over time, I’ve realized that the journey to perfecting your home espresso isn’t just about technical tweaks—it’s about embracing a mindset of continuous learning and patience. One of the most valuable insider lessons I uncovered was how seemingly minor details, like the angle of your milk pitcher or the consistency of tamping pressure, can drastically influence the final cup. It’s tempting to chase after the latest gadget or expensive machine, but ultimately, honing your senses and paying attention to these subtle cues have been game-changers.
Another revelation was the importance of routine maintenance and understanding your equipment’s quirks. Regularly cleaning and calibrating my grinder and espresso machine not only improved flavor stability but also extended their lifespan. I learned to trust my own observations—like noticing a slight change in pressure gauge readings—to predict when a component needed attention. This proactive approach keeps the workflow smooth and ensures each shot is as good as the last.
Lastly, cultivating a community where sharing tips and experiences is encouraged has enriched my espresso practice beyond what I could have imagined. The collective wisdom of fellow home baristas often highlights simple yet overlooked adjustments that can elevate the entire experience. If you haven’t connected with other enthusiasts, I highly recommend it—it’s inspiring and often provides solutions that aren’t covered in manuals.
What Secrets Do Expert Home Baristas Keep Quiet?
- One lesson I wish I knew earlier is how vital it is to develop a tactile sense for tamping pressure. Using a bathroom scale to understand how 30 pounds of force feels in practice can make your shots remarkably more consistent. Don’t dismiss the value of simple tools when mastering manual techniques.
- Another insight is the significance of micro-adjustments—changing your grind size or tamp pressure by a tiny fraction can be the difference between a watery mess and rich, balanced espresso. Patience and meticulous calibration are your best friends.
- I’ve also learned to listen keenly to the sounds of my machine and steamer. An odd hissing or vibration often signals a minor issue that, if addressed early, prevents bigger problems down the line. Developing this sensory awareness elevates your troubleshooting skills beyond mere guesswork.
Tools and Tips That Saved My Brew
- Precision Scale: Investing in an accurate, simple digital scale helps me measure extraction time and dosage with confidence. It’s a cornerstone for dialing in perfect shots and ensuring consistency.
- Proper Grinder Maintenance Kit: Regularly cleaning burrs and adjusting alignment using guides like the dry-erase marker trick keeps grounds uniform and prevents channeling, leading to better extraction.
- Microfoam Technique: Mastering the art of steaming milk, especially using resources like microfoam tricks with simple tools, transforms your latte into a work of art—creamy, shiny, and consistent every time.
- Routine Maintenance Schedule: Establishing weekly cleaning rituals and checking pressure gauges ensures my gear performs at peak, delivering the best flavor and texture without surprises.
- Engaging Community: Sharing my experiences on forums and reading others’ stories constantly offers fresh perspectives and troubleshooting ideas that I wouldn’t discover alone.
Your Next Espresso Step Starts Today
Now is the moment to embrace these personalized insights and turn your home espresso from good to exceptional. Remember, perfection isn’t a destination—it’s a continuous evolution driven by curiosity, care, and community. Your coffee journey has no finish line; every shot is an opportunity to learn and savor. Keep refining your technique, maintaining your gear, and sharing your progress—greatness is brewed one espresso at a time.
What’s the biggest change you’ve made that improved your espresso? Feel free to share your story below—I’d love to hear how your journey is unfolding!
**,