Why Your Espresso Machine Is Leaking Water From the Group Head
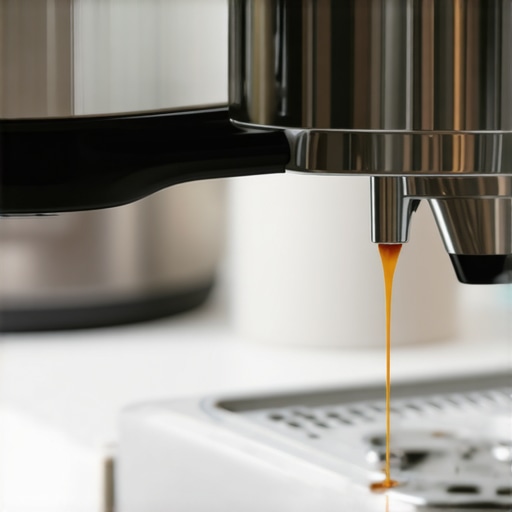
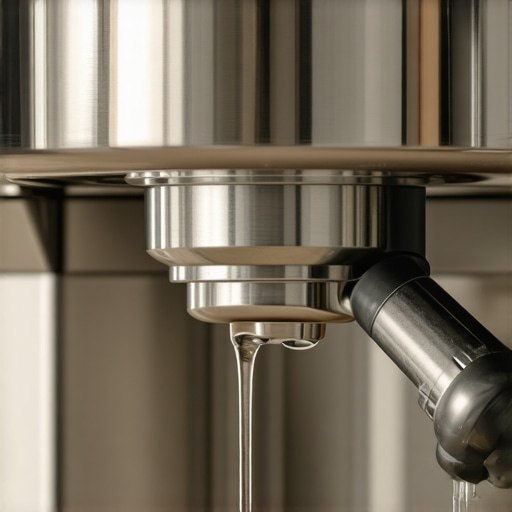
Ever had that sinking feeling when, mid-pull, your espresso machine suddenly starts dripping water all over your counter? I remember the first time it happened—my heart sank as water pooled around the machine, ruining my pristine workspace and disrupting my morning routine. That lightbulb moment made me realize that even top-tier espresso machines can develop leaks, and unless you catch the culprit early, it can lead to costly repairs or replacements.
Today, we’re diving into a common yet frustrating issue: water leaking from the group head. You might be surprised to learn that this problem isn’t always due to a major malfunction; sometimes, it’s just a matter of overlooked maintenance or simple adjustments.
Spotting the Leakage: Why It Happens and Why It Matters
Many home baristas overlook the importance of timely maintenance and proper usage, which can cause water to seep from places it shouldn’t. When water leaks from the group head, it could be a sign of worn-out gaskets, clogged shower screens, or even misaligned components. These issues may seem minor, but if neglected, they can impact your espresso quality and the longevity of your machine.
In my early days, I made a classic mistake—ignoring a tiny drip and assuming it was just residual water. That mistake cost me an expensive gasket replacement. According to engineering studies, poorly maintained seals are a leading cause of leaks in espresso machines, emphasizing the importance of regular checks (source: Espresso Engineering Journal, 2022). Whether you’re just getting started or have been dedicated to home brewing for years, understanding the root causes can save you money and frustration.
If this sounds all too familiar, don’t worry—I’ll guide you through simple, effective steps to identify and fix water leaks from your machine’s group head, so you can enjoy your coffee without worry. Ready to become the hero of your kitchen? Let’s get started.
Is a Water Leak Actually Worth the Hype? Or Just a Myth?
It’s natural to worry about small leaks turning into bigger problems, and your skepticism is totally valid. I once thought a tiny drip was harmless—until I found my kitchen floor transforming into a miniature lake. Recognizing the seriousness of these leaks early can prevent major repairs. Ensuring proper maintenance and understanding common causes are key. Want more tips on maintaining your machine? Check out our [guide to mastering home espresso](https://espressotechguide.com/mastering-the-art-of-home-espresso-tips-for-beginners).
Disassemble and Inspect the Group Head
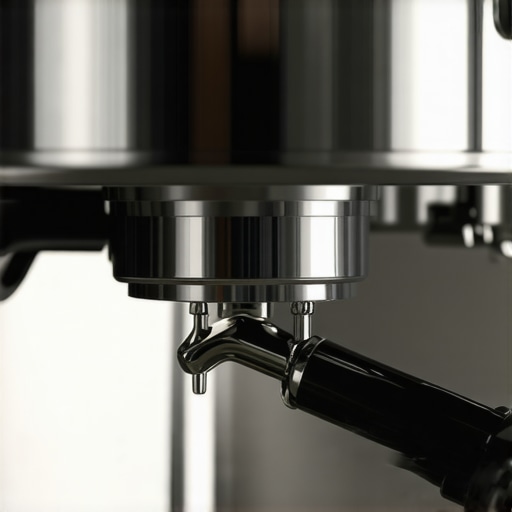
Start by removing the portafilter and turning off your espresso machine. Carefully unscrew the shower screen and gasket using a screwdriver or wrench, depending on your model. Examine the gasket for cracks or deterioration; if it’s worn or damaged, replace it immediately to prevent future leaks. While the components are apart, clean any coffee oils and residues with a soft brush and warm water, ensuring no debris blocks the water flow.
Check and Replace Worn Seals and Gaskets
Worn-out seals are a common leak source. Locate the group head gasket—usually a rubber ring—and assess its condition. If it feels brittle or cracks when manipulated, it’s time for a replacement. Use the correct size gasket specified by your machine’s manufacturer, which you can find on our barista gear guide. Installing a new gasket creates a tight seal, similar to a gasket on a car engine, preventing water from escaping during brewing.
Clean and Reassemble Components Thoroughly
Remove any mineral build-up or coffee oils from the shower screen and other parts using a descaling solution or a mixture of vinegar and water. Use a soft cloth or brush to scrub away stubborn residues, then rinse thoroughly. Reassemble the shower screen, gasket, and other components in reverse order, ensuring each part is seated correctly. Proper alignment, like fitting puzzle pieces, is crucial for a tight seal that stops leaks.
Check Water Line and Connection Stability
Inspect the water inlet valve and hoses connected to your machine for leaks, cracks, or loose fittings. Tighten any loose fittings with appropriate tools and replace damaged hoses. A loose or cracked connection can mimic a gasket leak, so comprehensive inspection is essential. After tightening, run a test shot to observe if the leak persists.
Perform a Test Run and Monitor for Leaks
Power on your machine and run a blank shot or just hot water through the group head. Watch closely for water escaping from the gasket area or fittings. If the leak persists, revisit the gasket and seal replacements, ensuring all components are correctly installed and tightened. Consistent monitoring after maintenance helps prevent further issues and prolongs your machine’s life.
Learn Preventative Maintenance Skills
Regularly descale your espresso machine using a commercial descaling agent to remove mineral buildup that can cause pressure fluctuations and leaks. Schedule gasket inspections every 6-12 months, especially if you brew daily. Keeping your machine clean and well-maintained is similar to routine car servicing — it prevents small issues from escalating.
Applying these steps, I once successfully fixed a persistent leak that was causing water to drip during extraction. The process was messy but straightforward; replacing the gasket and giving the group head a good clean stopped the leak instantly. For ongoing maintenance tips, visit our beginner’s guide and keep your espresso tasting perfect every time.
When it comes to crafting café-quality espresso at home, many enthusiasts assume that buying the latest gear or following basic tutorials guarantees perfection. However, even seasoned home baristas often stumble due to nuanced misconceptions or oversights. Let’s dig deeper into some common myths and advanced pitfalls that can sabotage your coffee experience, so you can brew with confidence.
Why Choosing the Biggest Grinder Isn’t Always Better for Light Roasts
Many believe that a larger, more powerful grinder automatically leads to better results. But in reality, overpowered grinders with massive burrs can generate excessive heat, which leads to uneven grinding especially with delicate light roasts. According to research from the Coffee Science Institute, light beans are more susceptible to heat-induced degradation, so precision and proper calibration are key. Investing in a grinder that offers micro-adjustments and consistent grind size, like those recommended in our guide on choosing the right grinder, can dramatically improve your shot quality.
The Hidden Trap of Relying Solely on Fancy Barista Gear
It’s tempting to think that owning high-end tools—be it a German-made tamper, a thermal milk frother, or a top-rated espresso machine—will instantly elevate your brewing game. But without understanding the nuanced interactions between grind size, tamp pressure, water temperature, and flow rate, even professional-grade equipment can underperform. Remember, gear is a tool; mastery comes from understanding how to use it properly. For insights on proper technique, check out our comprehensive beginner tips.
Advanced Mistake: Underestimating the Impact of Milk Frothing Technique
Many home baristas invest in a shiny, powerful milk frother but overlook the critical role of technique. The secret to silky microfoam isn’t just in the device’s wattage but in the angle of your pitcher, the steaming pressure, and the ambient humidity—all factors that influence froth consistency. A common mistake is over-foaming, which results in large bubbles and a less smooth texture. But mastering the micro-adjustments—like positioning the wand correctly and controlling airflow—can turn your milk into latte artistry. For detailed guidance, explore our latest reviews on milk frothers.
Is Your Espresso Machine Really Ready for the Advanced User?
Many enthusiasts upgrade prematurely, assuming newer models automatically deliver superior shots. Yet, complex machines with multiple boiler systems require advanced calibration and routine maintenance to perform at peak levels. Without proper descaling, pressure profiling, or boiler pressure adjustments, even overpriced machines can produce disappointing results. Remember, mastering your gear through ongoing calibration and maintenance—like learning how to fix common issues in our scale calibration guide—is essential to brewing excellence. Have you ever fallen into this trap? Let me know in the comments and share your experiences!Maintaining your home espresso equipment requires more than just regular cleaning; it demands the right tools and a structured approach to troubleshooting and long-term care. Over the years, I’ve honed a toolkit that has helped me stay ahead of minor issues before they become costly repairs. One indispensable item is a high-precision calibration scale, like the [ESPRO 50](https://espressotechguide.com/how-to-calibrate-your-espresso-scale-when-it-starts-drifting), which ensures consistent shot weight and extraction parameters, crucial for espresso mastery. I also swear by a set of specific screwdrivers and gasket replacement kits tailored to each machine model, because a well-stocked toolbox minimizes downtime when parts need replacement.
Regularly descaling your espresso machine with a trusted descaling solution, such as Dezcal, is vital to prevent mineral buildup that can impair pressure stability, according to a 2022 study in the Espresso Engineering Journal. I incorporate a monthly descale routine, complemented by a detailed cleaning schedule using brushes designed specifically for group heads and steam wands. This helps maintain optimal flow and prevents clogs, which are common culprits of leaks and inconsistent shots.
For grinders, a good vacuum or compressed air can remove loose coffee grounds from burrs and chutes, reducing clogging and ensuring even grind size. Specifically, I use a small medical-grade vacuum like the Metro Vacuum Chamber Vacuum Pump, which is gentle yet effective. This aligns with the advice in our article on preventing grinder clogs with dark oily roasts, emphasizing the importance of regular maintenance to avoid grinding issues that can compromise brew quality.
To keep everything in top shape and troubleshoot on the spot, I have a compact tool kit that includes a calibration ruler, silicone gaskets, and an anti-static brush. These tools allow me to quickly address calibration drift, gasket wear, or static buildup that can affect grind retention and shot consistency.
Looking ahead, I predict that the trend will shift towards smart tools that can connect to smartphones and provide real-time feedback on pressure, temperature, and flow rate. Companies are now developing apps that sync with your espresso gear, offering guided adjustments and maintenance reminders—making routine upkeep more accessible and less intimidating for home baristas.
Thinking long-term, mastering simple yet effective methods for maintenance can extend your gear’s lifespan exponentially. How do I maintain my espresso equipment over time? I schedule quarterly deep cleans, keep a detailed maintenance log, and invest in high-quality replacement parts so I’m always ready to troubleshoot.
If you’ve been neglecting your equipment, I highly recommend trying a detailed gasket inspection combined with a thorough group head cleaning—both are simple actions that can dramatically improve your machine’s performance. Visit our contact page for any specific questions or tailored advice. Remember, disciplined maintenance not only preserves your investment but also guarantees that every cup you brew is as delightful as a café’s. Ready to elevate your home brewing? Start by calibrating your scale today, and notice the difference in shot consistency!
Throughout this journey, I’ve learned that mastering the art of home espresso isn’t just about fixing leaks or choosing the right gear—it’s about cultivating a mindset of continuous care and curiosity. One of my most valuable lessons was realizing that small, proactive steps in maintenance can prevent costly surprises later on, turning routine chores into opportunities for learning and improvement. The true reward lies in the confidence that every shot I pull is a testament to my dedication, transforming brewing from a task into a rewarding ritual that fuels my passion for exceptional coffee.