The simple paper shim trick to align your flat burrs correctly
Have you ever pulled a shot of espresso only to be disappointed by a dull, uneven extraction? I remember the first time I experienced this frustration—my beans tasted flat, and my machine suddenly felt more like a chore than a joy. It was during one of those late-night attempts to perfect my brew when I stumbled upon a simple yet effective trick involving a paper shim to align my flat burrs. That moment transformed my coffee routine, saving me time and countless wasted beans.
Why Proper Burr Alignment Makes All the Difference
As home baristas or even seasoned enthusiasts, we often overlook the importance of burr alignment in achieving that ideal espresso shot. Misaligned burrs can cause uneven grinding, leading to channeling and under-extraction, which ruin the flavor profile you’re working so hard to perfect. The good news? There’s a straightforward, low-cost method I’ve used repeatedly—placing a paper shim between the burrs—to ensure they sit perfectly parallel. This technique can drastically improve grind consistency and ultimately elevate your espresso quality.
Is This Simple Trick Really Effective?
I’ll be honest—I was initially skeptical. After all, it sounds almost too simple to address such a precision issue. My early mistake was assuming that fiddling with adjustments or replacing parts was the only way to fix burr misalignment. However, previous experiments with adjusting grind settings only introduced more variability, and I realized I was missing a fundamental step. Research, including insights from a trusted resource, confirms that tiny gaps can cause big problems, and a quick shim can close those gaps flawlessly. If you’ve faced uneven shots despite proper tamping and calibration, this just might be your game-changer.
Remove the Bean Hopper and Prepare Your Grinder
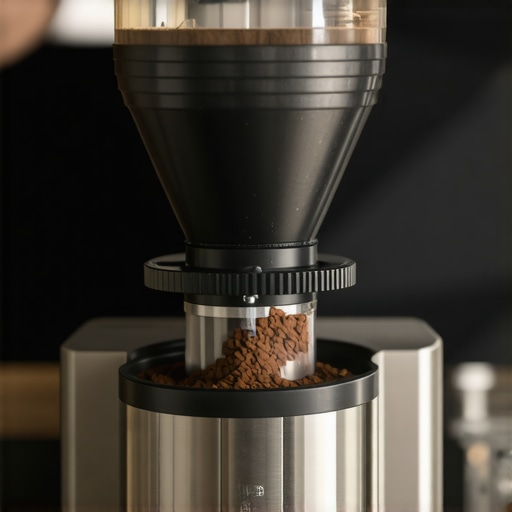
Start by turning off your grinder and carefully removing the bean hopper to access the burrs. Use a soft brush to clear any loose grounds, ensuring nothing obstructs the alignment process. This step prevents contamination and gives unobstructed access to the burrs for precise adjustment.
Identify the Burr Alignment Issues
Visually inspect the burrs for uneven positioning or visible gaps. Run a small amount of coffee through the grinder; if you notice inconsistent grind size or uneven dispersion, misalignment is likely. Remember, even slight tilts can cause channeling during extraction, leading to bitter or sour shots.
Use a Paper Shim to Correct Burr Alignment
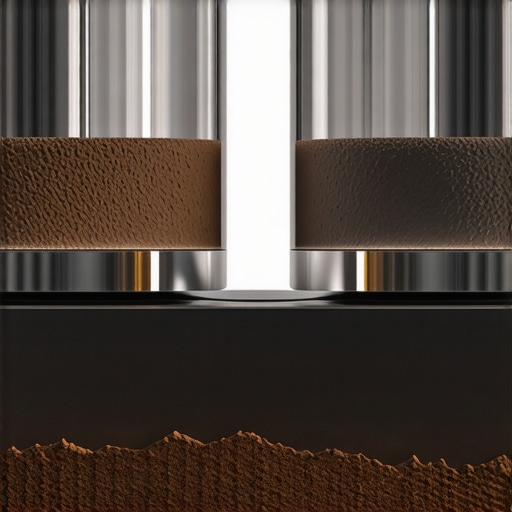
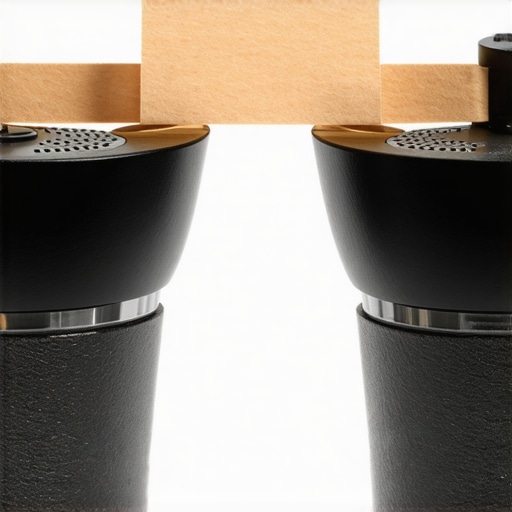
Take a clean, thin piece of plain white paper—about the size of an index card. Insert the paper between the burrs at the point where they seem misaligned. Gently tighten the adjustment nut or screw while pressing down with the paper, ensuring the burrs sit as parallel as possible. This technique is quick, low-cost, and effective for most flat burr grinders, including this proven method.
Test and Fine-Tune the Burrs
After placing the shim and tightening the adjustment, run a test grind on the coarsest setting. Measure the grind consistency—uniform particle size is the goal. If the grind is still uneven, readjust by slightly loosening or tightening the screw, inserting the paper shim again if needed. Repeat until the grind size is consistent across the burrs.
Calibrate for Optimal Performance
Once aligned, recalibrate your grinder to your preferred grind setting. Use a calibrated scale to ensure precision. Perform test shots, observing extraction flow—the stream should be steady and without tunneling or channeled streams. If issues persist, revisit the alignment steps, as even tiny misalignments can have huge impacts on brewing quality.
Regular Checks and Maintenance
Burr alignment isn’t a one-time fix. Periodically, check for wear or accidental bumps that could shift the burrs out of alignment. Doing this every 3-6 months ensures your grinder produces consistent, high-quality grinds, preserving flavor and aromatic complexity. For more about maintenance routines, visit this detailed guide.
Many coffee enthusiasts believe that choosing expensive equipment guarantees perfect brewing, but in reality, understanding the nuances of your gear matters more than price tags. For instance, a misconception is that high-end espresso machines automatically produce better shots—while they can, improper maintenance or mismatched accessories like unsuitable grinders can undermine their potential. As I often emphasize in this guide, selecting gear tailored to your specific needs is crucial.
Another common trap involves milk frothers. Many assume that a fancy, multi-function frother yields better microfoam. However, quality depends on technique and control, not solely on device features. Overlooking the importance of proper steaming techniques or not calibrating your equipment can lead to disappointing results.
One of the most overlooked aspects is the coffee grinder. A prevalent myth is that setting and forget is acceptable; in contrast, precision in grind size and regular maintenance dramatically influences extraction quality. Using inappropriate grinders for espresso—like blade grinders—can result in uneven particle sizes, causing channeling and sour or bitter shots.
What about home espresso machines? Many enthusiasts buy compact, budget-friendly options assuming they can’t achieve cafe-quality espresso. While minor, these machines can produce excellent results with proper technique. The key is understanding their limitations and learning how to optimize every element, from tamping to temperature stability.
Let’s challenge a pervasive belief: that equipment alone is enough to craft perfect espresso. In fact, too much focus on gear can distract from mastery of the process. For example, placing a premium grinder on a shaky countertop nullifies its benefits. As shared in this article, the real secret lies in harmony—matching your gear with disciplined technique.
Beware of the ‘more gear equals better coffee’ trap; unnecessary upgrades often lead to confusion and costs without tangible improvements. Instead, invest in learning and maintaining your equipment meticulously. Regular calibration, cleaning, and understanding the specific roles of each component make a formidable difference. For example, calibrating your grinder to the correct particle size ensures consistent shots, as explained in this calibration guide.
Finally, advanced users should consider the hidden nuances that differentiate good from great—not just gear, but also timing, pressure profiling, and extraction analysis. This depth of knowledge turns a routine coffee into a craft. As I often discuss in my deeper guides, the difference between a decent shot and a stellar one hinges on mastering these subtleties.
Have you ever fallen into this trap? Let me know in the comments, and remember: mastering your gear’s potential is a journey of continuous learning and fine-tuning.
Keep Your Gear Running Like New
Maintaining your espresso setup is crucial for consistent results and extending the lifespan of your equipment. Regular cleaning schedules prevent buildup that can compromise flavor and performance. I personally use a dedicated cleaning schedule—at least monthly—to ensure my grinder and machine stay in peak condition. For grinders, a thorough burr cleaning with specialized brushes ensures uniform grind size and avoids flavor contamination. A deep clean involves disassembling parts like the brew group and steam wand, then soaking them in vinegar or specialized descaling solutions, as detailed in this guide.
What Tools Make Maintenance Easier?
Investing in quality tools saves time and improves the thoroughness of your upkeep. For grinders, a calibrated digital scale helps you dial in consistent doses, while a portafilter dosing funnel prevents grounds from flying and keeps your workspace tidy. For espresso machines, a sealing kit makes replacing worn gaskets straightforward, reducing leaks and pressure issues.
Predicting the Future of Coffee Gear
Advancements in smart technology are beginning to influence home espresso setups. From app-controlled grinders to AI-based calibration tools, the future promises even greater precision with less manual effort. Emerging tools like
automatic cleaning pods and sensor-driven maintenance alerts will become standard, helping enthusiasts maintain optimal performance without extensive technical knowledge.
How do I keep my equipment performing over time?
Establishing a routine maintenance schedule is essential. Regular cleaning, using the right tools like calibrated scales and personal-grade brushes, prevents common issues like uneven extraction or strange noises. Additionally, always use high-quality water and descaling solutions to prevent mineral buildup, which can be found in depth at this maintenance guide. Incorporate periodic checks on gaskets, seals, and electrical connections—small investments of time now save costly repairs later. I highly recommend trying a monthly deep-clean routine involving vinegar descaling and burr maintenance; it’s a simple step that yields immediate quality improvements.
Looking back, one of the most eye-opening lessons in my coffee journey was realizing how tiny misalignments can sabotage your entire brewing process. It’s easy to focus on grind size or tamping pressure, but neglecting burr alignment is like trying to paint a masterpiece on crooked canvas—no matter how talented you are, the result won’t be perfect. Once I embraced the importance of precise burr positioning, my shots became consistently rich, balanced, and aromatic. That discovery transformed my approach and reignited my passion for home espresso.
The Lesson of Zero Tolerance for Misalignment
One lightbulb moment came when I noticed how even a slight tilt in the burrs caused uneven grounds and channeling. It was frustrating to chase small adjustments, only to find the problem persisted. The breakthrough was understanding that burrs must sit perfectly parallel—nothing less. Using simple tools like a paper shim made this process accessible and effective. Now, I routinely check my grinder’s burr alignment after every deep clean or accidental bump, ensuring every shot remains a testament to consistency.
My Unexpected Shortcut for Fast, Accurate Alignment
Initially, I thought aligning burrs was time-consuming and complicated. But a quick trick—slipping a thin piece of paper between the burrs and gently tightening—became my go-to. It’s a low-cost, straightforward method that preserves your grinder’s longevity and saves money on professional adjustments. This technique, inspired by trusted resources, works remarkably well, especially if you want to maintain a razor-sharp grind profile without fussing over tiny screws.
Why Regular Checks Save Coffee Dramas
Regularly inspecting and re-aligning the burrs isn’t just about perfection—it’s about safeguarding your investment. Over time, vibrations or accidental knocks can introduce subtle misalignments that compromise flavor and consistency. By developing a routine of quick checks and minor tweaks, I avoided costly repairs and retrained my palate to recognize the difference. A disciplined maintenance habit turns your grinder into a reliable partner in your espresso artistry.
From Frustration to Confidence in Your Coffee Ritual
Mastering burr alignment isn’t just a technical skill—it’s an empowering step towards brewing confidence. When you understand and control this often-overlooked detail, every shot becomes a chance to enjoy the fruits of your efforts. It’s a reminder that the road to perfect espresso is built on small, deliberate improvements—just like finding the balance in a great shot. For those ready to get serious about their home setup, I recommend exploring detailed guides and tools, like the calibrated scales and maintenance accessories, to keep your gear in top shape.
Take Action and Elevate Your Espresso Game
There’s no better time than now to double down on your technician skills—grab a paper shim, check your burr alignment, and taste the difference. Remember, even the best beans can’t rescue misaligned burrs; precision at this stage is key. Have you ever struggled with inconsistent grind size or uneven shots? Share your experiences below and let’s grow together in this craft of coffee mastery.