The secret to consistent puck prep without a fancy WDT tool
I’ll never forget the moment I watched a barista at my favorite local cafe meticulously tamp her espresso, then whip out a fancy WDT tool. I felt a flicker of envy, but also a sinking feeling—I couldn’t justify dropping hundreds on gear I didn’t fully understand. As a home barista, I struggled for ages to get consistent puck prep, especially without that shiny, high-end tool. Sometimes, my shots were great; other times, they tasted flat or sour. Frustration mounted, and I wondered if I was missing some secret trick.
The Struggle for Consistency in Puck Preparation
Like many coffee lovers, I thought that having the latest gadgets was the key to perfect espresso. That was until I realized that all the fancy tools won’t make a difference if I don’t understand the fundamentals of puck prep. I kept chasing quick fixes, assuming that tools like WDT (Weiss Distribution Technique) tools were the magic bullet. But the truth is, consistent puck prep is more about technique and habit than the gear itself. This revelation was a game-changer. You see, many home baristas, myself included, fall into the trap of believing that complexity equals quality. But I learned that simple, effective practices can outperform expensive accessories, provided you adopt them with intention.
Is Your Coffee Routine Truly Worth the Hype?
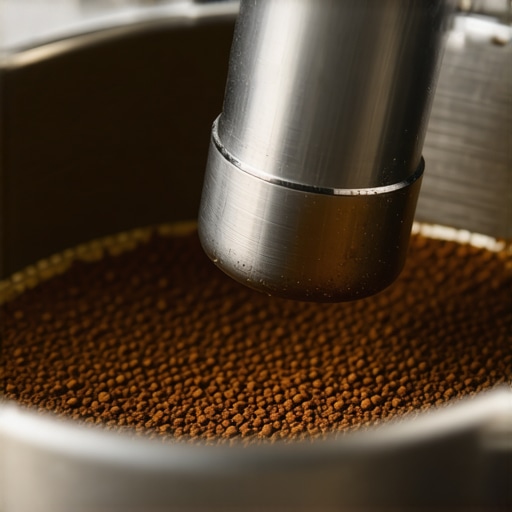
Early on, I made the mistake of over-tamping or not distributing grounds evenly, thinking that the weight of my tamper would compensate. Turns out, that was a rookie error. According to expert advice from home espresso tips, even small inconsistencies in puck prep can lead to channeling and uneven extraction. So, if you’re struggling with inconsistent shots, you’re not alone. And the good news? You don’t need expensive tools to fix this. In fact, I found that focusing on technique and simple tweaks can give you the same, if not better, results.
Are you tired of wasting coffee and getting disappointing results? Well, you’re in the right place. Over the next sections, I’ll share exactly how I learned to prepare a consistent puck—without breaking the bank or cluttering my countertop with gadgets. This journey has made my mornings smoother and my espresso more satisfying than ever. Ready to ditch the hype and get real on puck prep? Let’s dive in and reclaim control over your shot quality.
Establish a Solid Dose Routine
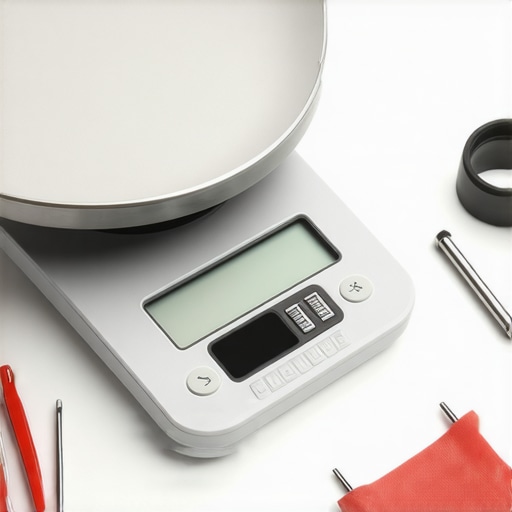
Start with a consistent coffee weight—typically 18-20 grams for double shots. Use a calibrated scale like the best home espresso gear to measure accurately. Micro-story: Once, I used a scoop instead of a scale, and my shots varied wildly. Switching to a scale brought immediate stability.
Use a Dosing Funnel
Prevent grounds from spilling with a funnel—this ensures uniform fill and less mess. I found that a simple dosing funnel improved my consistency without额 extra effort.
Distribute Grounds Evenly
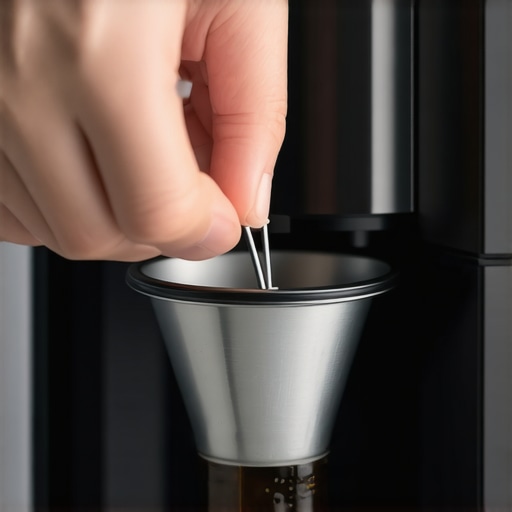
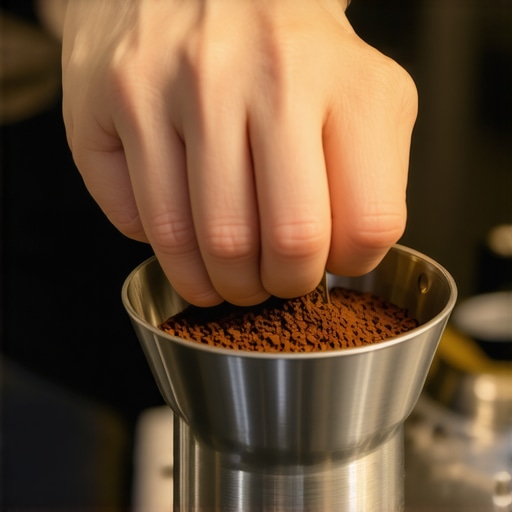
Apply consistent distribution techniques to ensure even puck density. The Weiss Distribution Technique (WDT) involves inserting a needle or pin to break up clumps and distribute grounds evenly. Think of it like stirring soup to prevent hotspots—helping extraction uniformity. Micro-story: I used a fine plastic needle to gently stir, reducing channeling during extraction significantly.
Tap and Level Properly
After distributing, gently tap the portafilter to settle grounds, then level the surface with a tamper. Use a tamper with a flat base and apply firm, even pressure. Remember, a proper tamp creates resistance and consistent flow. I once pressed too hard, causing uneven extraction; now I apply a firm, controlled push.
Perfect Your Tamping Technique
Hold the tamper like a steering wheel—firm grip, level apply. Aim for 30 pounds of pressure, roughly consistent every time. Imagine pressing a button—too hard and you risk compacting unevenly, too soft and it’s loose. Micro-story: I used a bathroom scale under my tamper to calibrate my pressure, making my tamp more predictable.
Plan Your Extraction Parameters
Set your machine to optimal parameters—temperature around 200°F, pressure at 9 bar. Pre-wet (bloom) the grounds for 5 seconds, then proceed with your shot. Consistent timing, say 25-30 seconds, guarantees comparability. I adjusted my grind finer until the shot took 27 seconds, yielding a balanced shot that I could replicate.
Use a Dosing Tool for Burrs
To avoid uneven grind size, regularly clean your grinder’s burrs and check for dullness using the dull burr test. This keeps extraction even and prevents channeling caused by inconsistent particle sizes.
Final Puck Check
After pulling the shot, examine the puck. It should be dry, evenly compressed, and with a slight sheen. If wet or sludgy, revisit your distribution and tamping. Remember, small adjustments in these steps lead to big improvements—similar to tuning a musical instrument for perfect harmony.
Practice with Purpose
Set aside dedicated time for each step, focus on technique, and keep mental notes. Even messy attempts will teach you what works. Micro-story: I spent a weekend practicing one technique at a time, which led to consistent, delicious shots and less waste.
Applying these concrete steps without overcomplicating your process can dramatically improve your puck prep and overall espresso quality. For more insights into equipment selection, visit top-rated espresso machines.
 Many home baristas believe that investing in high-end equipment guarantees perfect espresso, but in reality, most misunderstand the nuanced role that gear plays in the brewing process. For example, there’s a widespread myth that expensive grinders automatically produce consistent particle sizes, but studies show that even premium grinders can produce uneven grounds if not properly maintained or calibrated (source). It’s a fallacy to think that a more costly espresso machine yields better shots without adjusting variables like grind size, dose, or tamping technique—you might be throwing money at features that don’t address your actual needs. A common trap that many fall into is believing that milk frothers alone will improve milk texture; however, the quality of foam depends more on technique and milk freshness than on the device itself, as discussed in this guide. Conversely, the advanced misconception revolves around over-reliance on specific equipment for professional results. For instance, some think that a bottomless portafilter guarantees perfect extraction; but, actually, issues like channeling often stem from puck prep inconsistencies rather than the portafilter type. An overemphasis on gear can obscure the real skills that produce excellent espresso. If you’ve ever bought an expensive grinder expecting flawless shots, only to realize that technique matters more, you’re not alone. I’ve made this mistake myself, thinking that an elite espresso machine would compensate for my inconsistent grind or tamp. The truth is: gear is just one part of the equation, and neglecting fundamentals can be a costly oversight. To avoid getting caught up in gear hype, focus on understanding the nuances of your equipment—regular calibration and maintenance are key, as shown in this article. Remember, great coffee results from mastering the interplay of precision, technique, and appropriate gear, not equipment alone. Have you ever fallen into this trap? Let me know in the comments.
Keep Your Equipment in Peak Condition
Investing in quality barista gear is just the beginning; regular maintenance ensures your espresso setup continues to perform at its best. For example, personally I swear by weekly deep cleans of my grinder’s burrs, using a dedicated cleaning brush and specialized cleaning tablets. This prevents residue buildup that can dull grind consistency and introduce off-flavors. For espresso machines, descaling every three to six months depending on water hardness extends the lifespan of internal components and preserves optimal temperature and pressure. Proper grinder maintenance is crucial, and tools like a burr calibration key can help preserve grind size consistency over time. Regularly inspecting water filters and replacing them when needed guards against mineral buildup and scaling that impair performance and taste.
What Tools Make Maintenance Easier
For day-to-day upkeep, I rely on a few specific tools. A dosing funnel keeps grounds contained during refills, reducing mess and uneven doses. For cleaning milk frothers, a dedicated brush and descaling solution prevent milk crust buildup and maintain smooth operation. Investing in a quality manual frother cleaner helps avoid the high-pitched whines and poor texture that develop over time. Also, a cleaning kit for your drip and water tanks minimizes microbial buildup and keeps water tasting fresh.
Why Routine Checks Are a Game Changer
Consistency is everything, and routine checks can catch minor issues before they ruin a shot. Regularly inspecting the portafilter gasket or sealing ring can prevent leaks and channeling. I set a monthly calendar reminder to verify that the pressure gauge on my machine is calibrated and that the steam wand’s seals are intact. This not only prolongs the life of expensive components but also ensures each shot is as good as the last. A well-maintained machine offers a predictable, high-quality experience that’s worth the extra effort.
Predicting Future Trends in Coffee Maintenance
Looking ahead, automation and smart diagnostics are poised to revolutionize how we care for our gear. IoT-enabled espresso machines could soon alert us when filter replacement or descaling is needed, reducing guesswork and extending equipment lifespan. As technology advances, early adoption of these tools can save time and money, ensuring your coffee setup remains reliable. For now, I recommend integrating simple routines and leveraging reliable tools like a dedicated cleaning brush and calibrated scales to keep your gear in prime condition. Try implementing a weekly maintenance schedule—your future self will thank you for the consistent, delicious shots every morning.
Over the course of my journey with home espresso, I realized that the most powerful improvements often come from simple, deliberate techniques rather than expensive gear. The biggest lesson I’ve learned is that mastery of foundational puck prep—consistent dosing, even distribution, and proper tamping—trumps chasing after the latest gadgets. It’s easy to fall into the trap of thinking that an upgrade will automatically elevate your shots, but true quality stems from understanding and refining your process. When I shifted my focus from tool obsession to technique, the results became notably more consistent and satisfying. Remember, every great barista started with basics, and so can you, by honing your skills one step at a time.
The Hardest Lesson I Learned About barista gear,home espresso,coffee grinders,milk frothers,espresso machines
- I once believed that upgrading my grinder would solve all my extraction issues, but I ignored regular cleaning and calibration. It wasn’t until I cleaned and calibrated the grinder that I saw real improvement. That taught me that maintenance is as crucial as the tools themselves.
- Discovering that even a simple plastic needle could improve distribution and reduce channeling was eye-opening. It made me realize that simple, inexpensive tricks often outshine complex gadgets.
- From experimenting with tamping pressures, I learned that consistency is key. Using a bathroom scale to measure a uniform 30 pounds of tamping force instilled confidence and repeatability in my shots.
- Adjusting my grind size and dose based on shot time and puck appearance highlighted that understanding your equipment lets you make informed tweaks—tools alone can’t do this work for you.
- Finally, I grasped that patience and practice are the real secrets. Rushing through puck prep leads to inconsistency; taking time to refine each step yields better espresso and a more rewarding experience.
My Essential Toolkit for Coffee Mastery
- Calibrated digital scale: Precise dosing forms the foundation of consistency. I trust my scale for accuracy because it’s helped me develop a workflow that I can replicate every morning.
- Dosing funnel: Prevents mess and uneven fill, saving time and ensuring uniform puck weight—simple but impactful.
- Needle or pin for WDT: Breaking up clumps and distributing grounds evenly is more accessible than you might think and drastically reduces channeling.
- Flat-topped tamper: Applying firm, even pressure with a consistent tamp builds muscle memory and shot reliability.
- Regular grinder cleaning tools: Brushes and cleaning tablets that keep your grinder burrs free of residue. Well-maintained equipment performs at its best, which is non-negotiable for quality brewing.
Take Action and Elevate Your Coffee Game
Now is the moment to embrace the fundamentals of puck prep with renewed confidence. Your journey doesn’t need to be complicated—start small, focus on consistency, and celebrate each improvement. With mindful technique and a few reliable tools, you can transform your home espresso routine from frustrating to fulfilling. Keep experimenting, stay curious, and remember that mastery is a marathon, not a sprint. The world of great espresso is within your reach—every shot is a step closer. Why wait to taste the difference your dedication can make? Share your experiences or questions below, and let’s keep the conversation brewing.