3 simple pipe cleaners that unclog a blocked steam tip fast
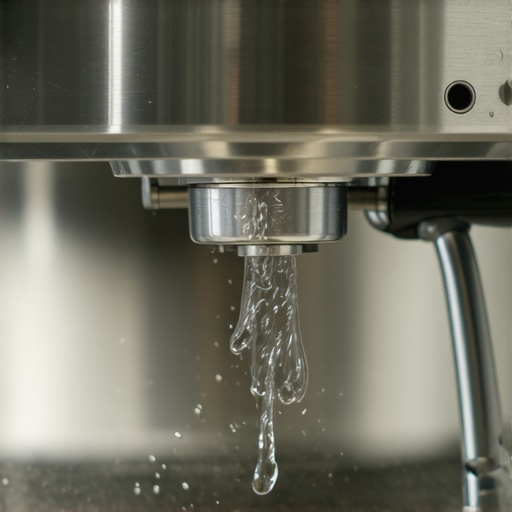
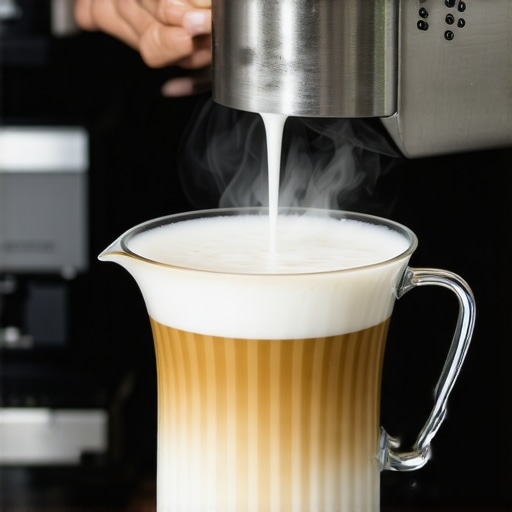
Picture this: you’re mid-morning, ready to craft that perfect microfoam, only to be greeted by a stubborn, sputtering steam wand. Frustration creeps in as your carefully steamed milk turns out lumpy and uneven. I can’t tell you how many mornings I’ve stared at my espresso machine, desperate to fix a clogged steam tip that just wouldn’t clear. It’s a tiny problem, but it can derail an entire coffee session.
The Hidden Struggle of a Blocked Steam Tip
Having experienced that annoying blockage firsthand, I realized I needed a quick, effective solution—something simple enough to fix in a flash without diving into complicated disassembly or buying new parts every time. That’s when I stumbled upon an unexpected hero: just three common pipe cleaners. Yes, those flexible, inexpensive brushes you might already have in your toolbox or craft supplies drawer. Turns out, they are surprisingly effective at clearing out those stubborn clogs in your espresso machine’s steam tip, restoring its performance instantly.
In today’s post, I’ll walk you through how I use these simple tools to solve a problem that’s been a persistent headache for many coffee lovers. No more waiting for repairs, no more guesswork—just quick, practical tips to get your steam wand flowing smoothly again.
Ever Faced This Dumb Little Obstacle?
If you’ve ever tried to steam milk only to find your wand sputtering or dripping, you know exactly what I mean. Early on, I made the mistake of ignoring these blockages, only to realize that buildup inside the steam tip can significantly impact your frothing quality. Trust me, avoiding this problem isn’t worth risking uneven microfoam or damaging your machine over time.
And this isn’t just anecdotal—regular maintenance and quick fixes like using pipe cleaners can extend your machine’s life and keep your coffee routine enjoyable. Plus, with the right tools at hand, you won’t have to call a technician for every minor clog. If you’re curious to learn, check out [why your steam wand only froths big bubbles](https://espressotechguide.com/why-your-steam-wand-only-froths-large-bubbles), which explains some common causes of steaming issues.
Now, let’s dive into how those humble pipe cleaners can be your new best friends for fixing a blocked steam tip—fast, cheap, and fuss-free.
Prepare Your Tools and Ensure Safety
First, unplug your espresso machine and let it cool down completely to avoid burns. Gather three flexible pipe cleaners from your toolbox or craft supplies; their slim, bendable design allows them to reach into tight spaces. Think of them as the dental floss of your coffee gear, capable of extracting stubborn grime and blockages. I remember the first time I did this—my hands got a bit messy, but the machine was back to steaming perfectly in minutes.
Access the Steam Tip
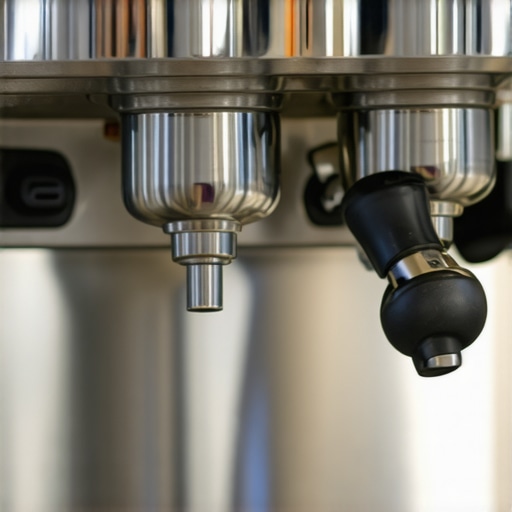
Remove the steam wand from your machine, following the manufacturer’s instructions, to expose the tip. Typically, this involves unscrewing a small connector or pulling off a quick-release fitting. Use a soft cloth to wipe away any external residue, similar to cleaning a lens before taking a shot. Once exposed, you’ll see the tiny holes or channels responsible for steam dispersion.
Clean with Pipe Cleaners
Insert the Cleaners Carefully
Take each pipe cleaner and gently insert it into the holes of the steam tip. Use a twisting motion to dislodge mineral buildup or dried milk residue that may be clogging the channels. Imagine trying to clear a clogged straw; applying gentle pressure ensures you don’t damage the delicate parts inside. I once got impatient and pressed too hard, causing a tiny crack, so patience is key here.
Twist and Wiggle
Work the pipe cleaners in and out, twisting slightly to scrape away stubborn deposits. This action is like cleaning a paintbrush—responsive and deliberate. After a few passes, remove the cleaners and inspect the holes for improvement. If some debris remains, repeat the process. I found that a couple of rounds usually sufficed to restore good airflow.
Flush and Test
Reattach the steam tip to your machine securely. Power it on and briefly open the steam wand to check if the water now flows freely, much like testing a faucet after clearing a clog. If steam issues persist, consider soaking the tip in vinegar to dissolve mineral deposits—do this once a month as part of routine maintenance. Regular cleaning like this not only clears blockages but also prolongs your equipment’s lifespan.
Reassemble and Final Checks
Once satisfied, reassemble all parts and run a steam cycle without milk to ensure everything is functioning smoothly. Remember, a little routine maintenance can prevent stubborn clogs—think of it as giving your espresso machine regular checkups rather than waiting for a breakdown. For more advanced cleaning tips, visit this guide to keep your gear in top shape.
With these straightforward steps, you’ll master the art of maintaining a clear steam tip, ensuring perfectly frothed milk every time—without expensive repairs or downtime. Your mornings will thank you for this simple, effective fix that keeps your coffee experience smooth and consistent.
 When it comes to home barista setups, many enthusiasts fall into traps that hinder their brewing quality—not because they lack passion, but because of misconceptions about essential gear. One widespread myth is that upgrading to the fancy, high-end espresso machine guarantees better coffee. While premium machines can improve consistency, the real game-changer often lies in mastering the nuances of grinder calibration and maintenance. For example, many think that burr grinders should be replaced the moment they start producing uneven grounds, but in reality, a simple cleaning using the right tools, like the ones discussed in our comprehensive guides, can restore their performance and longevity. Additionally, there’s a common mistake in tamping technique—believing that more pressure always results in better extraction. Interestingly, research shows that consistent tamping pressure is more critical than intensity, and uneven tamping can cause channeling, leading to weak or bitter shots. A noteworthy point for seasoned enthusiasts: often overlooked is the importance of grind size distribution. Even with a perfectly calibrated grinder, if the particle size varies significantly, the extraction becomes inconsistent, affecting flavor and body. This subtle nuance can make or break your espresso’s clarity. For advanced users pondering equipment choices, it’s valuable to understand that some features touted as must-haves—for example, PID temperature control—are not always aligned with optimal extraction if your brewing parameters aren’t finely tuned. Consulting detailed expert resources such as [Choosing the right barista gear](https://espressotechguide.com/choosing-the-best-barista-gear-for-coffee-enthusiasts) can provide clarity. Moreover, many home baristas assume milk frothing is purely about technique; however, the temperature of the milk plays a crucial role. Heating milk beyond 65°C can scald it, creating off-flavors, despite a perfect foam texture. These subtle details underline that mastering coffee gear is not just about owning the latest equipment, but understanding its intricacies and quirks. Before making your next purchase, consider reading posts like [Mastering home espresso](https://espressotechguide.com/mastering-the-art-of-home-espresso-tips-for-beginners) for an in-depth dive into ingredient and gear optimization. Remember, avoiding common pitfalls and appreciating the finer points can elevate your coffee experience beyond the typical expectations. Have you ever fallen into this trap? Let me know in the comments.
Investing in quality coffee gear is only part of the equation; consistent maintenance ensures it performs at its best over the long term. As a home barista myself, I prioritize using specific tools and adopting disciplined routines that prevent breakdowns and keep my setup in top shape. This approach not only saves money but also guarantees that every shot or froth is spot-on.
How do I maintain my espresso machine and grinders over time?
One of my go-to tools is the brass cleaning brush set. I personally use a fine-bristled brush to clear out residual coffee grounds and oils from the group head, which is crucial for maintaining consistent pressure and flavor. Regularly wiping the shower screen with this brush, combined with a deep cleaning routine, prevents buildup that can cause channeling or uneven extraction. For grinders, I rely on a dedicated chute cleaning tool that allows me to clear residual grounds without disassembling the entire device—saving time and avoiding damage. I avoid using compressed air, which can force grounds deeper into crevices, and instead opt for a brush and gentle vacuum.
What tools do I recommend for long-term results?
My favorite maintenance tool is a precision dial gauge for calibrating grinder burrs. I initially thought I could just eyeball the adjustments, but this gauge provides exact readings, ensuring your grind size remains consistent. This small investment has dramatically improved my shot quality, especially when dialing in new beans. Additionally, I keep a supply of filtering water and a descaling solution handy, because minerals in tap water can clog boilers and steam wands—leading to costly repairs. Routine descaling with a high-quality solution prolongs machine lifespan and maintains pressure stability.
Looking ahead: What’s next for coffee gear maintenance?
In the future, I expect innovations like smart sensors embedded in espresso machines that automatically alert you to buildup or calibration drift. Imagine a device that monitors pressure and flow in real-time, giving you early warnings before problems escalate. Already, companies are integrating such tech, as highlighted in [this detailed review](https://espressotechguide.com/top-rated-espresso-machines-for-coffee-lovers-in-2025), which hints at a new era of maintenance simplified through digital solutions. Until then, I recommend adopting routine checks with your existing tools for peace of mind.
If you’re ready to take your maintenance to the next level, try using a burr calibration dial gauge to achieve perfect grind consistency—it’s a game-changer. Regular use of these specialized tools ensures your gear keeps pace with your evolving coffee skills, allowing every cup to taste as fresh and flavorful as the first. Remember, a well-maintained machine is the cornerstone of great coffee every morning.
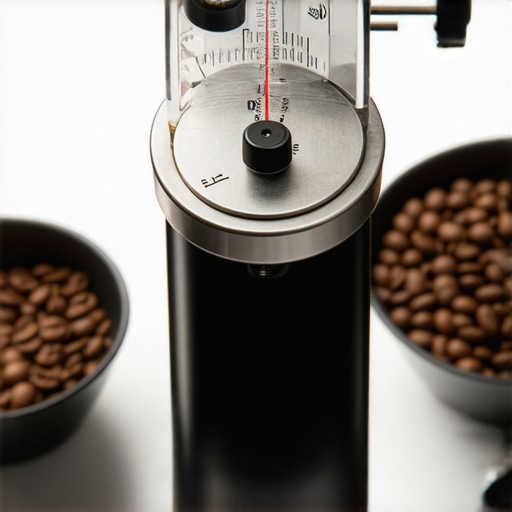
Here’s a close-up of my favorite burr calibration tool, which I use monthly to fine-tune my grinder and ensure optimal particle size distribution. Proper calibration prevents bitterness and channeling, making every shot smoother and more consistent.
What I Wish I Knew When I Started Grinding and Taming My Barista Gear
Looking back, one of the most surprising lessons was realizing that even the best espresso machines require diligent maintenance and a keen understanding of their quirks. I used to believe that owning high-end gear guaranteed perfect coffee every time, but I soon learned that mastering grinder calibration and routine cleaning had a far more significant impact. The moment I embraced this mindset, my shots improved dramatically, and the frustration melted away. For anyone serious about elevating their home espresso, investing time in understanding your equipment’s intricacies is truly a game-changer.
Curated Toolbox for Coffee Connoisseurs
Over the years, I’ve curated a set of tools that make maintenance and dialing in my espresso setup almost effortless. The deep cleaning routines with quality brushes keep my equipment pristine, while a precision dial gauge for my grinder ensures consistent particle size. Additionally, I trust detailed guides like which gear suits my needs best, helping me avoid unnecessary purchases and focus on what truly improves my coffee. These resources have saved me time, money, and plenty of Cups of Joe with better flavor.
Your Next Step: Take Control of Your Coffee Equipment
Now is the perfect moment to embrace the learning curve and take ownership of your home espresso journey. Whether it’s regularly calibrating your grinder with simple tools for perfect particle distribution or incorporating routine cleaning into your routine, each small step will pay dividends. Remember, the difference between good and exceptional coffee often comes down to attention to detail and proactive maintenance. Don’t let hidden equipment issues hold back your brewing potential—step up, experiment, and savor every sip with confidence. Want to get started? Share your biggest home espresso challenge below and let’s troubleshoot together.