Why your bottomless portafilter sprays even when your grind is right
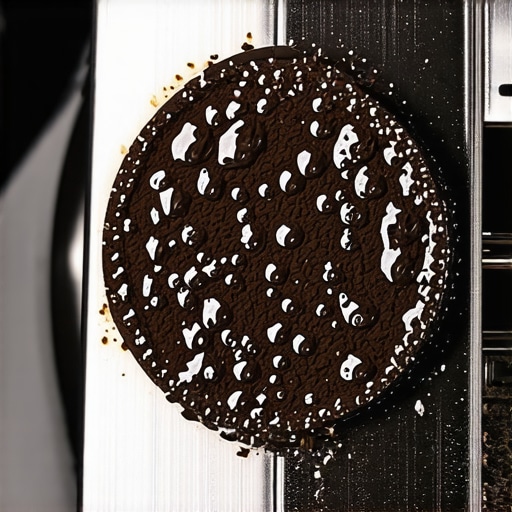
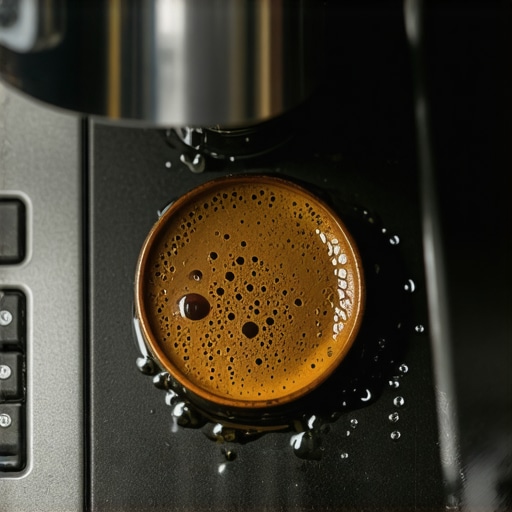
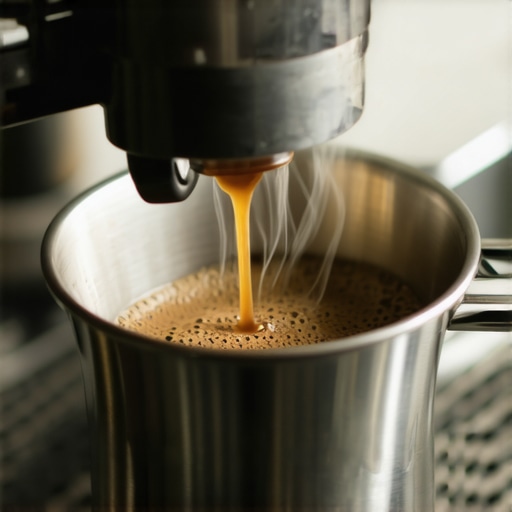
It happened again. I was pulling a shot, feeling proud because I dialed in my grind just right, only to be greeted by a spray of hot coffee and aerosolized grounds shooting out from my bottomless portafilter like a mini volcano eruption. Frustration bubbled up—why does this happen despite being so meticulous? I remember the first time I encountered this nasty surprise; I thought I had everything under control. Turns out, there’s a hidden culprit lurking behind that spray. Today, we’re going to uncover the reasons behind this common problem and, more importantly, how you can fix it. If you’ve ever experienced a messy shot that drips and sprays instead of streaming smoothly, stick around. You’re not alone, and there’s hope.
Why Does My Bottomless Portafilter Spray Even When My Grind Is Right?
Early on in my espresso journey, I made a costly mistake: I believed that perfect grind size alone would guarantee a clean extraction. I meticulously adjusted, tamped with care, and still, accidents happened. The truth is,!
Many factors influence the flow and spray of your shot, and some are less obvious than others. For instance, improper puck prep, uneven tamping, or even coffee bean freshness can play a role. But the most overlooked cause is often the condition of your portafilter itself. Over time, tiny cracks or worn-out seals can cause pressure leaks, which in turn lead to sprays and uneven pours. This realization was eye-opening for me and a game-changer.
Understanding what causes spray helps me troubleshoot my setup better. I started asking myself: Have I inspected my portafilter lately? Is my puck even and solid? Am I tamping evenly? These questions led me to discover the importance of proper puck preparation and equipment maintenance, which can dramatically improve shot quality. If you’re tired of chasing your tail with grind adjustments that don’t fix the spray, it might be time to look at your portafilter seals or consider a thorough cleaning.
So, what exactly should you check? Well, it’s a combination of ensuring your machine and tools are in prime condition, and that your technique is solid. For example, ensuring your puck is evenly distributed and tamped with consistent pressure can reduce channeling and spray. Also, inspecting and replacing worn O-rings on your portafilter can prevent leaks that cause spray during extraction. These are small details that, when ignored, can sabotage even the best grind settings.
Are you familiar with this kind of spray? Have you experienced the messy aftermath when everything else seemed perfect? If so, don’t worry—you’re in good company. And, the good news is, with a few tweaks and regular maintenance, you can get back to brewing clean, beautiful espresso shots that pour smoothly without unwanted sprays or splashes. Ready to dive into the practical fixes? Let’s get started and turn that chaotic spray into a thing of the past.
Ensure Your Portafilter Is Sealed Properly
Start by inspecting your portafilter’s gasket, the rubber seal that keeps pressure consistent. If it’s worn or cracked, replace it to prevent leaks that cause sprays. I once neglected this step, leading to splattering every time I pulled a shot. After replacing the gasket, my shots poured smoothly, and cleanup became easier.
Clean and Maintain Your Equipment Regularly
Build-up of coffee oils and residues can cause uneven pressure and channeling, leading to sprays. Use a descaling solution periodically and clean your portafilter, basket, and group head thoroughly. I recommend using a brush to scrub the basket holes—clogged holes increase pressure unpredictability. Keeping everything spotless ensures a more reliable and clean pour.
Check Your Basket and Tamp Evenly
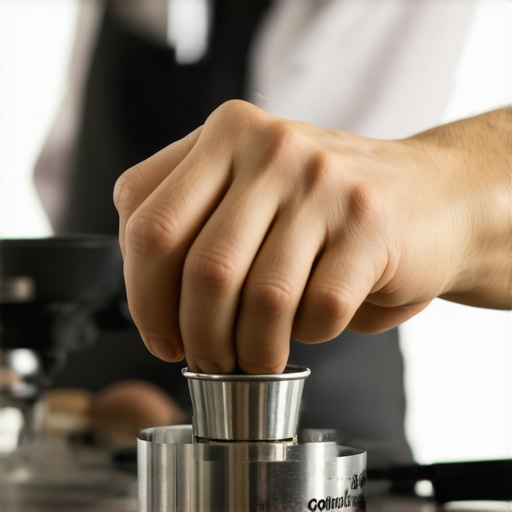
A level, evenly tamped puck reduces channeling, which can produce spray patterns. Use a tamper with a level base and apply consistent pressure—about 30 pounds. I once used a digital scale to press evenly, which improved my shot quality drastically. Remember, uneven tamping creates weak spots, causing water to escape sideways and spray out.
Distribute Coffee Grounds Correctly
Before tamping, distribute grounds evenly across the basket. Use a dosing funnel or a distribution tool to prevent uneven density. I found that a simple flick of the wrist to level the coffee before pressing eliminates a lot of spray issues. An evenly distributed puck allows water to flow uniformly, reducing the chance of pressure leaks.
Run a Pre-Infusion or Low-Pressure Flush
Pre-wetting the grounds with a burst of low pressure before full extraction helps settle the puck, minimizing spray. I start with a brief, gentle pressurization—just enough to dampen the coffee—then proceed with the full shot. This technique stabilizes the puck, especially when switching beans or grind settings.
Inspect and Replace Worn Seals and Parts
Over time, seals, O-rings, and piston components wear down, leading to leaks. Regularly check these parts for cracks or deterioration. If you’re unsure, compare with a new part or consult https://espressotechguide.com/how-to-fix-an-o-ring-leak-in-your-manual-espresso-press-2 for detailed guidance. I replaced my worn O-ring and noticed immediate improvement in pressure consistency.
Optimize Your Grind and Dose
While a perfect grind isn’t solely responsible for spray issues, overly fine or inconsistent grounds can increase pressure and cause channeling. Use a high-quality grinder and dose the basket correctly—typically 18-20 grams for standard espresso. I use a calibrated grinder to achieve consistent particle size, which drastically reduces spray incidents.
Implementing these practical steps can turn messy sprays into smooth, beautiful pours. Regular maintenance and attention to detail are your best tools in creating consistently clean espresso shots. For more tips on setting up your equipment or troubleshooting, visit https://espressotechguide.com/mastering-the-art-of-home-espresso-tips-for-beginners and explore additional resources.
Many home baristas and coffee lovers believe that choosing the latest espresso machine or a high-end grinder guarantees perfect shots. However, this myth often leads to frustration, as the equipment alone can’t compensate for nuanced factors that influence extraction quality. For example, a common mistake is assuming that a more expensive grinder automatically produces better—when, in reality, many overlook the importance of consistent particle size distribution and proper calibration. Regularly inspecting and maintaining your grinder, as discussed in https://espressotechguide.com/how-to-select-the-perfect-coffee-grinder-for-your-brew, can drastically improve shot consistency.
A crucial but often misunderstood aspect is the impact of tamping technique. Many believe that tamping pressure should be as firm as possible, but research indicates that consistent, moderate pressure—about 30 pounds—when applied evenly results in better extraction. Overly forceful tamping can compact the puck excessively, creating channeling paths for water and undermining shot quality. Remember, the goal is uniform density, not brute force.
Switching gears, let’s debunk the myth that milk frothers are merely add-ons. The truth is, the type of frother—steam wand versus electric—has profound effects on microfoam quality. While some assume all frothers produce suitable foam, specialized steam wands controlled by baristas allow for precise temperature and texturing adjustments, enabling baristas to craft velvety microfoam essential for latte art. Properly choosing and maintaining your frother—like cleaning the steam wand regularly—is key. Check https://espressotechguide.com/milk-frothers-that-transform-your-coffee-experience for detailed comparisons.
An advanced mistake many make pertains to the misalignment of grinder burrs. Even slight misalignment can cause uneven particle sizes, leading to inconsistent extraction and channeling. Using tools like a paper shim or a calibration sequence, similar to the methods outlined in https://espressotechguide.com/the-30-second-hack-to-fix-static-without-spraying-your-burrs-2, can help optimize burr positioning. Neglecting this detail results in unpredictable shot quality.
The complexity extends to water chemistry—often an overlooked factor. Hard water minerals can scale internal components and alter extraction dynamics, causing subtle flavor shifts detected only by experienced tasters. Investing in water quality testing and filtration, as recommended in https://espressotechguide.com/how-to-maintain-your-commercial-group-head-without-a-plumber, maintains equipment longevity and ensures consistent flavor.
One critical trap to avoid is assuming that equipment adjustments alone can fix poor technique. Even the most advanced home espresso setup benefits from regular inspection, calibration, and technique refinement. For instance, using a digital scale during tamping and dosing ensures reproducibility. Consistent technique prevents fluctuations that negate equipment quality.
Have you ever fallen into this trap? Let me know in the comments. Embracing these nuanced factors elevates your brewing from good to exceptional and helps you get the most out of your investment in barista gear.
Invest in Precision Calibration Tools
To maintain consistent grind size and tamping pressure, I rely heavily on a digital dial gauge like the espresso scale with a high-precision readout. This tool helps me achieve uniform tamp pressure—around 30 pounds—and consistent dosing every time. Regular calibration using such devices prevents unwanted variables that can compromise shot quality over months, especially as machine components wear.
Regularly Service Your Grinder and Espresso Machine
Unlike many hobbyists who overlook ongoing maintenance, I schedule bi-annual deep cleans and inspections. For grinders, I use a burr cleaning kit designed for my specific model. This removes fines and oils that cause uneven grind particles, ensuring stable extraction and preventing spray issues. For my espresso machine, I pay close attention to replacing seals and gaskets as per manufacturer guidelines—avoiding leaks that can cause pressure inconsistencies and sprays during shot pulls.
Protect and Maintain Barista Gear
Tools like tampers, distribution tools, and portafilter handles can become sticky, warped, or contaminated without proper upkeep. I use appropriate cleaning solutions and store my equipment in designated, dust-free zones. Proper storage and regular cleaning preserve the integrity of seals and prevent foreign debris from causing spray or channeling during extraction.
Embrace Software and Calibration Updates
Many high-end espresso machines today receive firmware updates that enhance temperature stability and pressure profiling. I keep my machine updated via manufacturer portals, which not only fine-tunes performance but also reduces long-term wear. Additionally, running periodic puck screen tests helps identify any deterioration early, preventing spray issues and ensuring a clean pour.
Where do I get expert advice on ongoing maintenance?
For personalized guidance, I recommend reaching out through contacting professional barista tech services. They can perform comprehensive tune-ups and recommend specific replacements tailored to your setup.
Looking ahead, I believe the trend is moving toward smart maintenance gadgets integrated directly into espresso gear—like sensors that monitor seal integrity or machine wear in real time. This could shift maintenance from reactive to predictive, significantly reducing spray incidents and prolonging equipment lifespan.
If you haven’t tried it yet, I suggest implementing a regular gasket inspection schedule. A quick $10 gasket replacement can save hundreds in repairs and dramatically improve your shot consistency.
For the dedicated home barista, mastering maintenance isn’t just about fixing problems; it’s about proactively ensuring every shot is perfect. Take one advanced step today—like calibrating your tamping pressure with a digital gauge—and watch your brew quality improve instantly.
What I Wish I Knew Before I Had My First Messy Spray
One of the most humbling lessons I learned was that even with perfect grind size, the tiniest detail—like worn-out seals or uneven tamping—can wreck your shot. I used to think that I had to buy the most expensive machine to get a barista-quality espresso, but it turns out, maintenance and technique are just as vital. This revelation transformed my approach, and now I savor every pour with confidence—proof that sometimes the smallest tweaks make the biggest difference.
Tools and Tips That Elevated My Home Espresso Game
From investing in a digital scale to inspecting my portafilter gaskets regularly, I realized that the right tools are game changers. The perfect grinder calibration and meticulous cleaning routines brought consistency to my shots. I also found that keeping spare O-rings and seals on hand prevented leaks and messy sprays, saving me time and frustration. These curated essentials have become my secret weapons for crafting flawless espresso every time.
Keep Pushing: Why Your Espresso Journey Continues
Remember, every shot—whether perfect or imperfect—is part of your growth. Embrace the learning curve and see each brewing challenge as an opportunity to refine your skills. The journey to mastery isn’t about instantly perfect espresso; it’s about persistent curiosity and continual improvement. Whether you’re just starting or deep into refining your technique, the passion you bring will turn every cup into a personal masterpiece. So, why wait? Dive into these tips and transform your coffee routine today. What’s one tweak you’re excited to try first? Let me know below and share your progress!